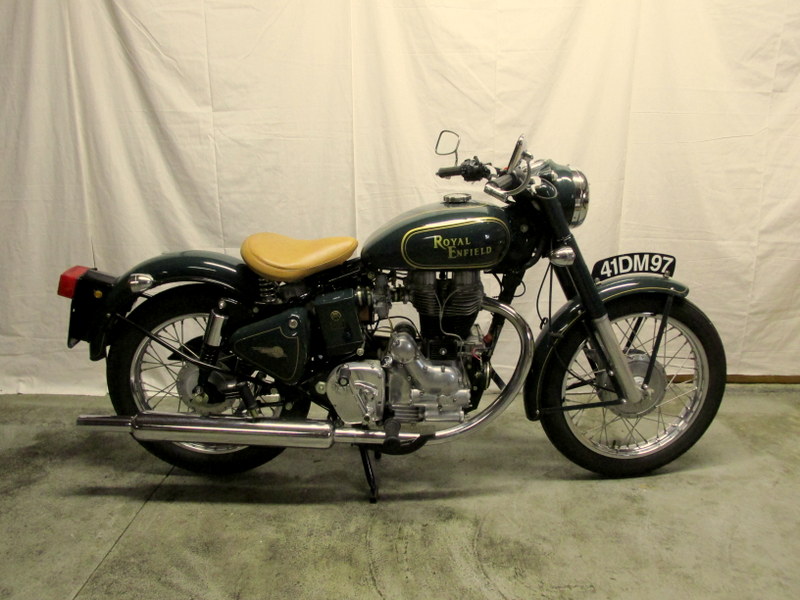
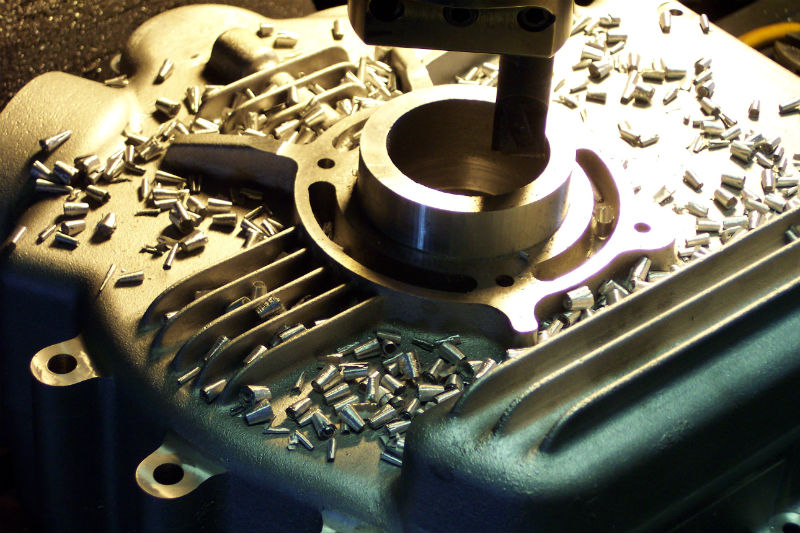
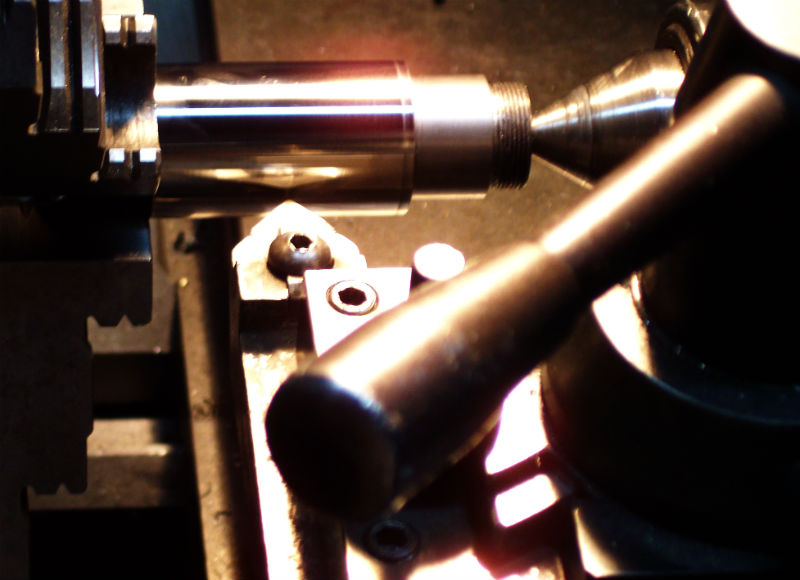
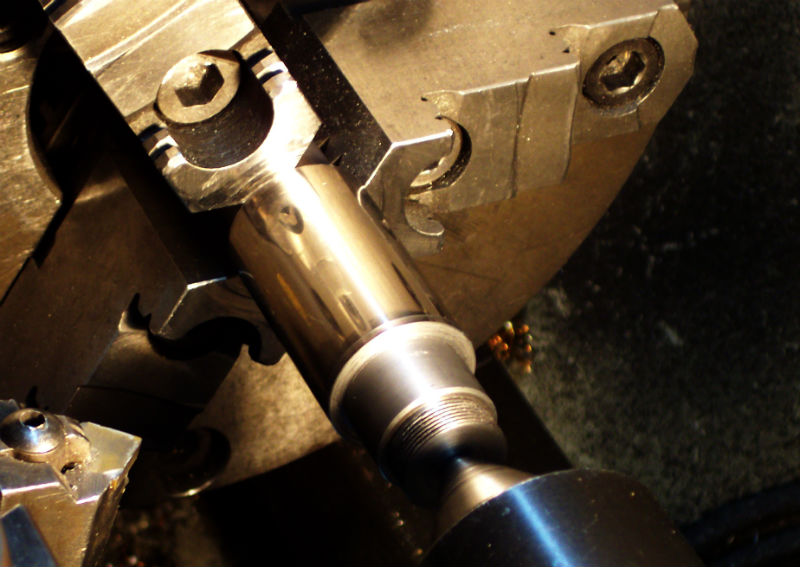
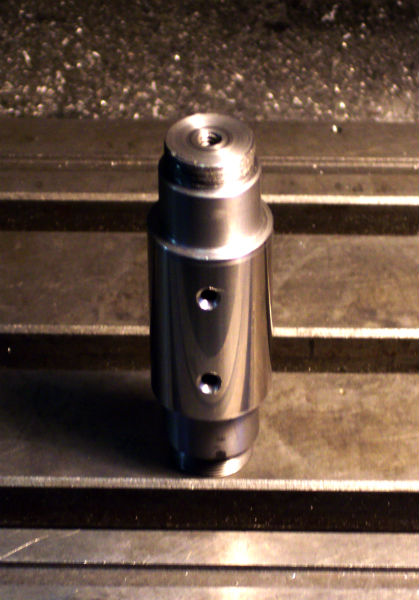
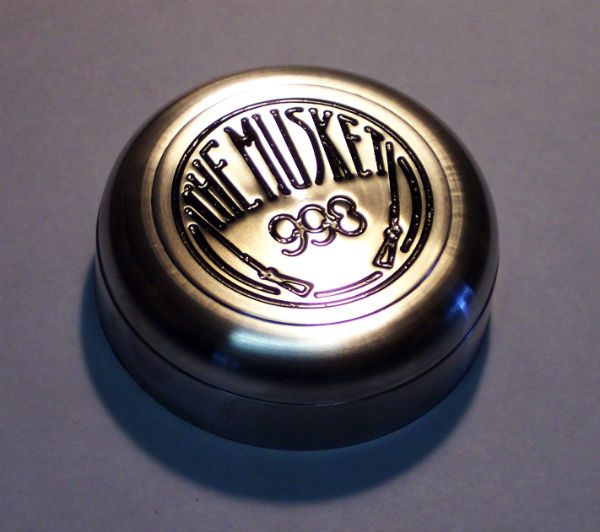
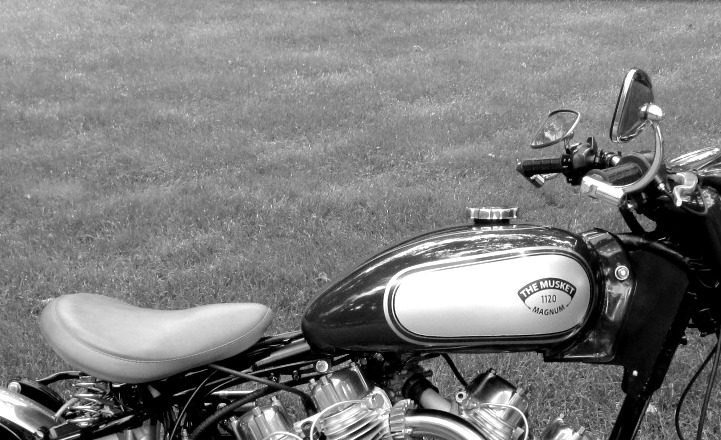
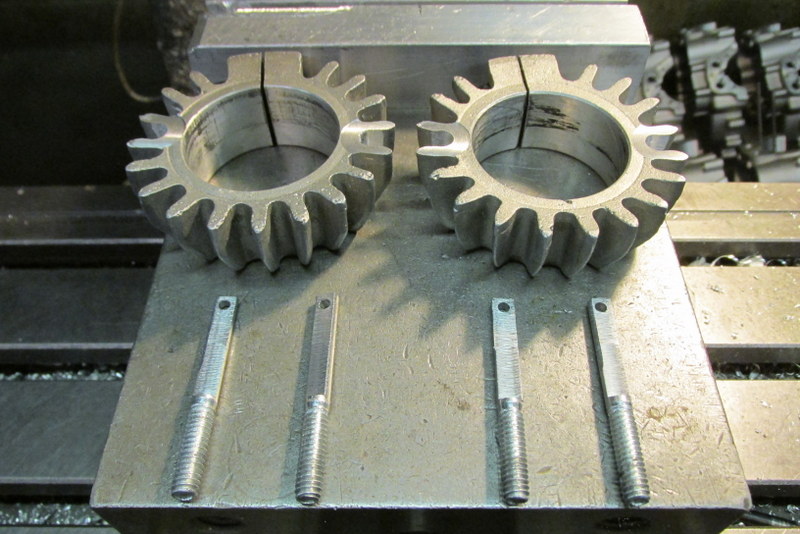
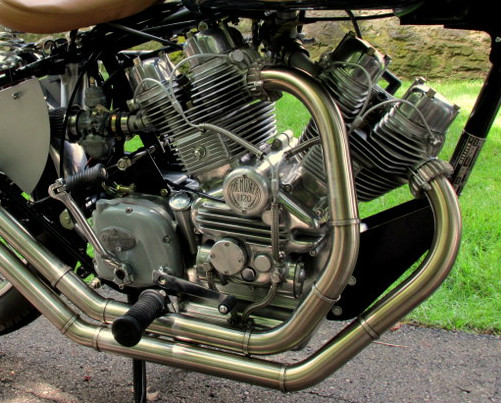
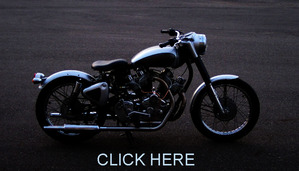
From Bullet to Musket.
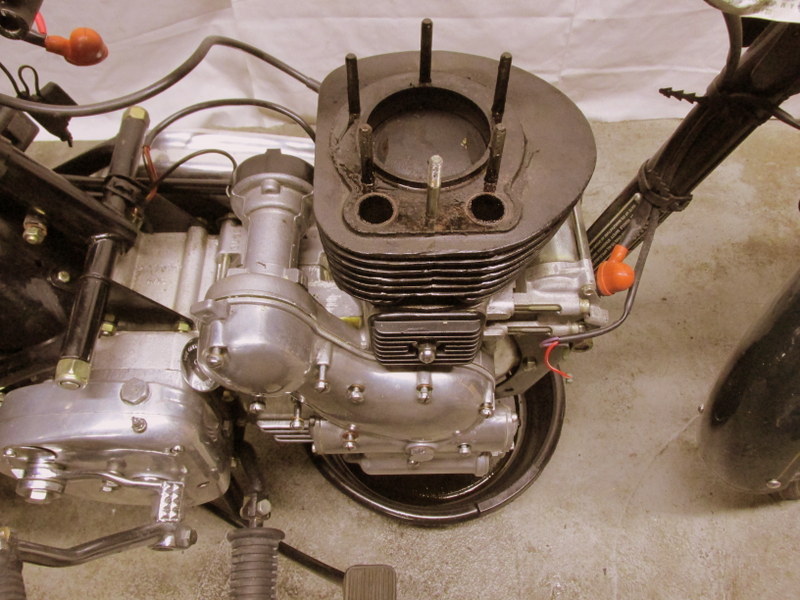
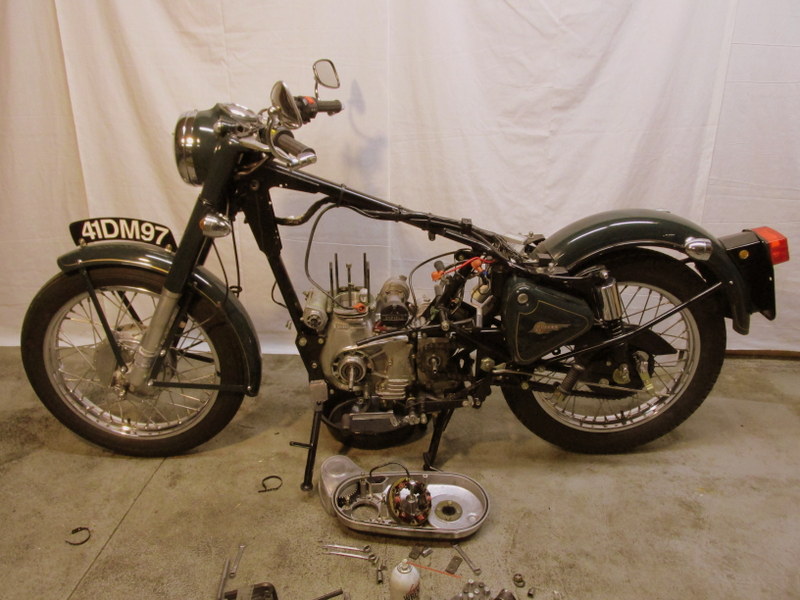
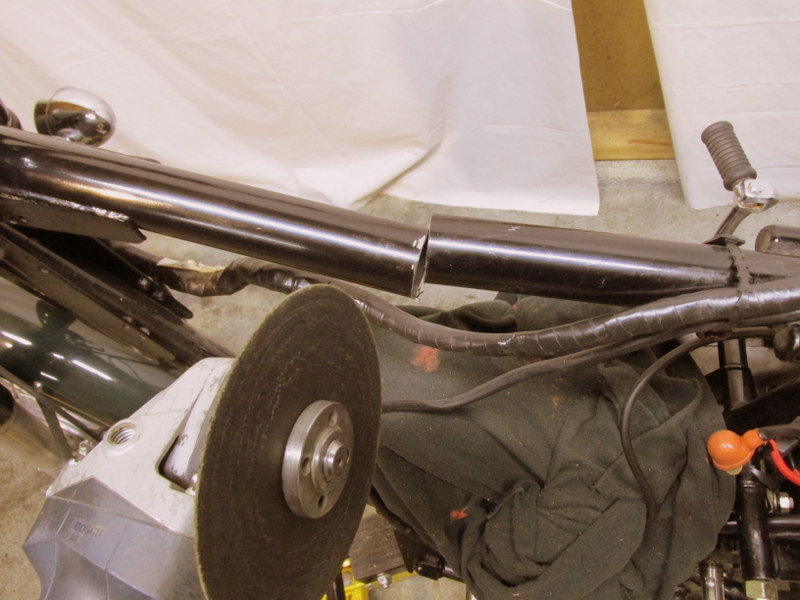
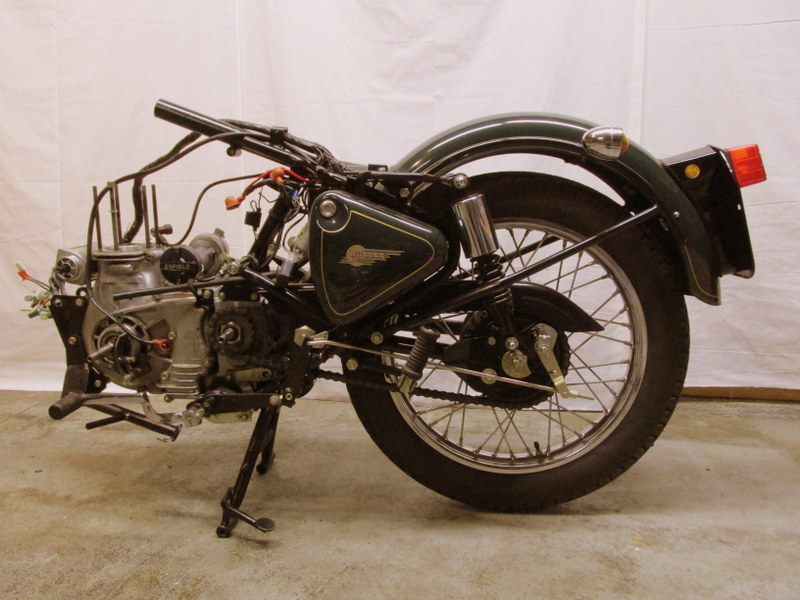
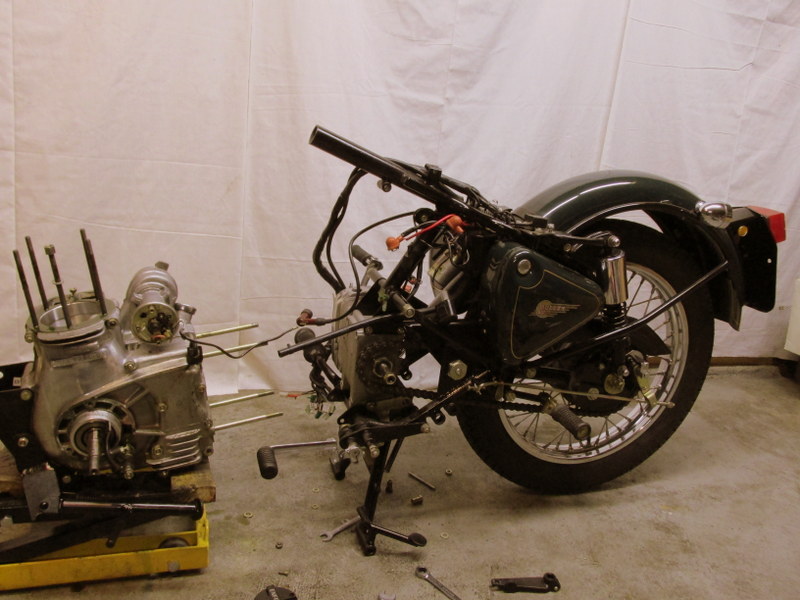
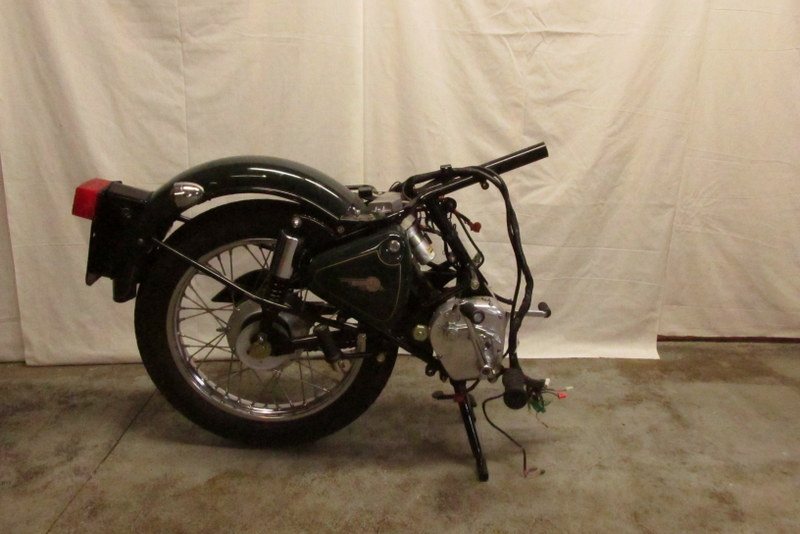
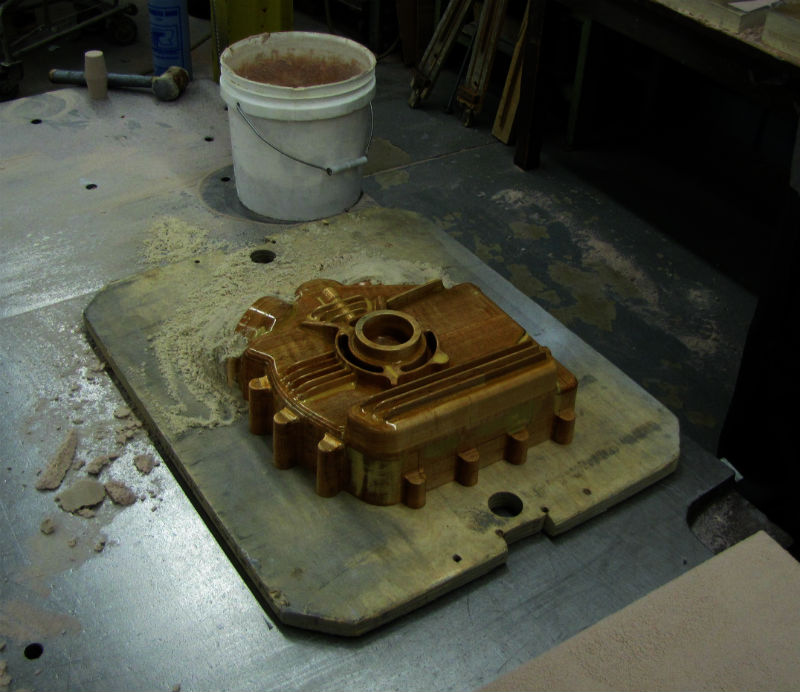
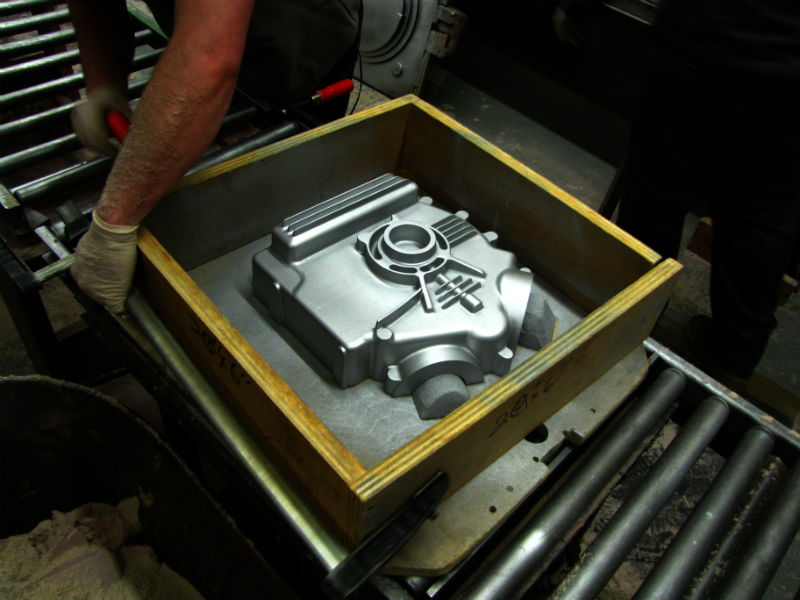
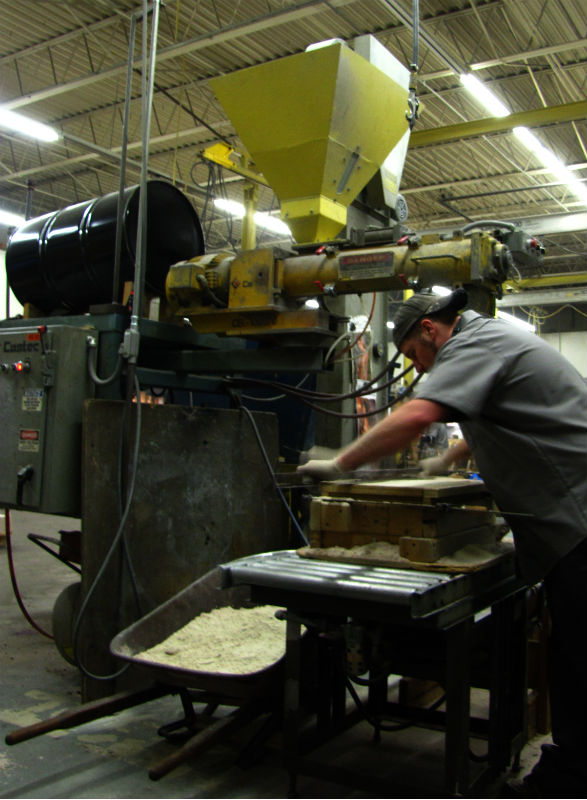
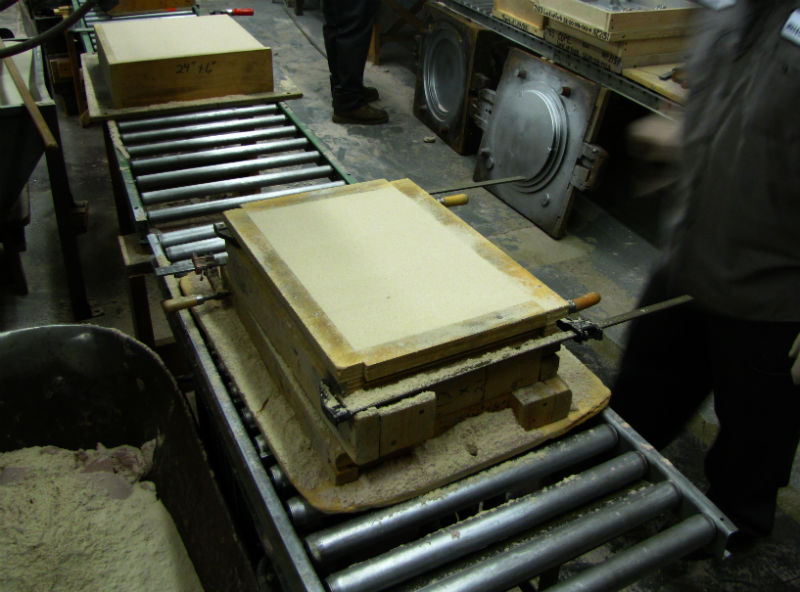
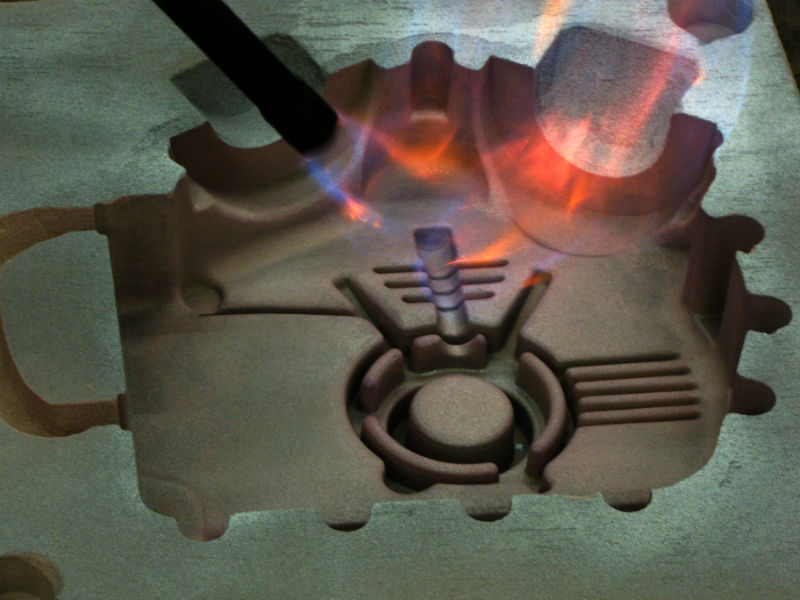
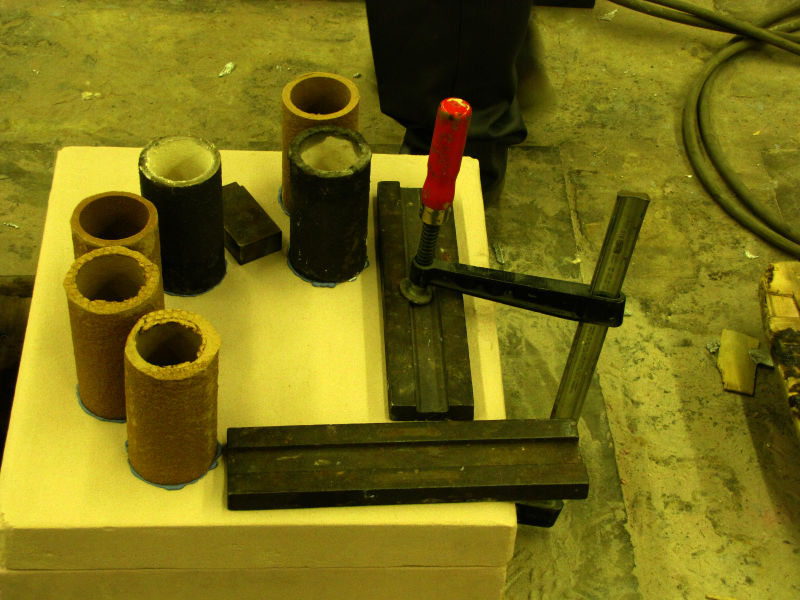
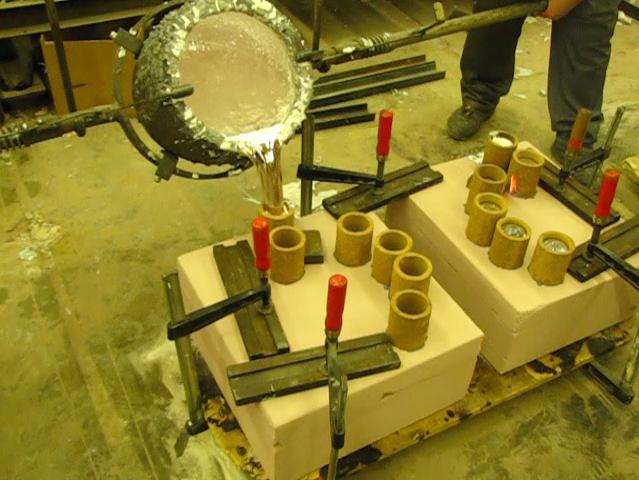
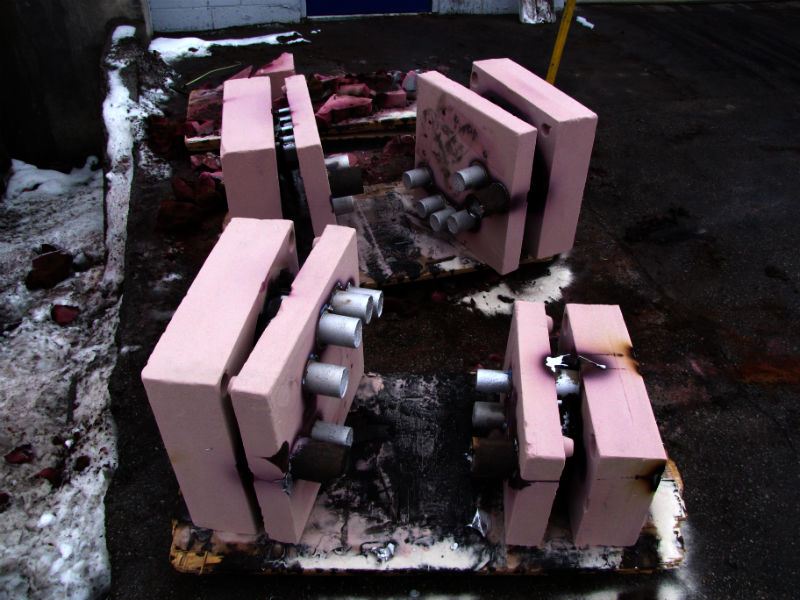
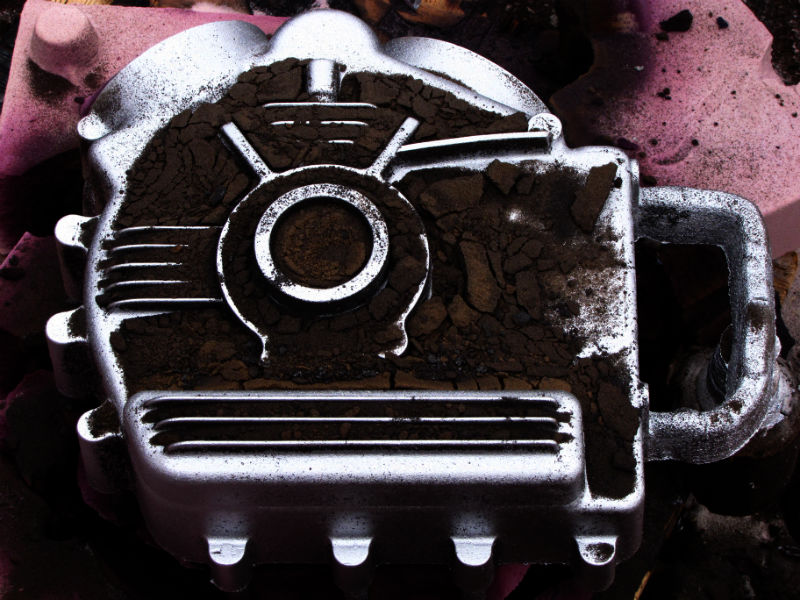
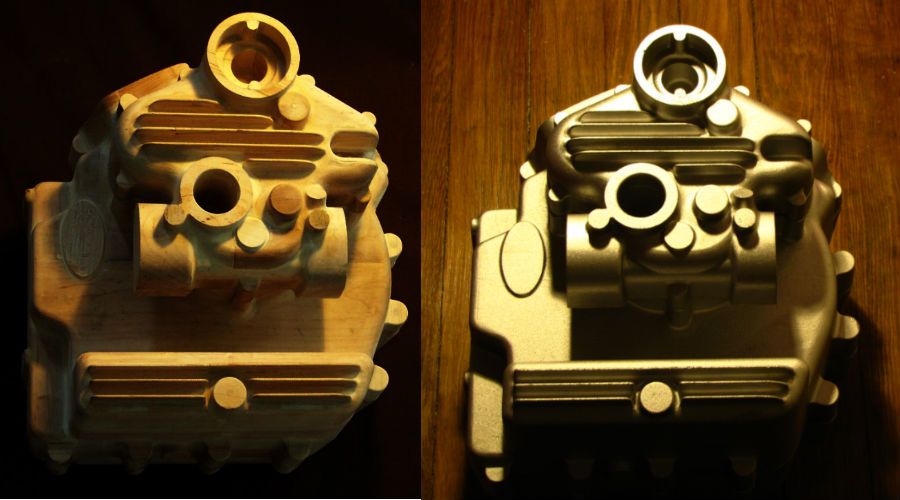
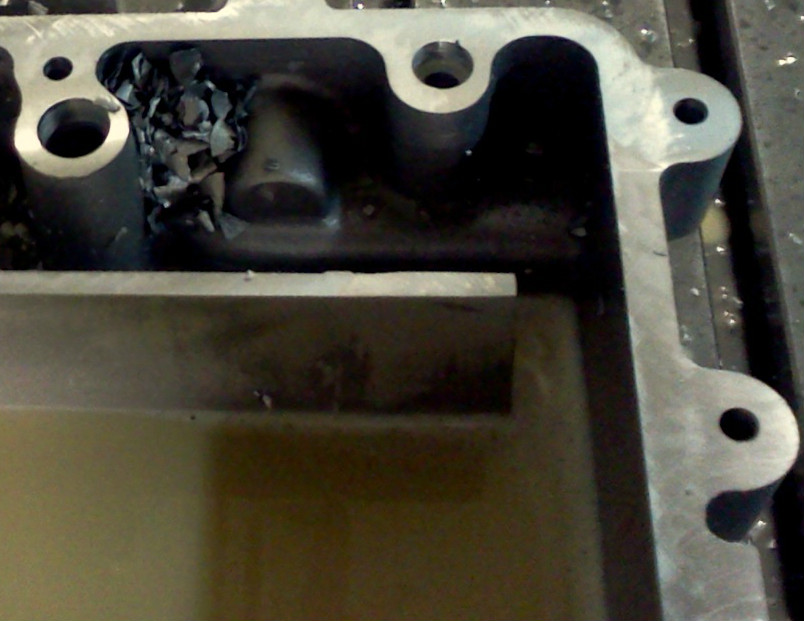
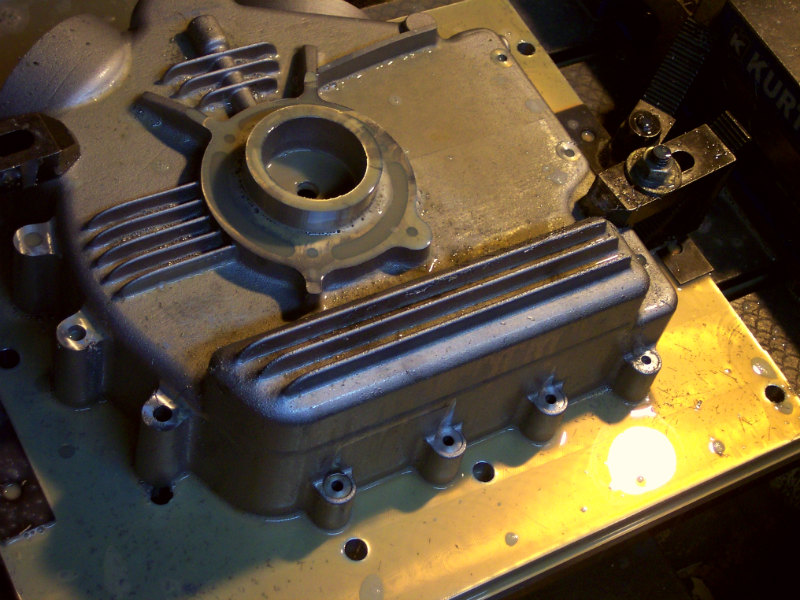
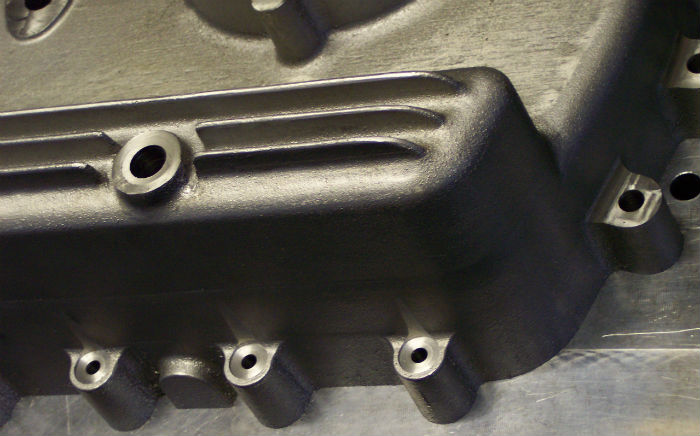
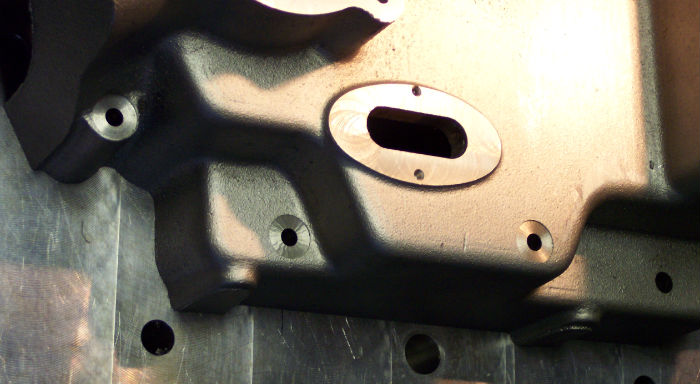
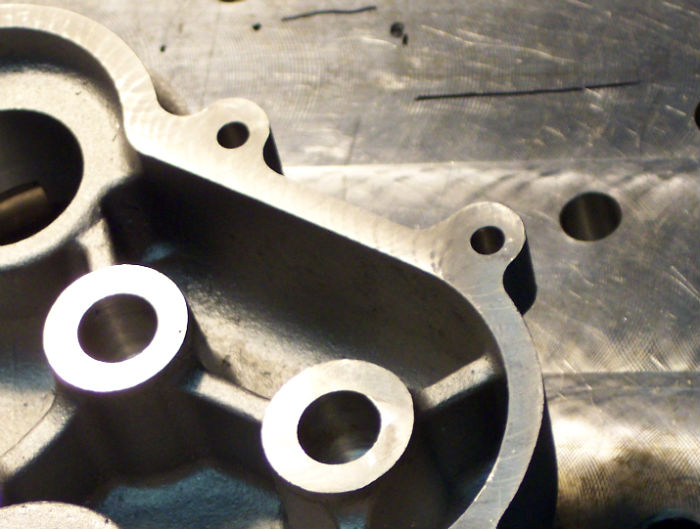
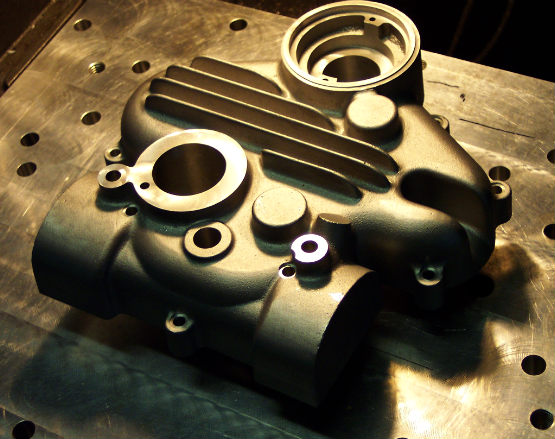
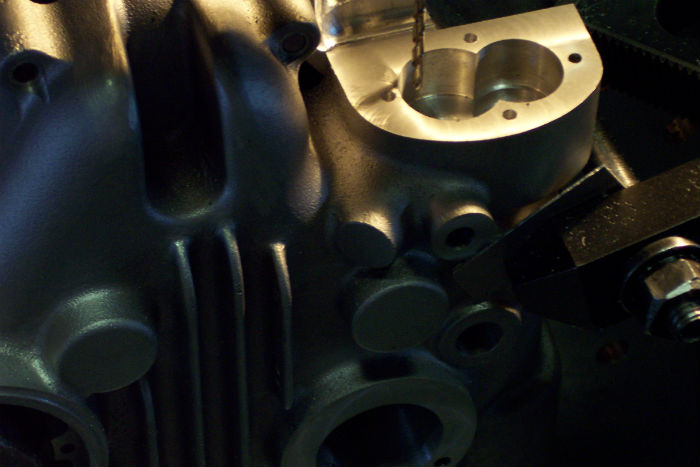
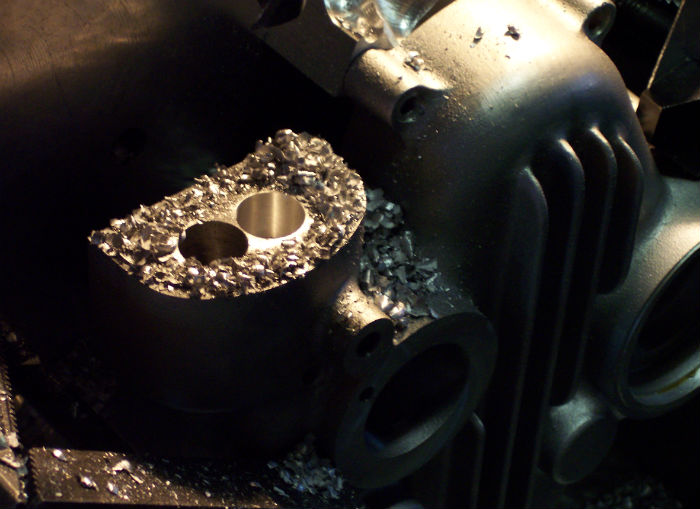
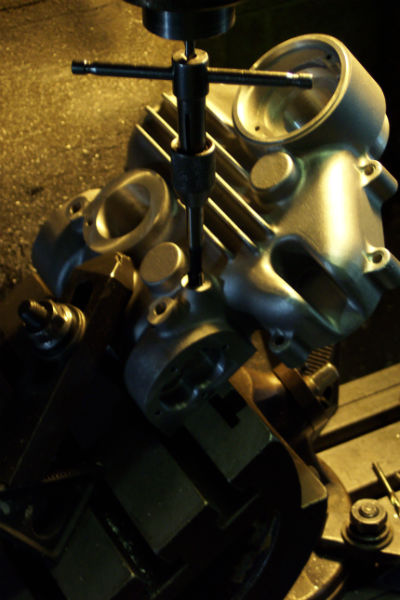
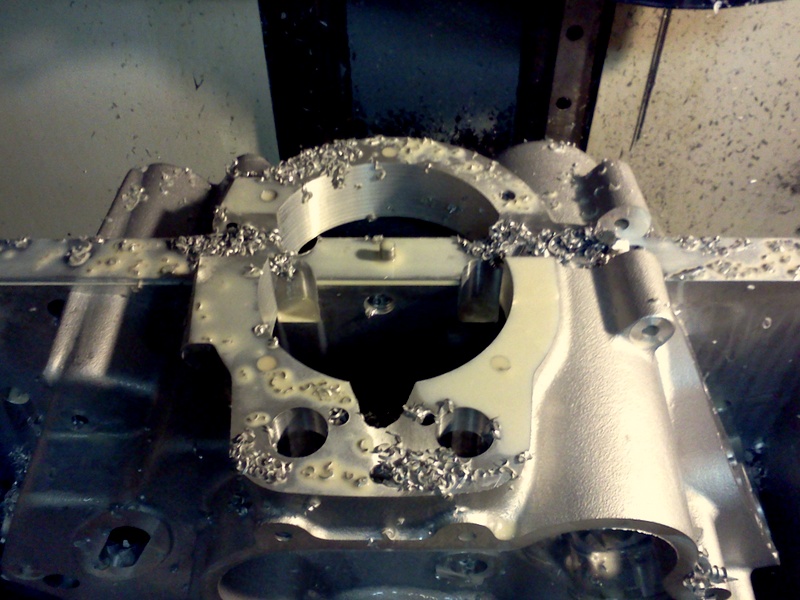
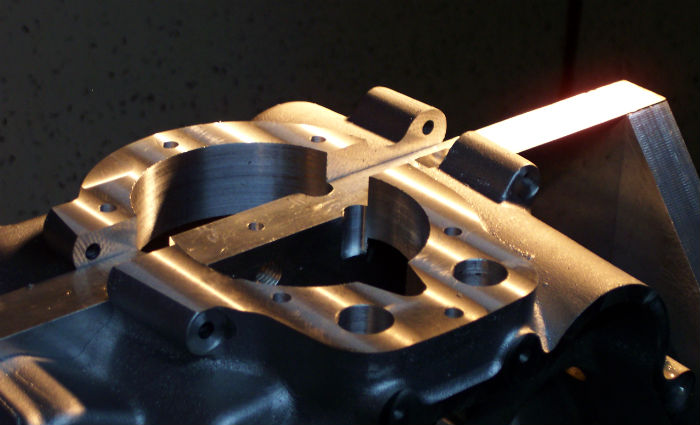
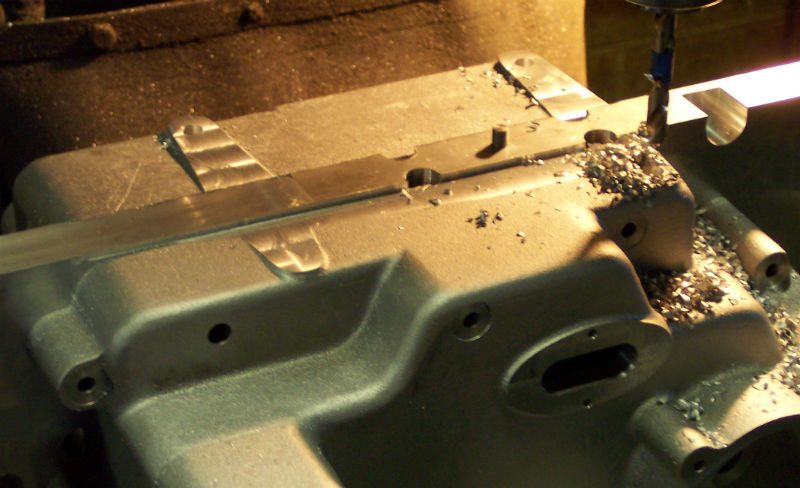
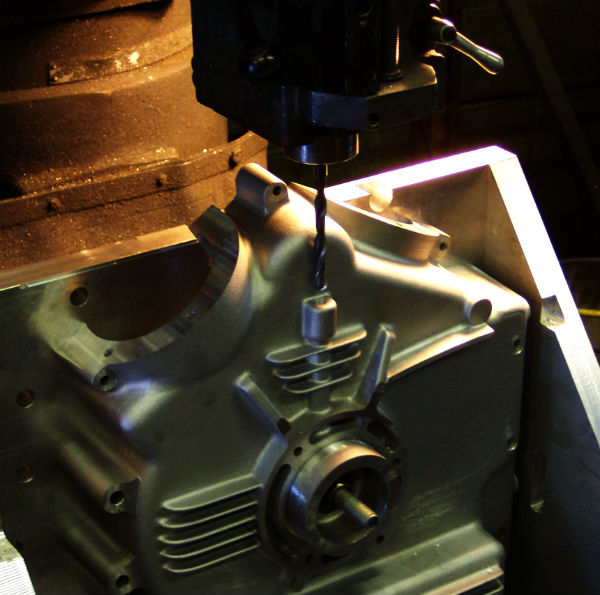
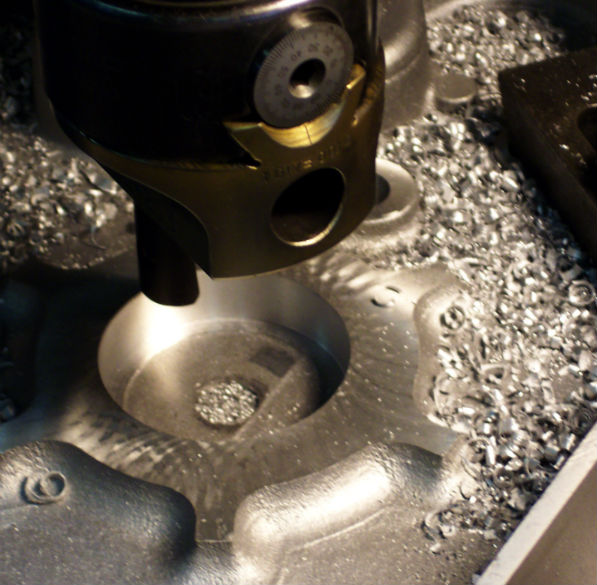
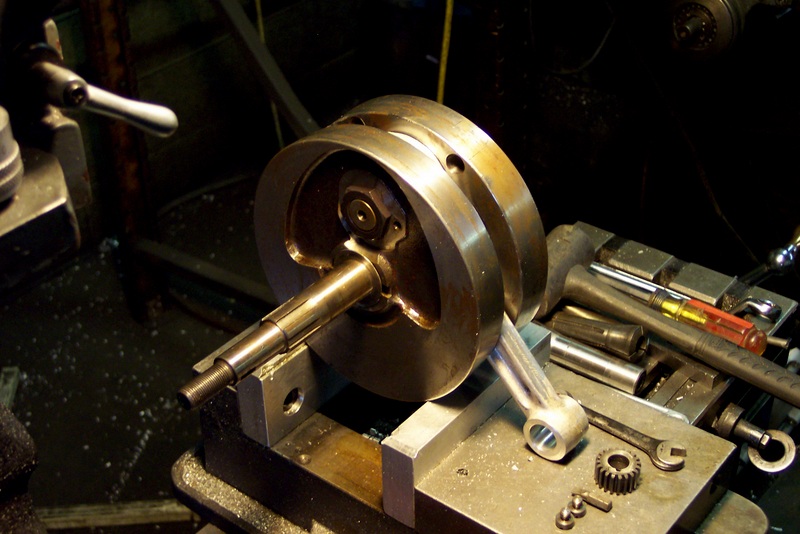
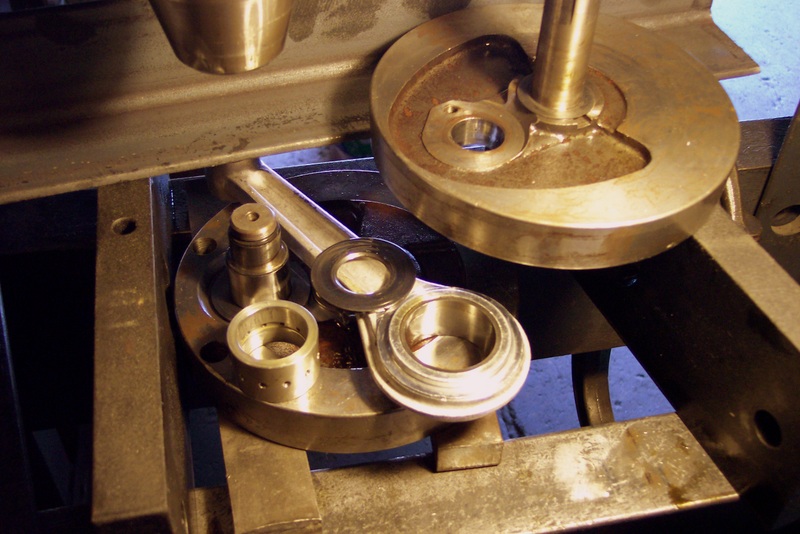
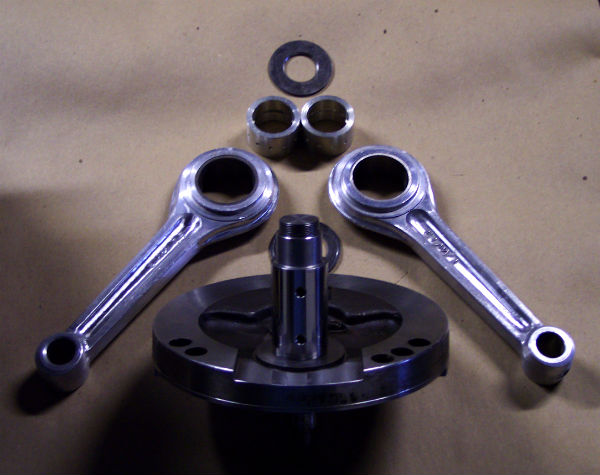
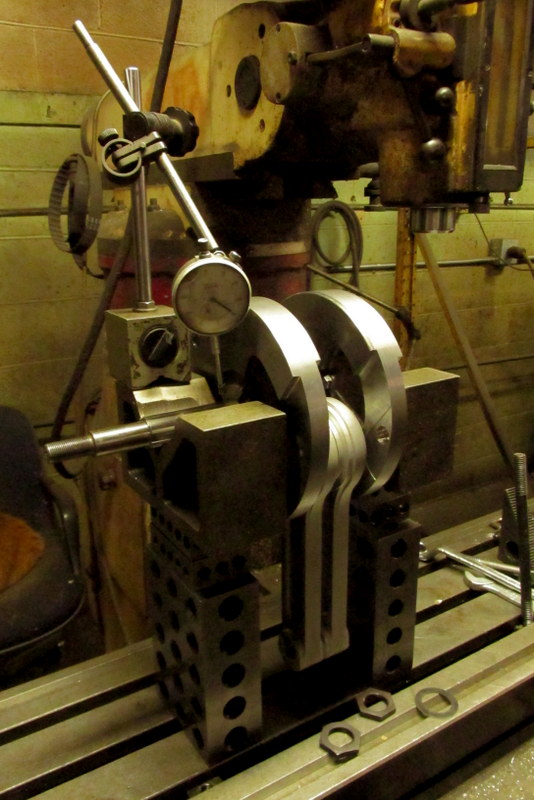
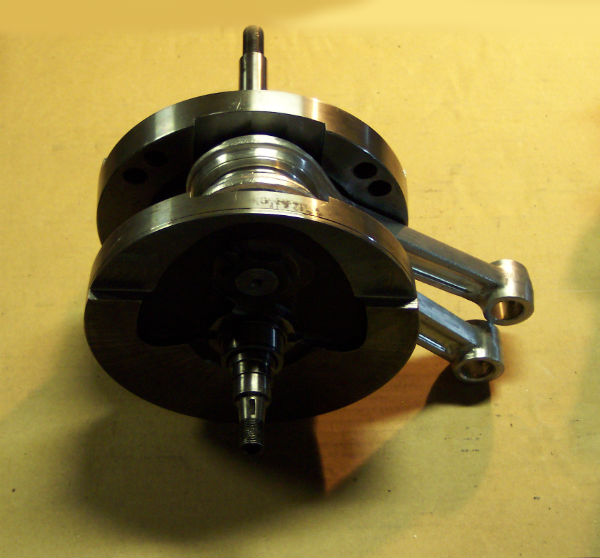
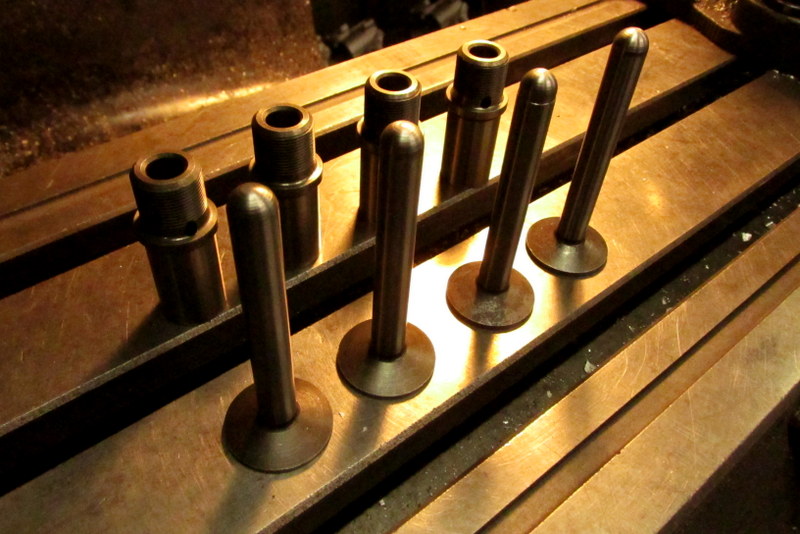
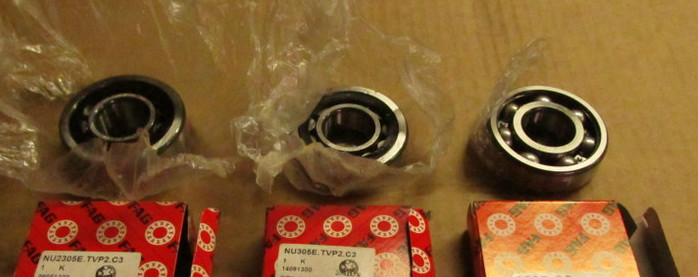
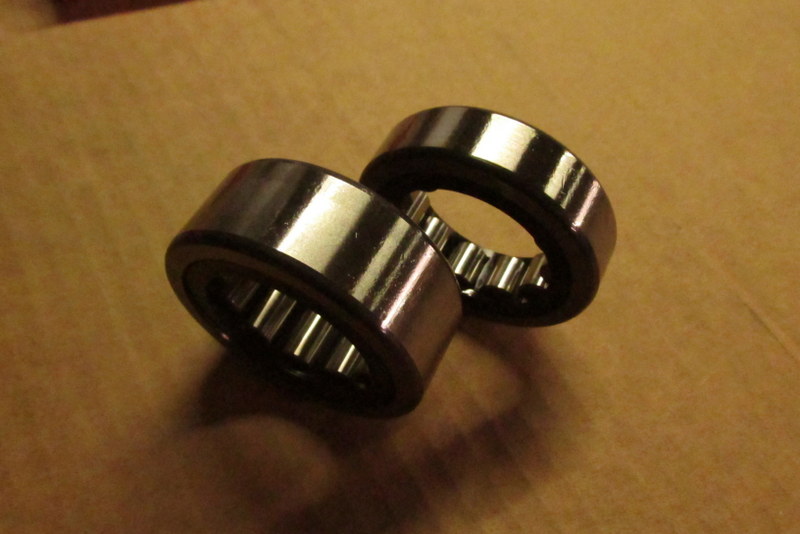
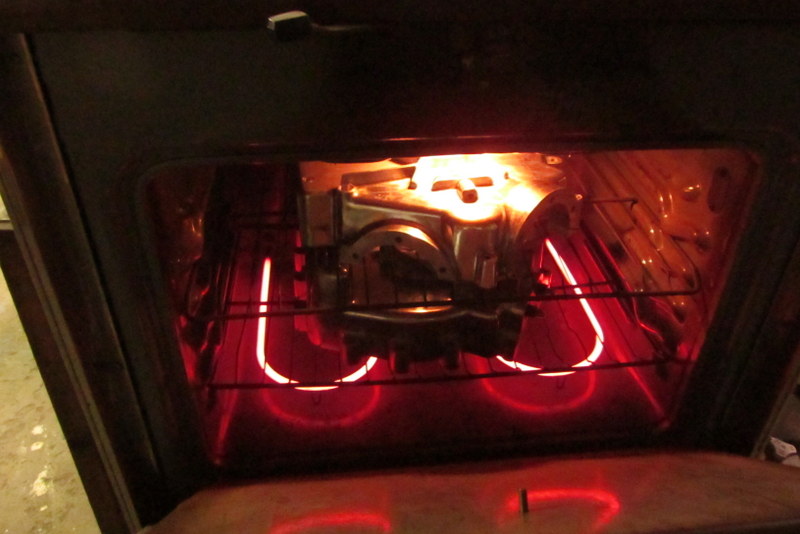
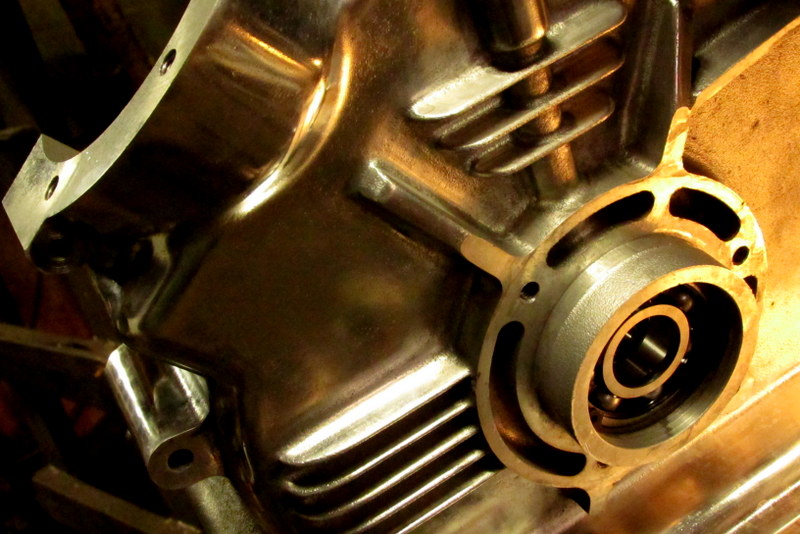
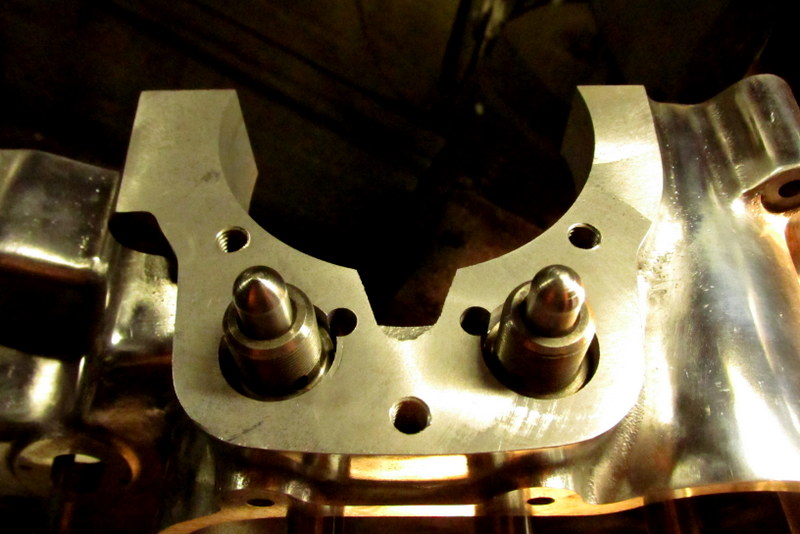
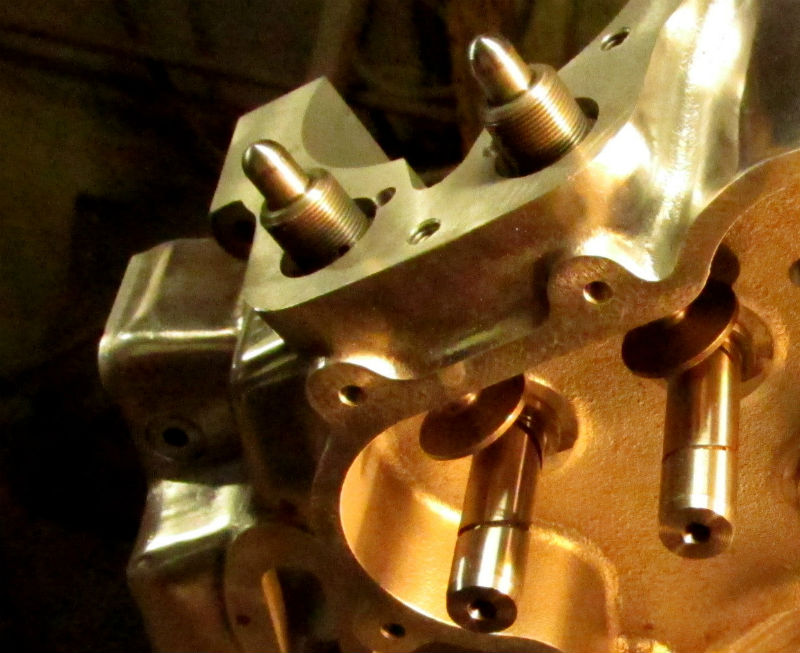
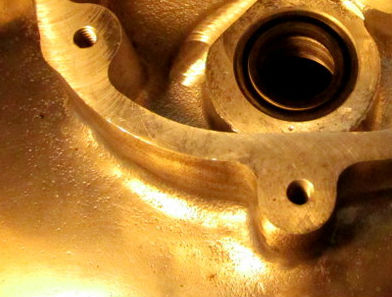
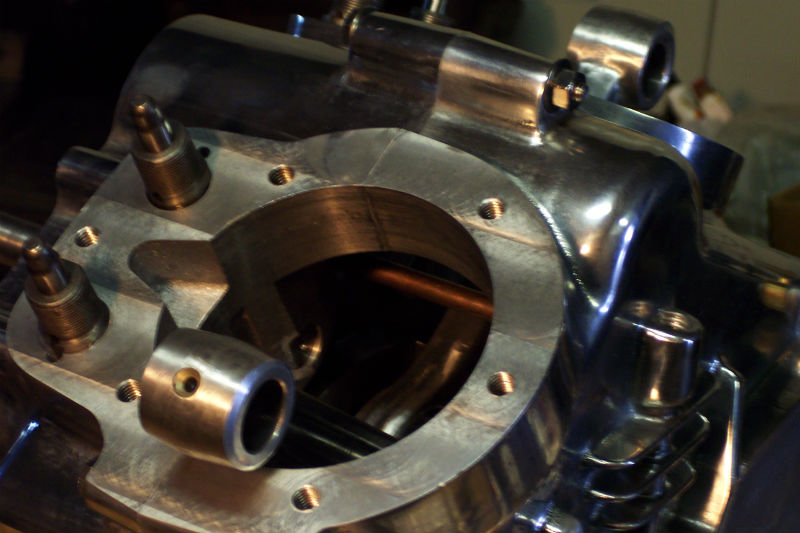
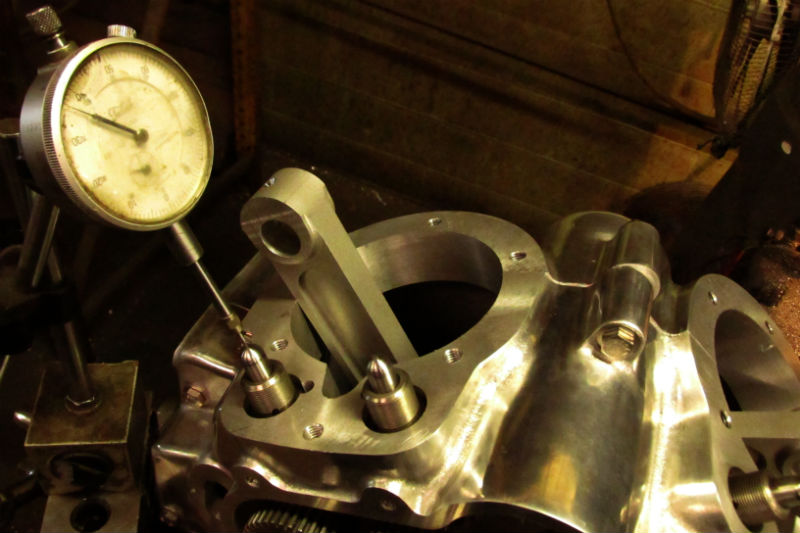
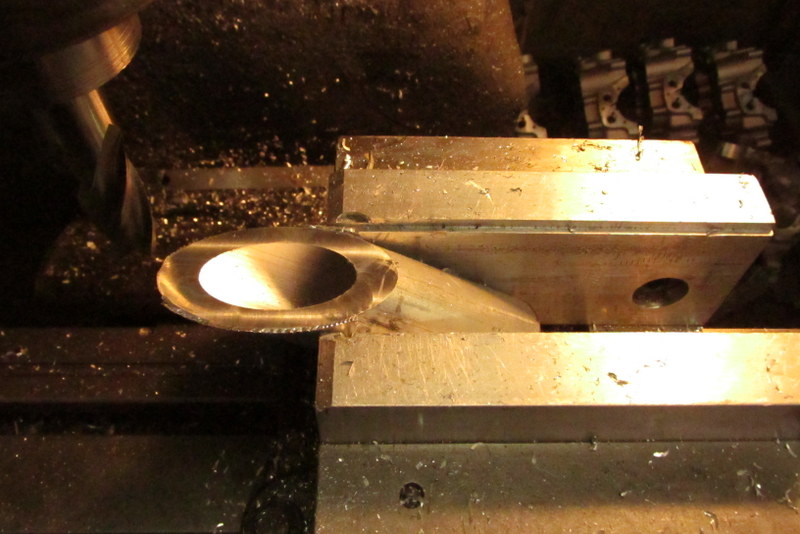
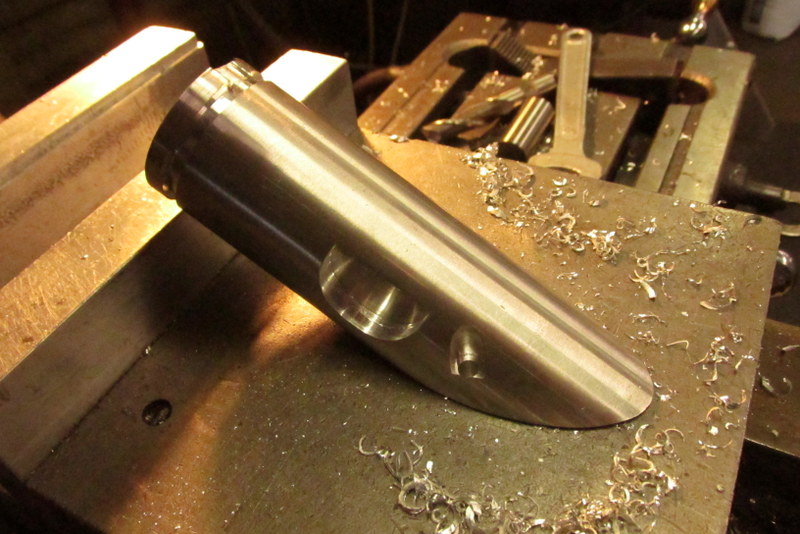
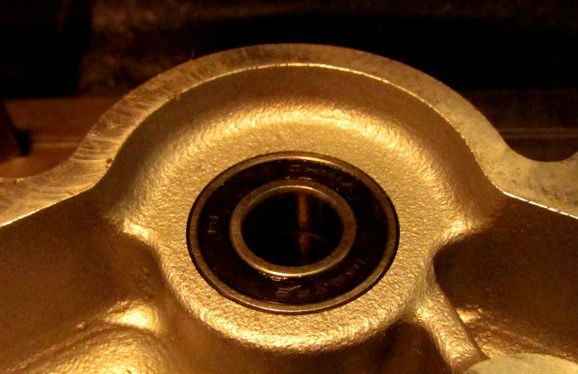
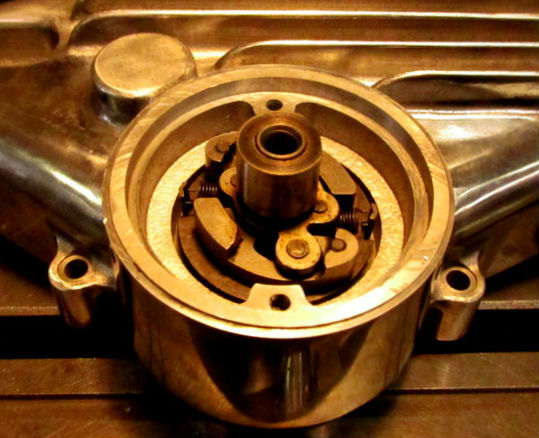
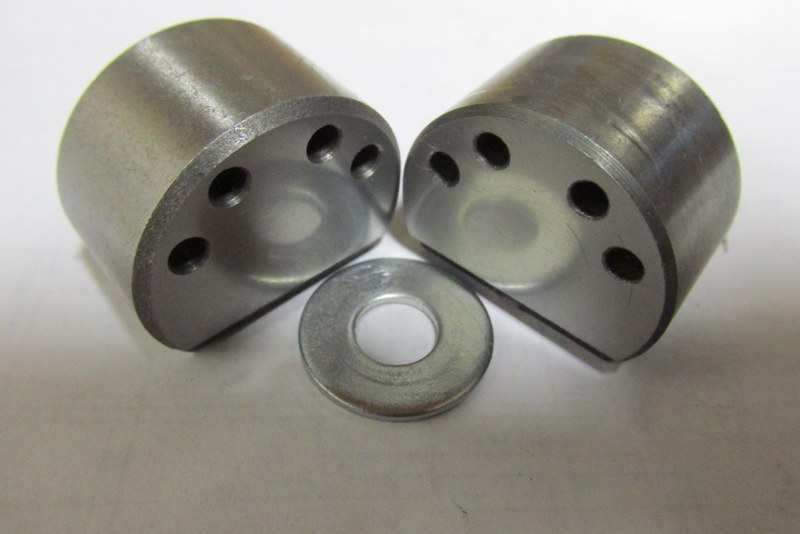
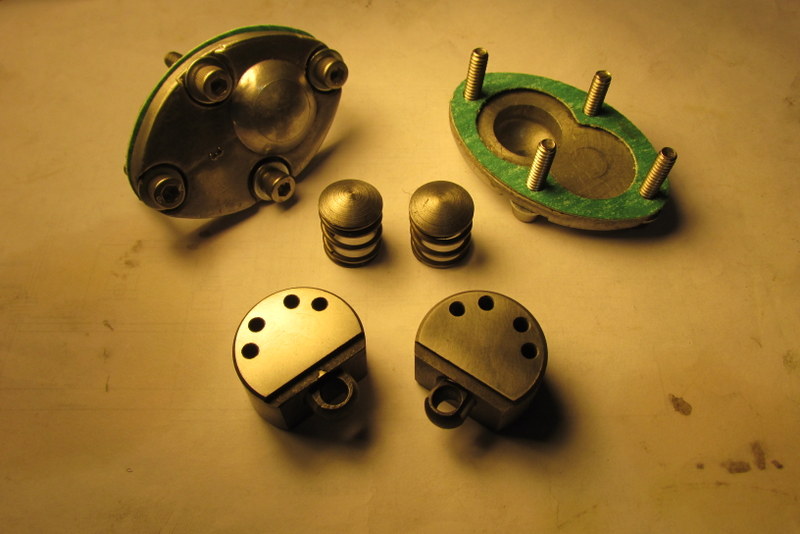
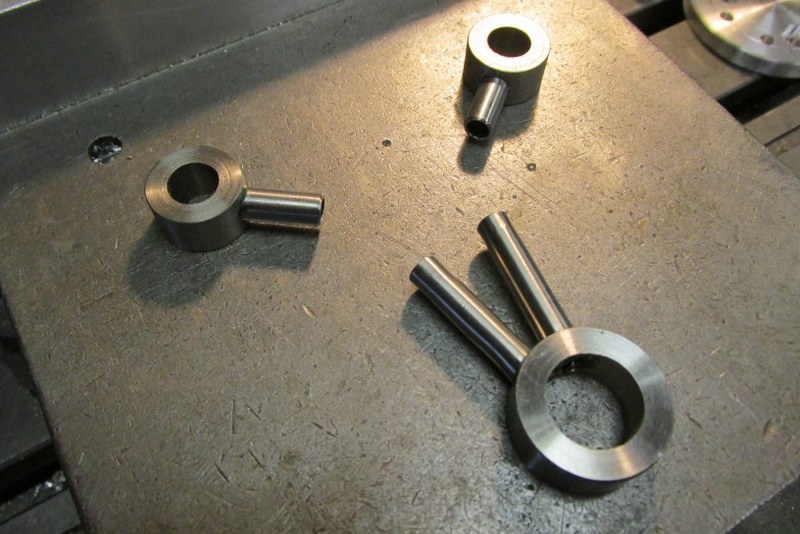
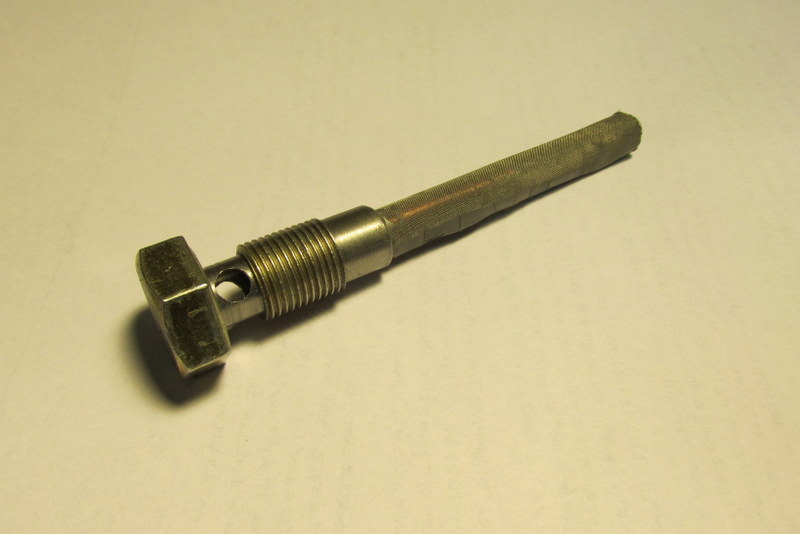
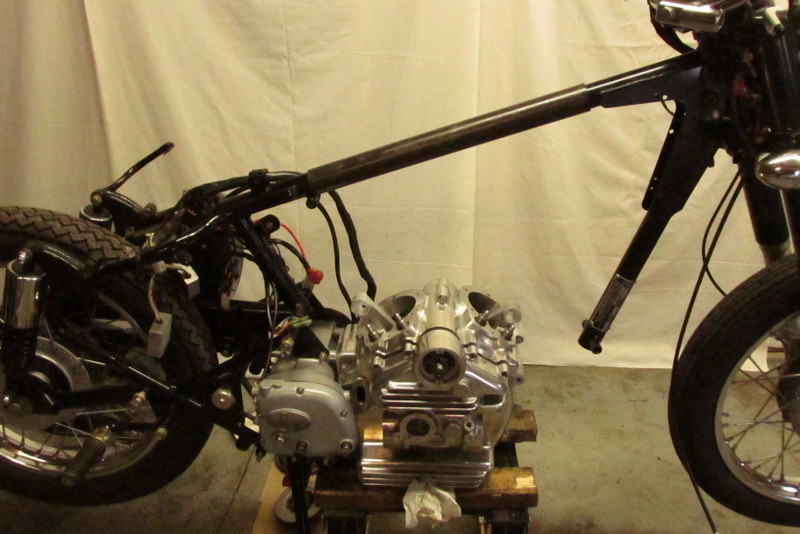
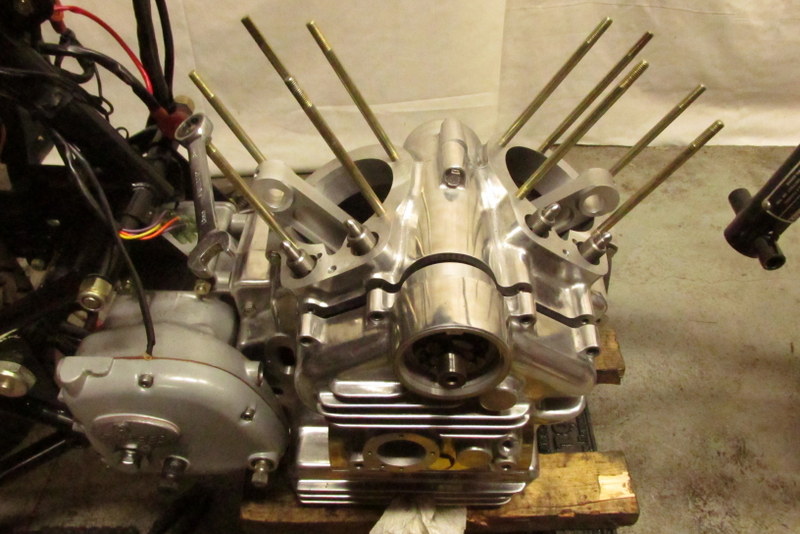
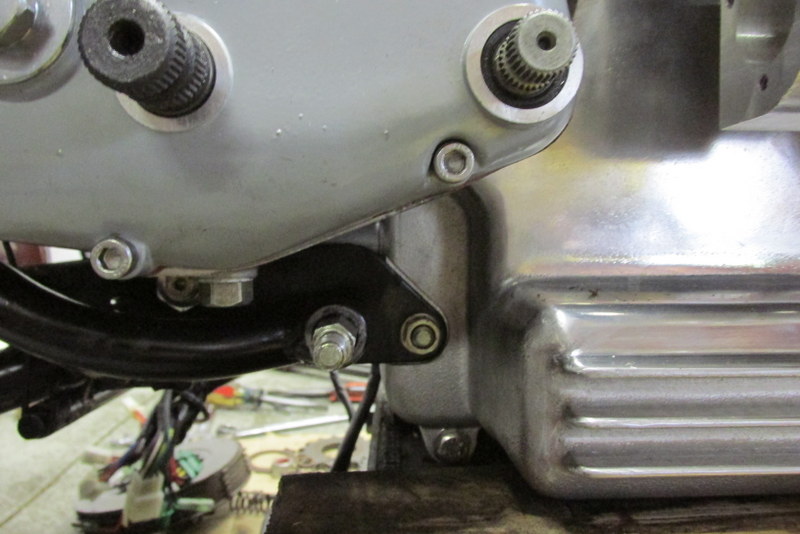
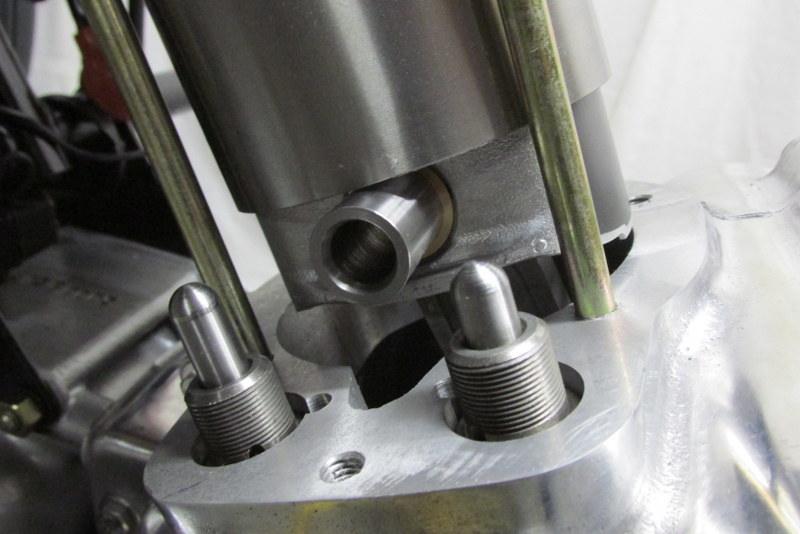
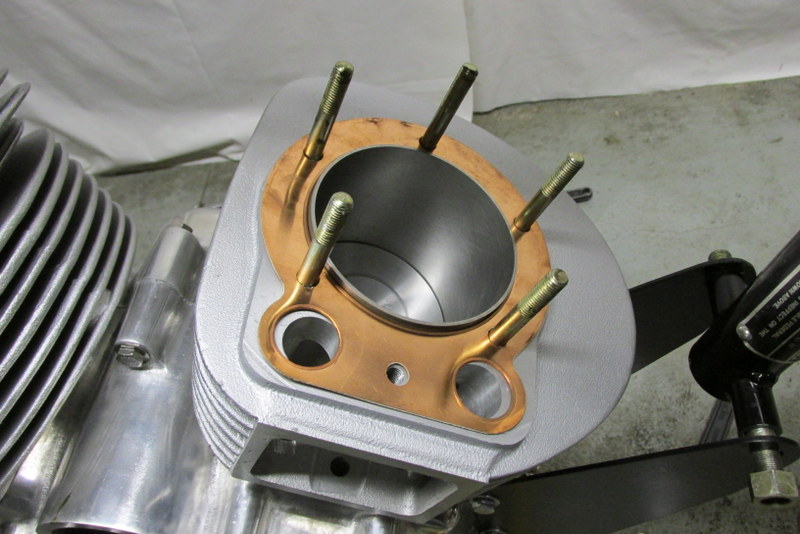
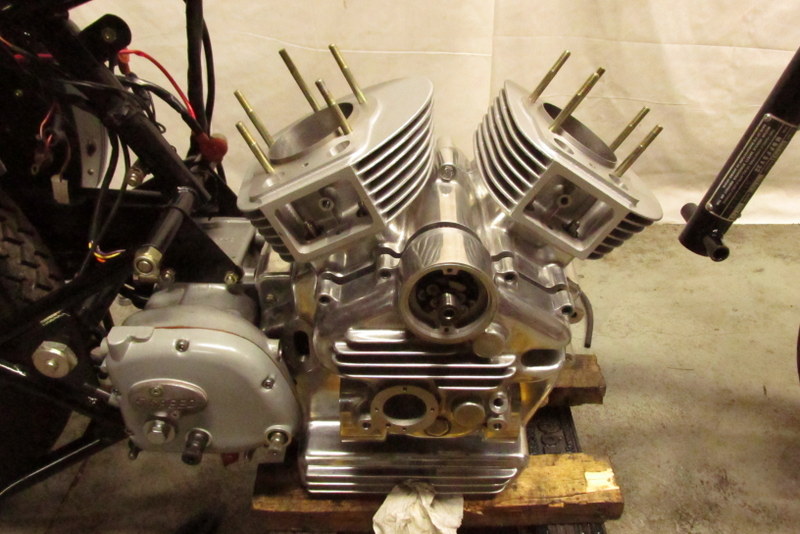
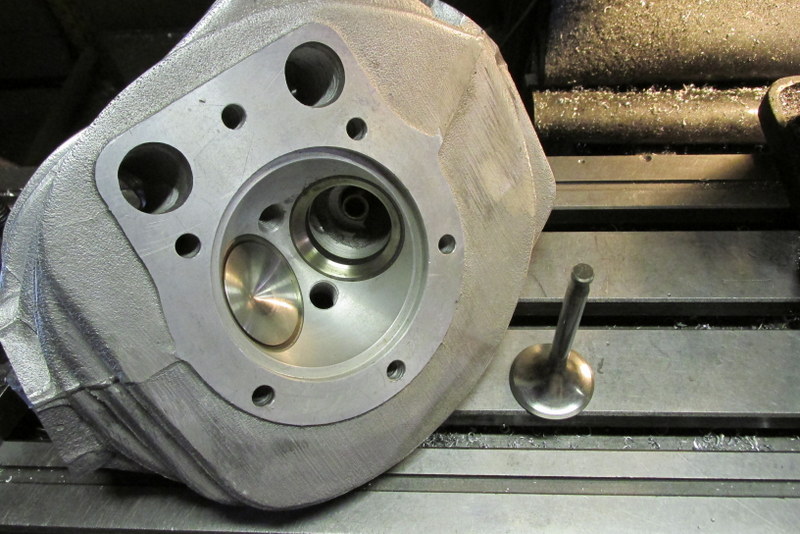
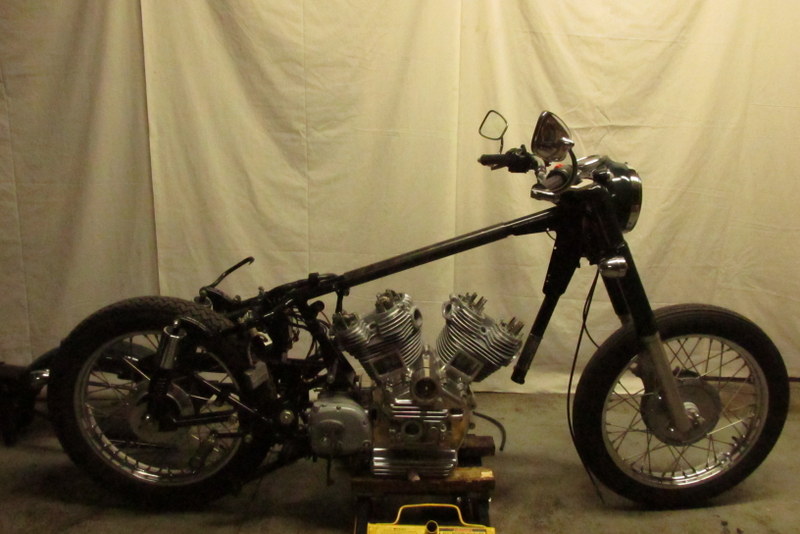
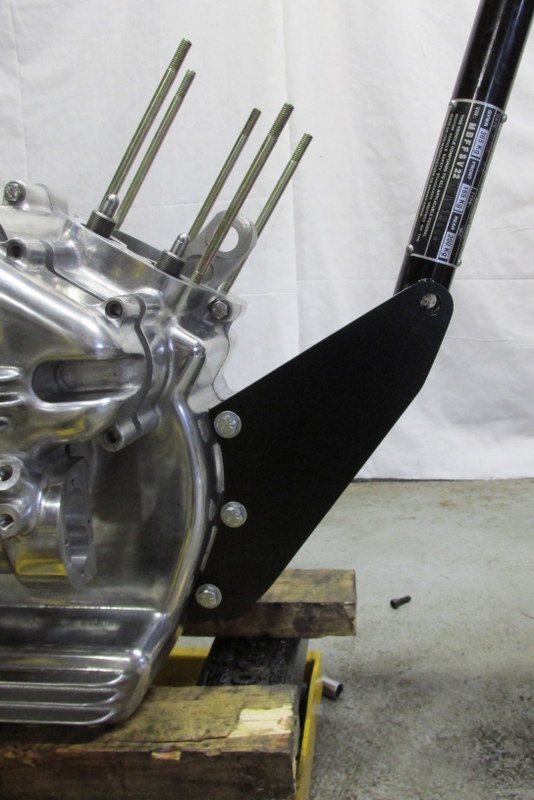
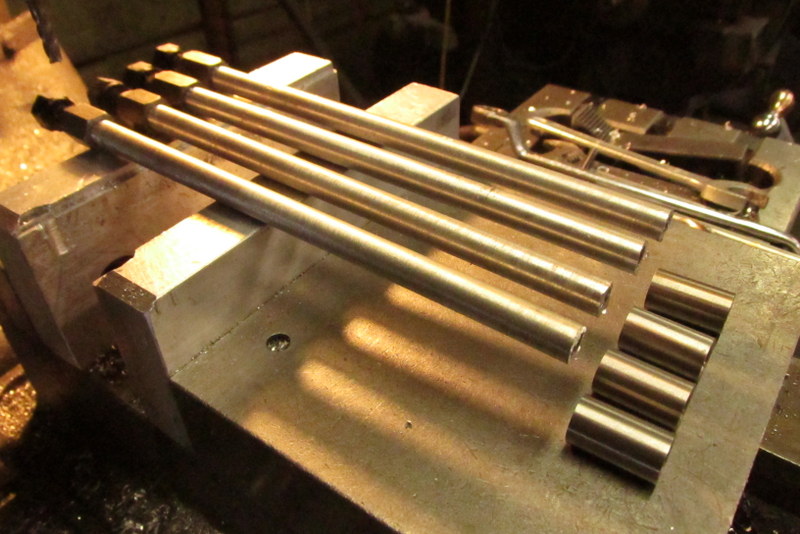
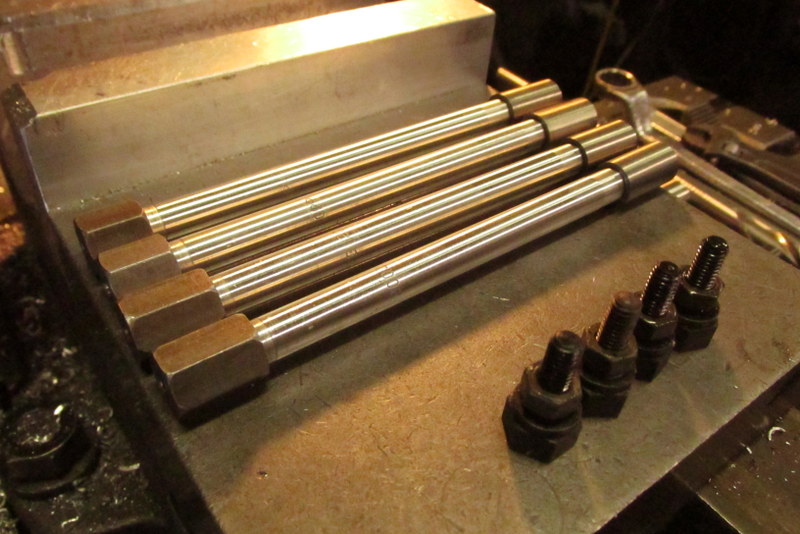
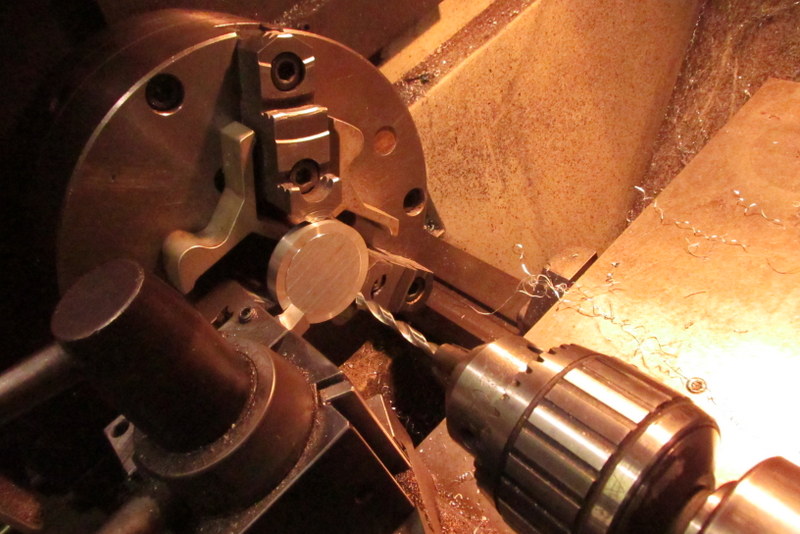
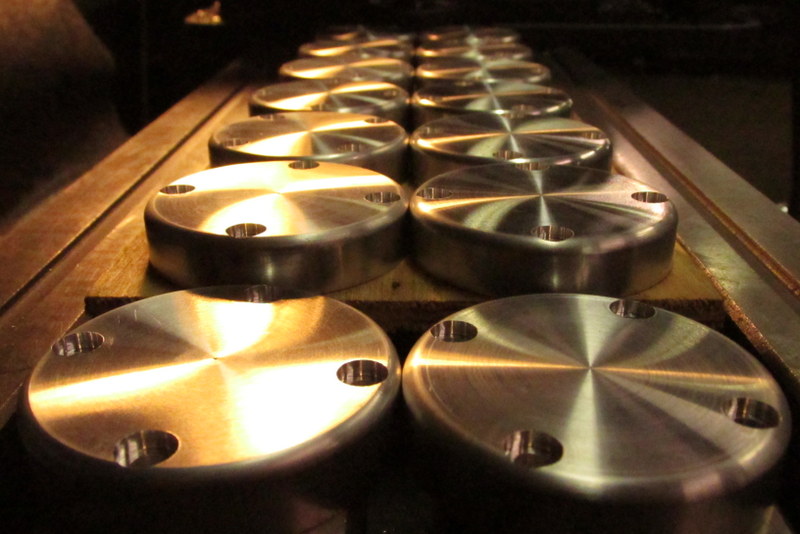
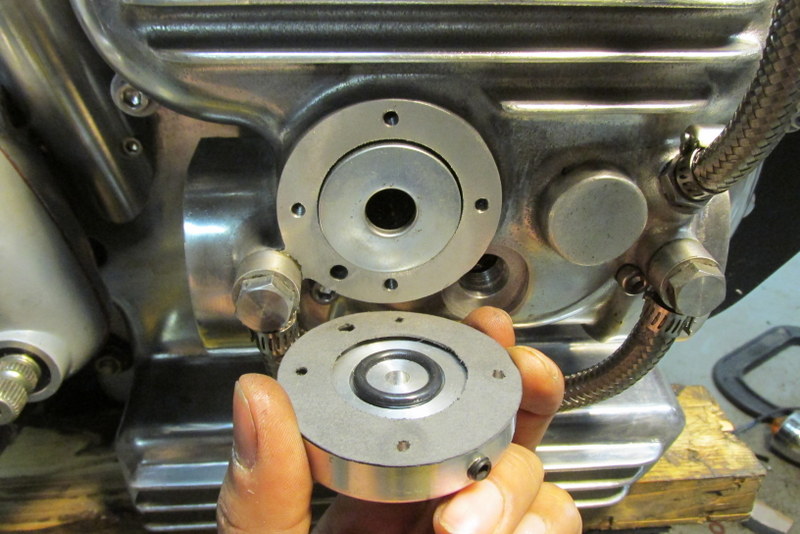
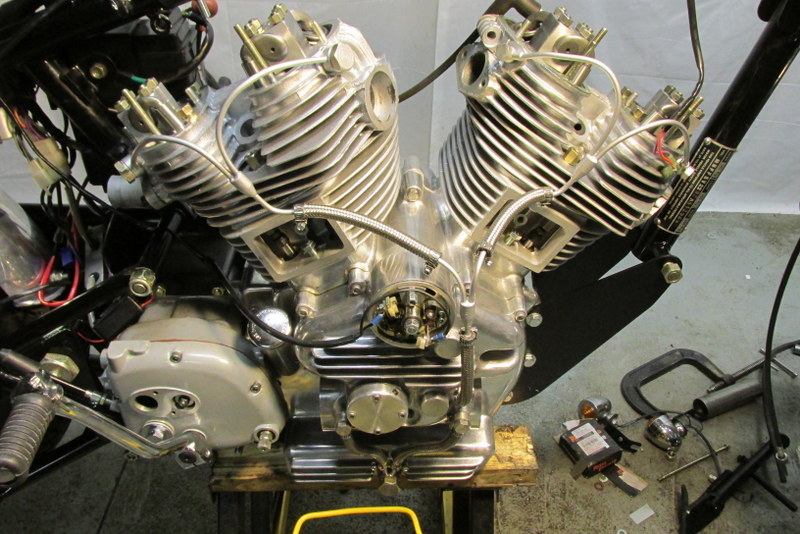
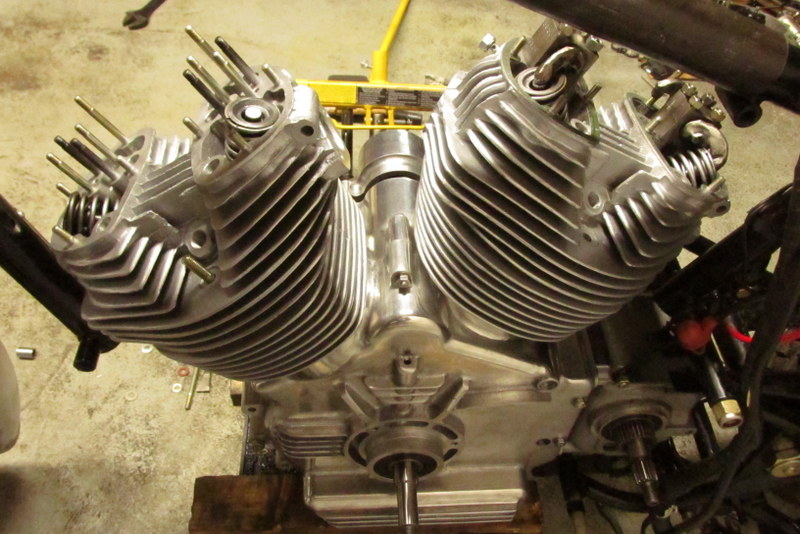
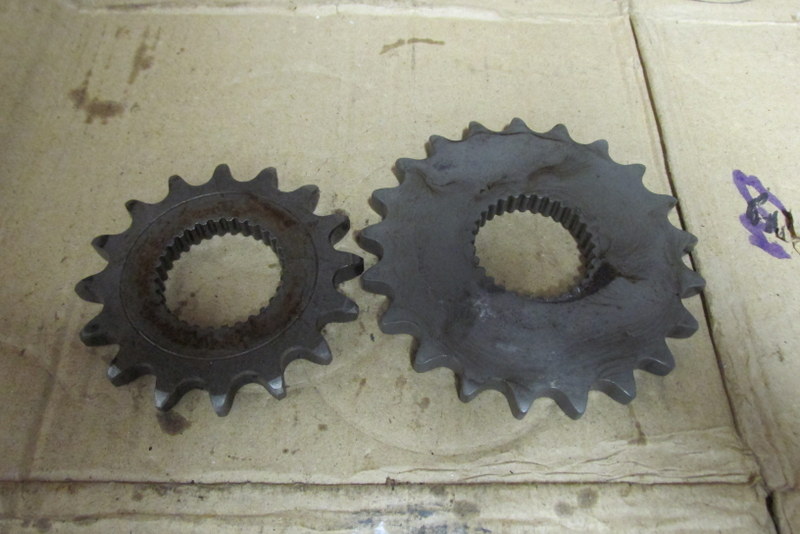
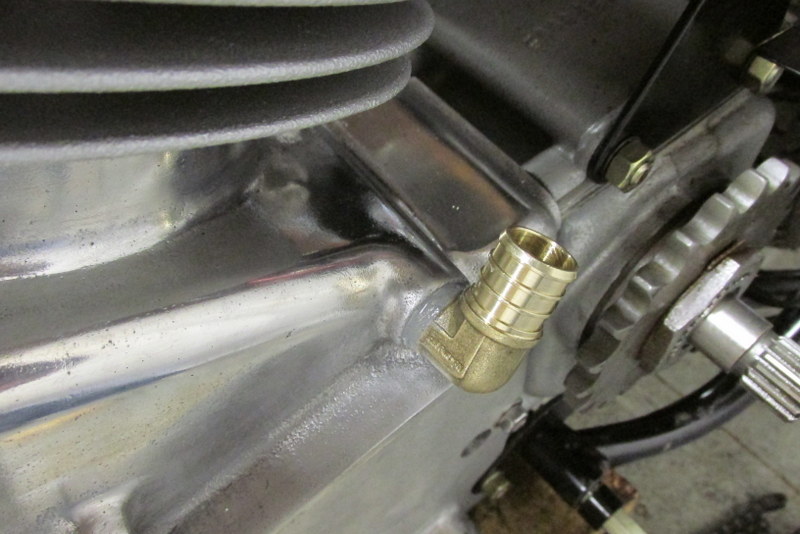
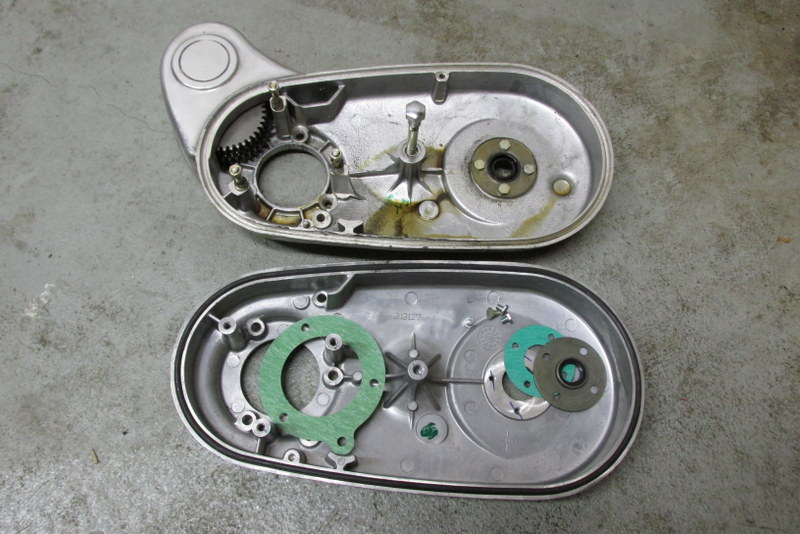
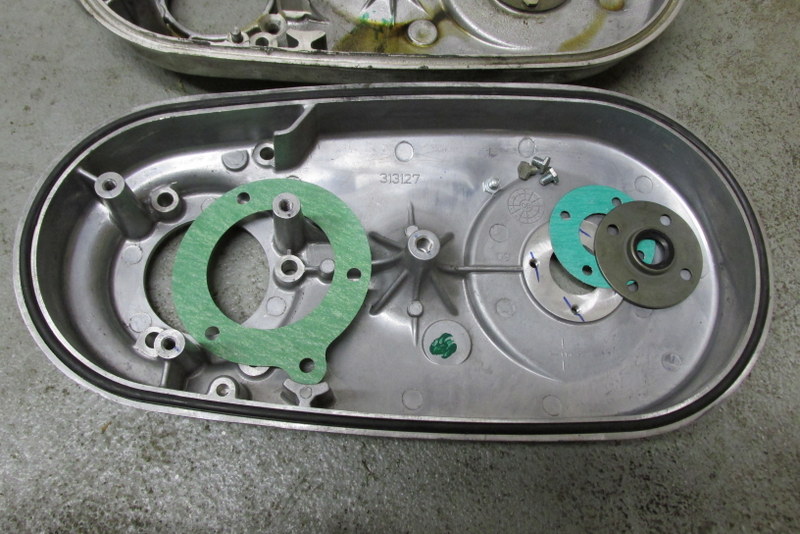
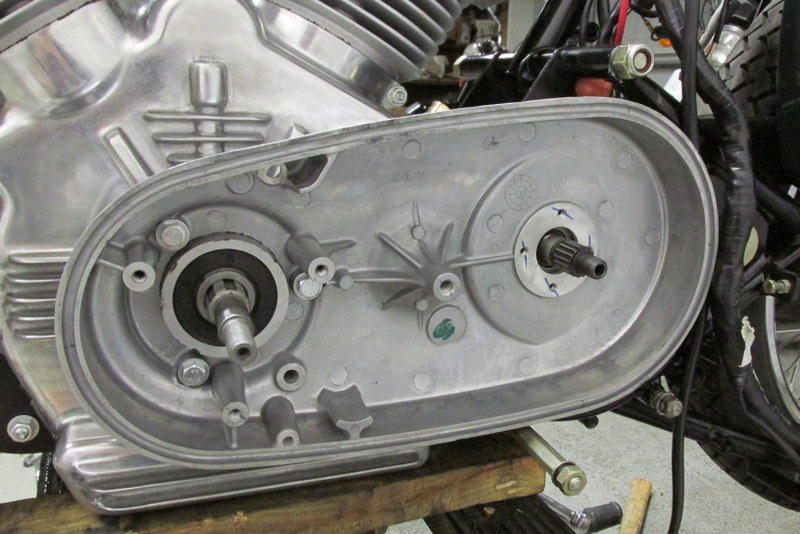
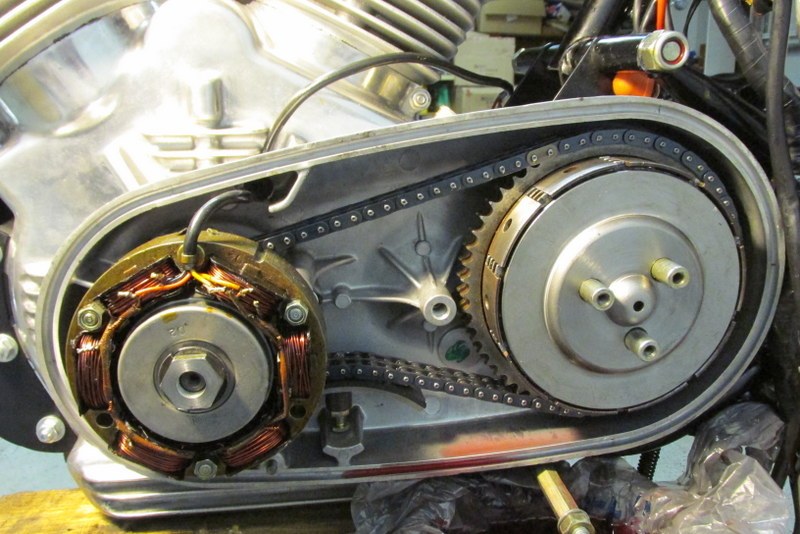
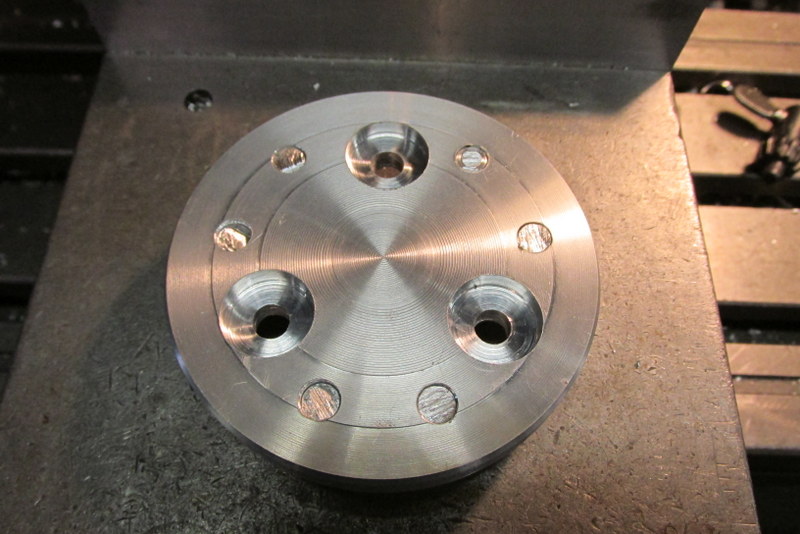
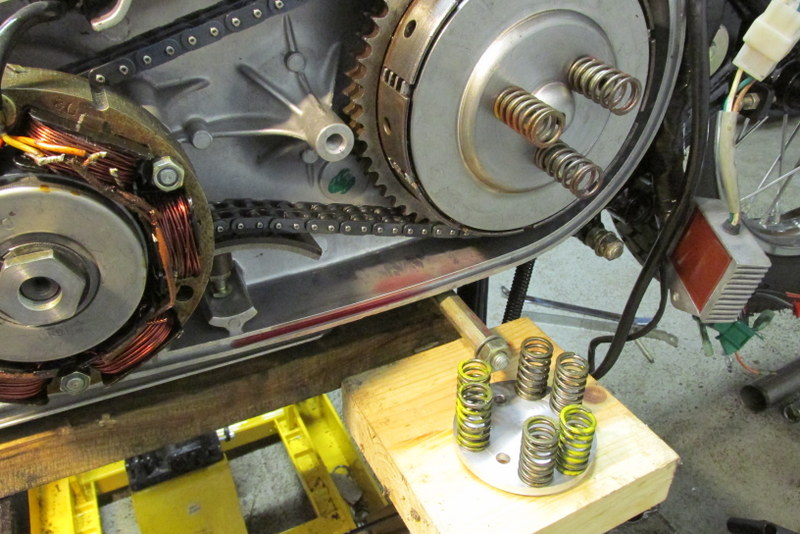
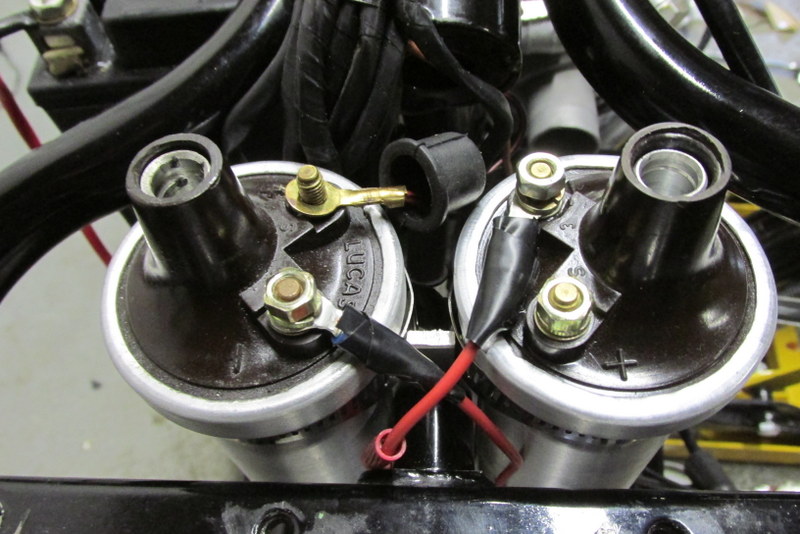
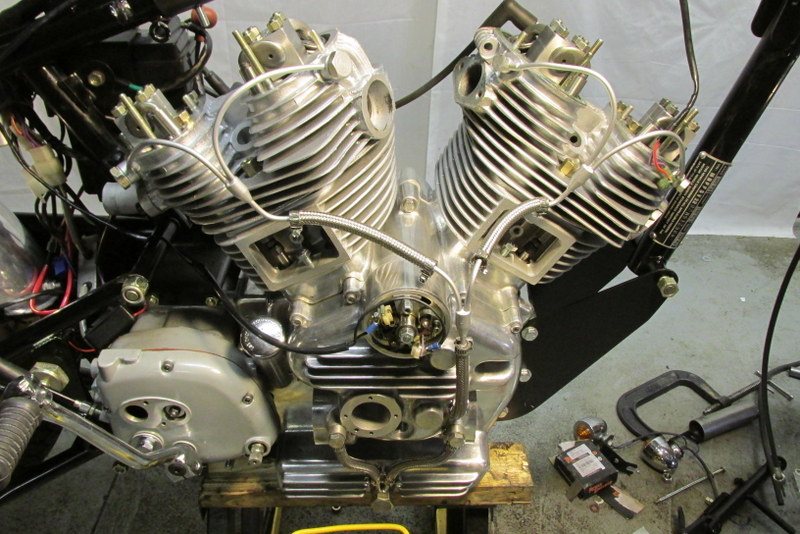
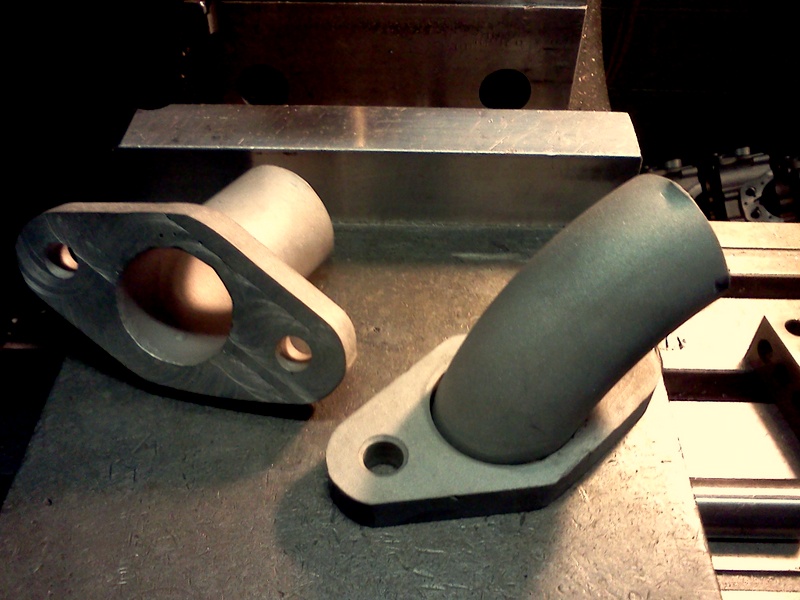
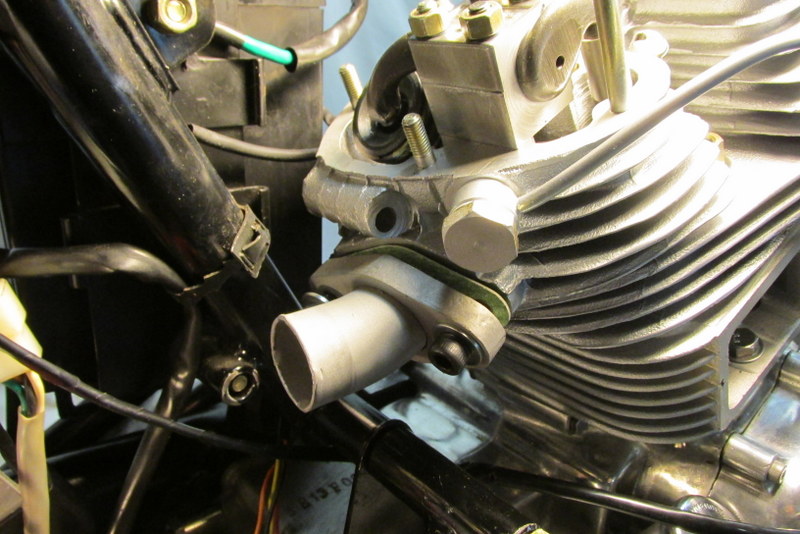
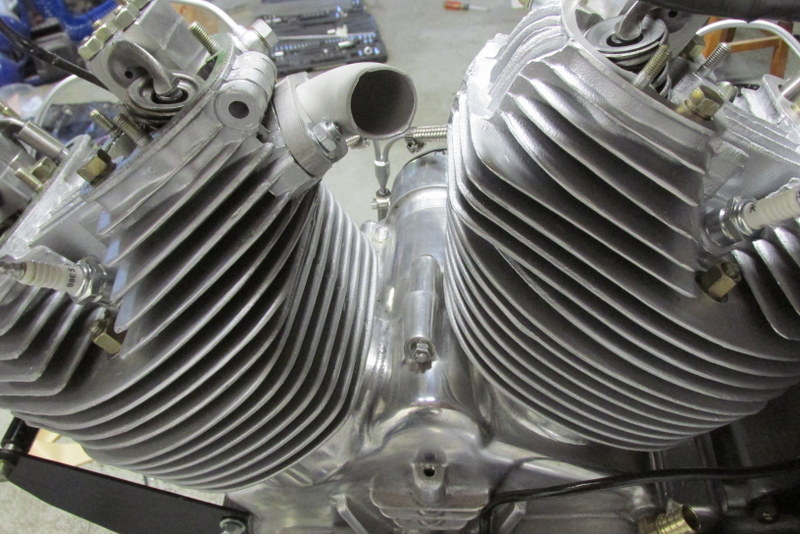
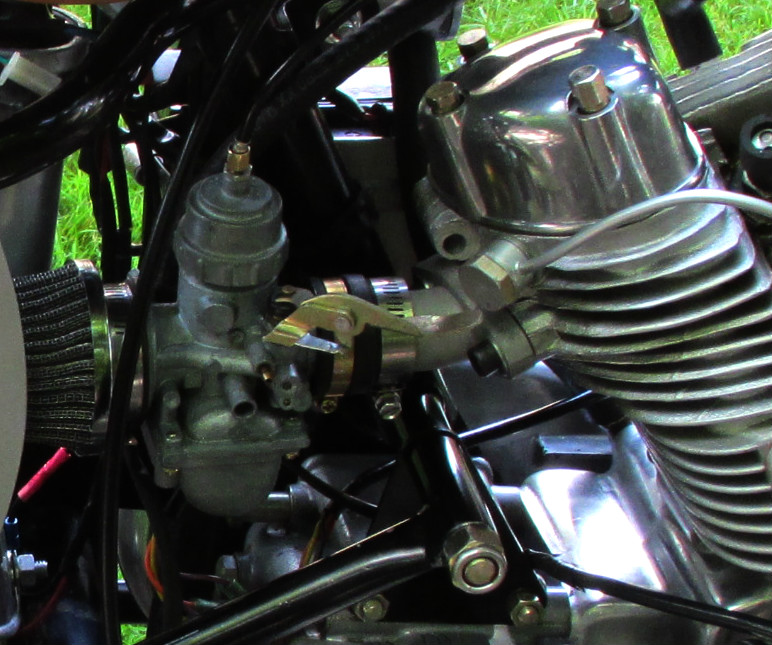
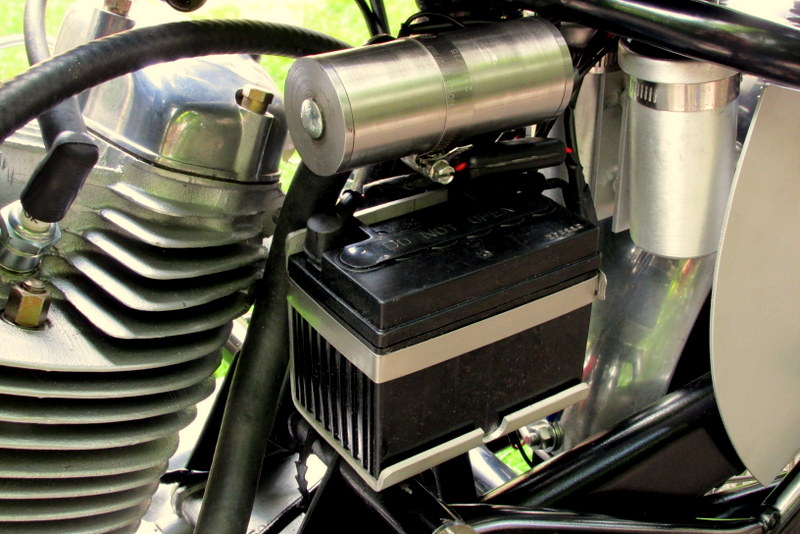
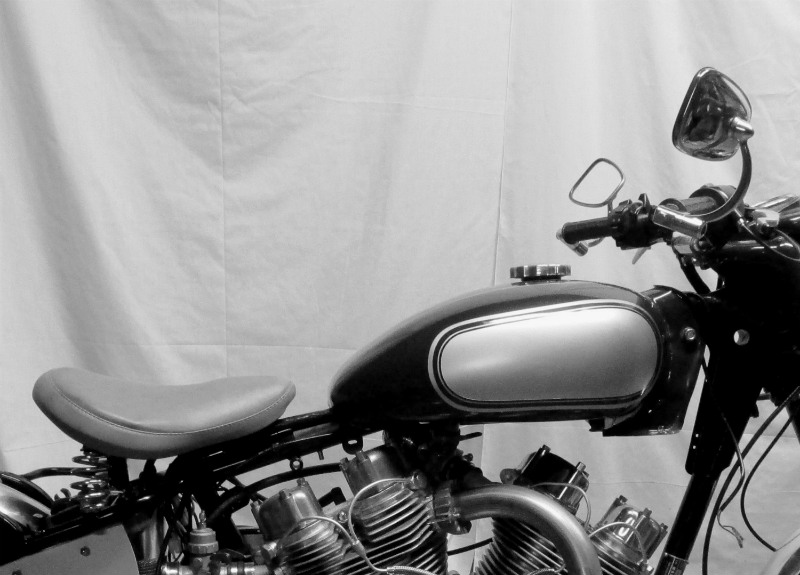
Beginning with a bone-stock 500 Bullet, here are most of the key stages in the build process. Images are from both 1120 and 998 machines. Roll over images for captions. Click on image for larger size.


RETURN TO ORDER
