
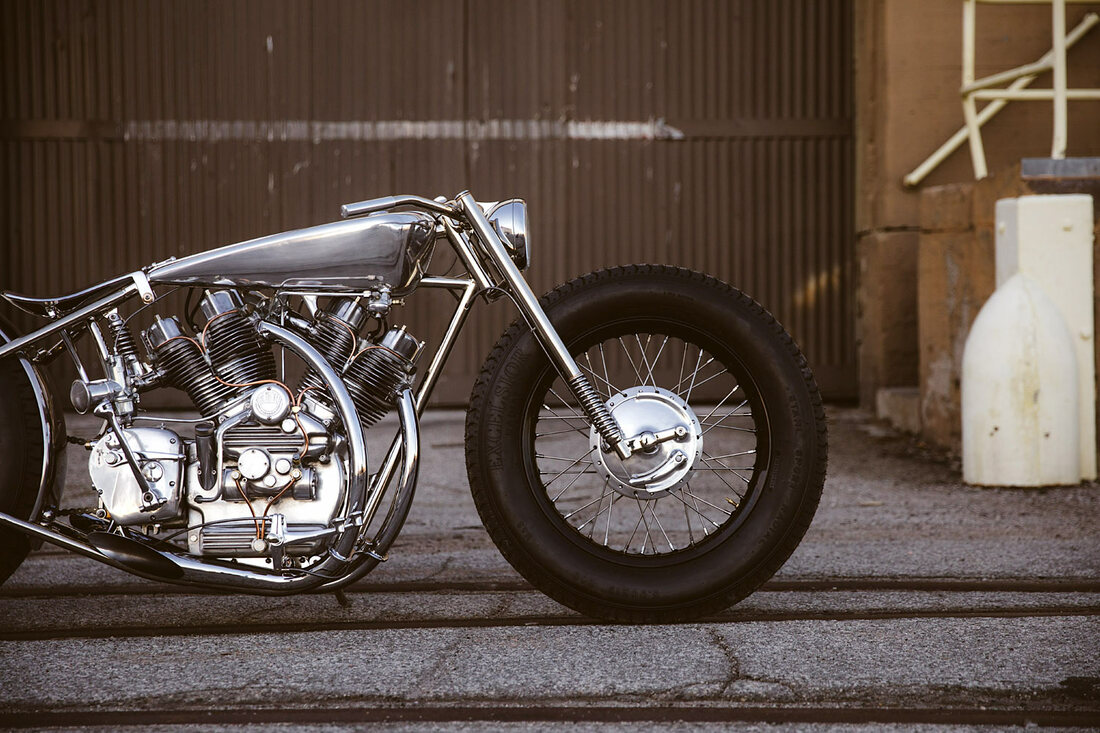
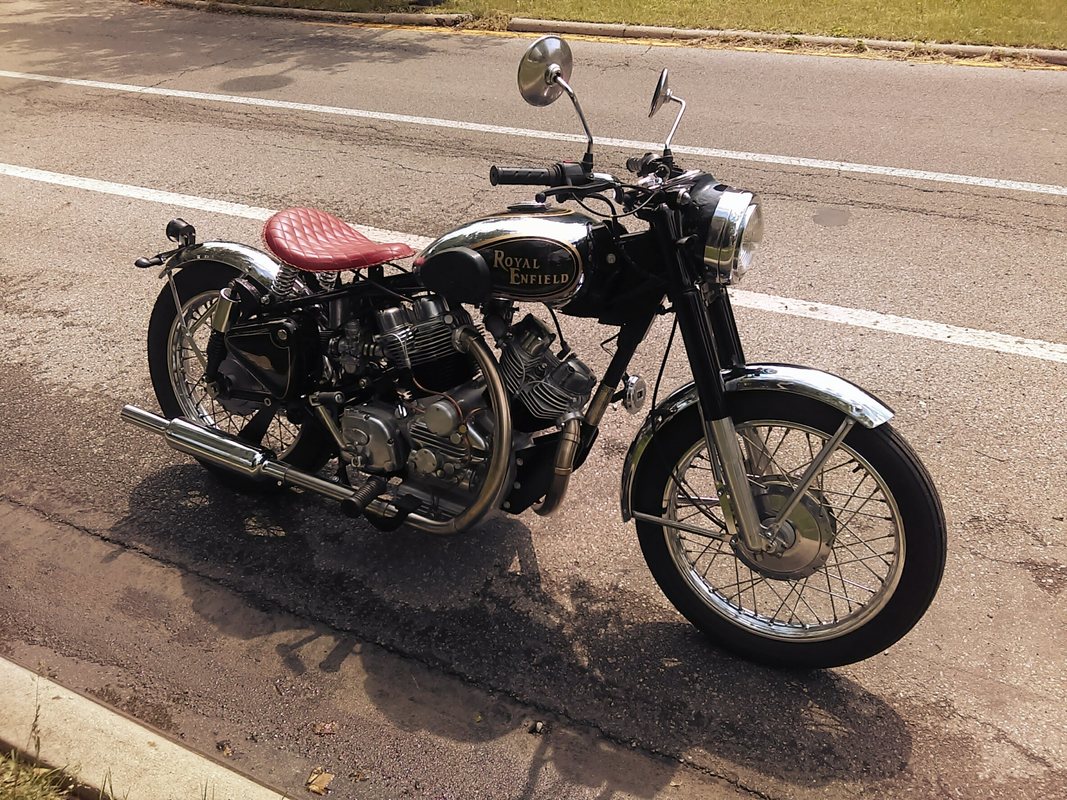
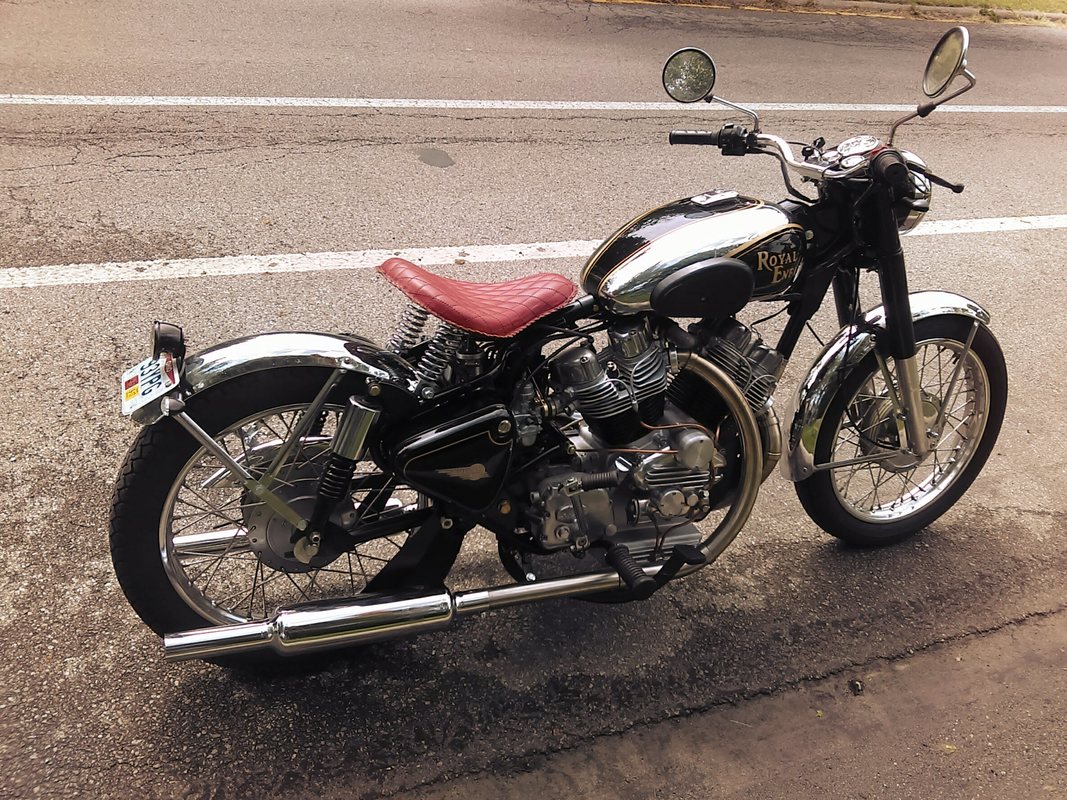
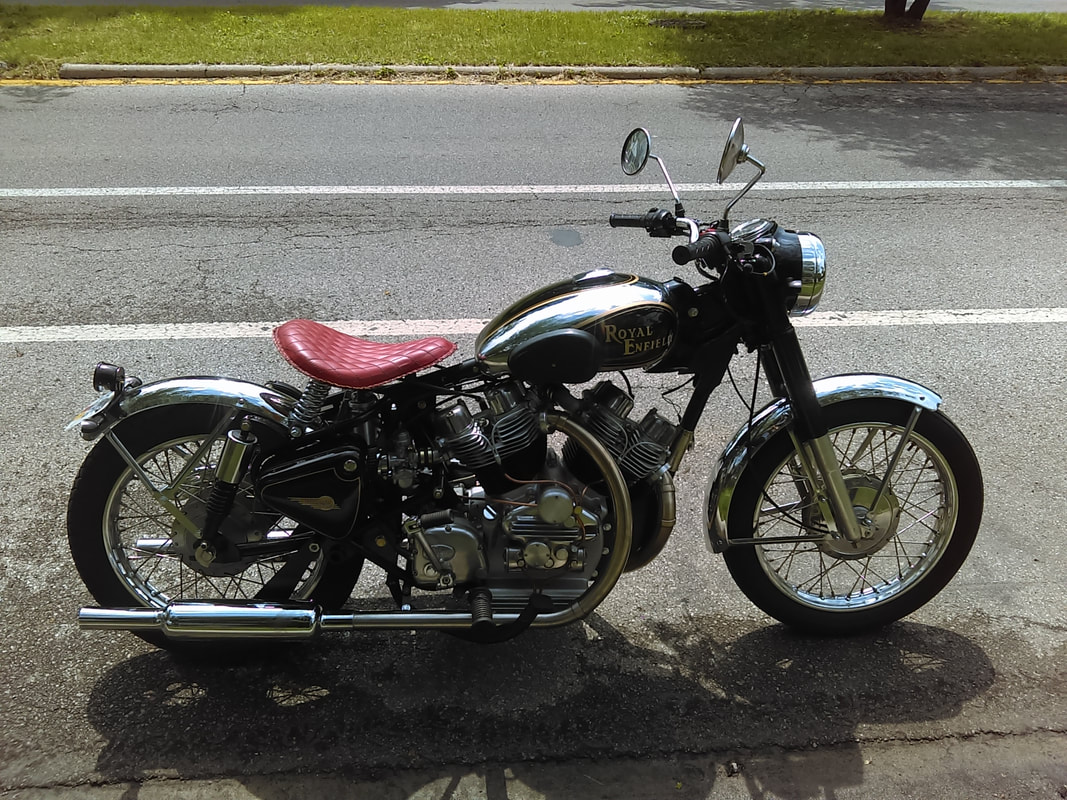
Once in a lifetime, a maker of motos just might be fortunate enough to find a patron who is appreciative, patient and supportive enough to order not one but two of the darned things at the same time...and wait a good long while for them...while based in another continent.
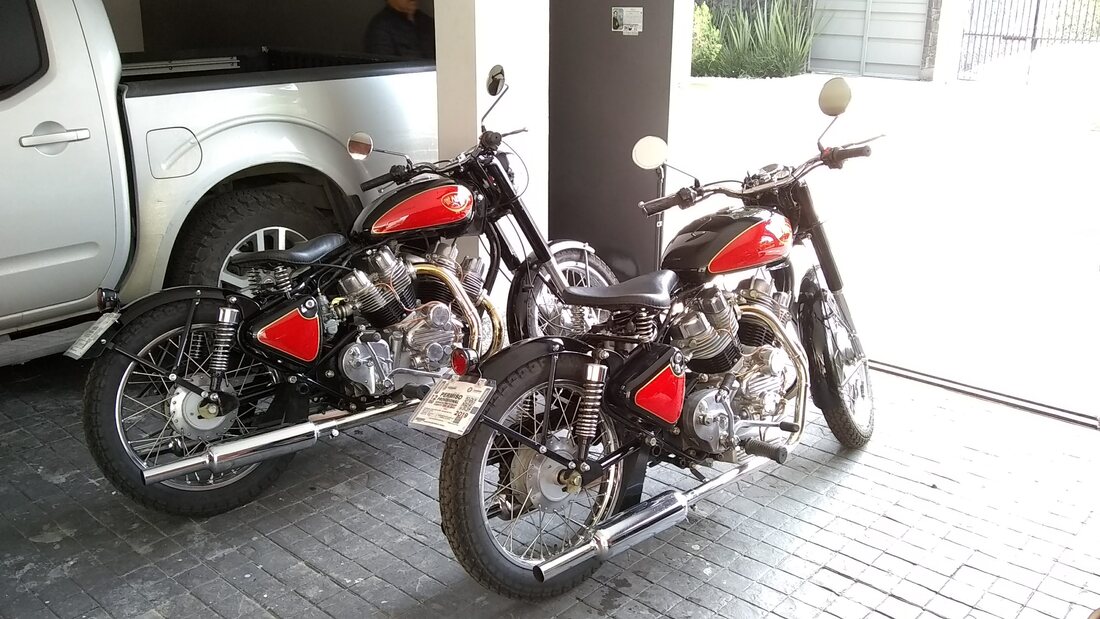
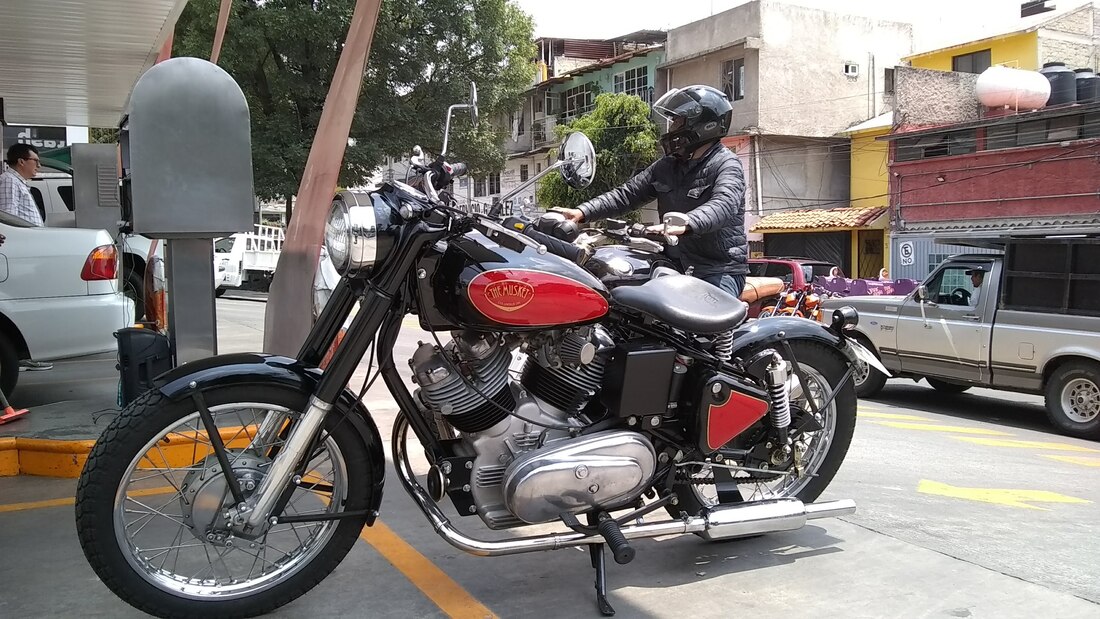
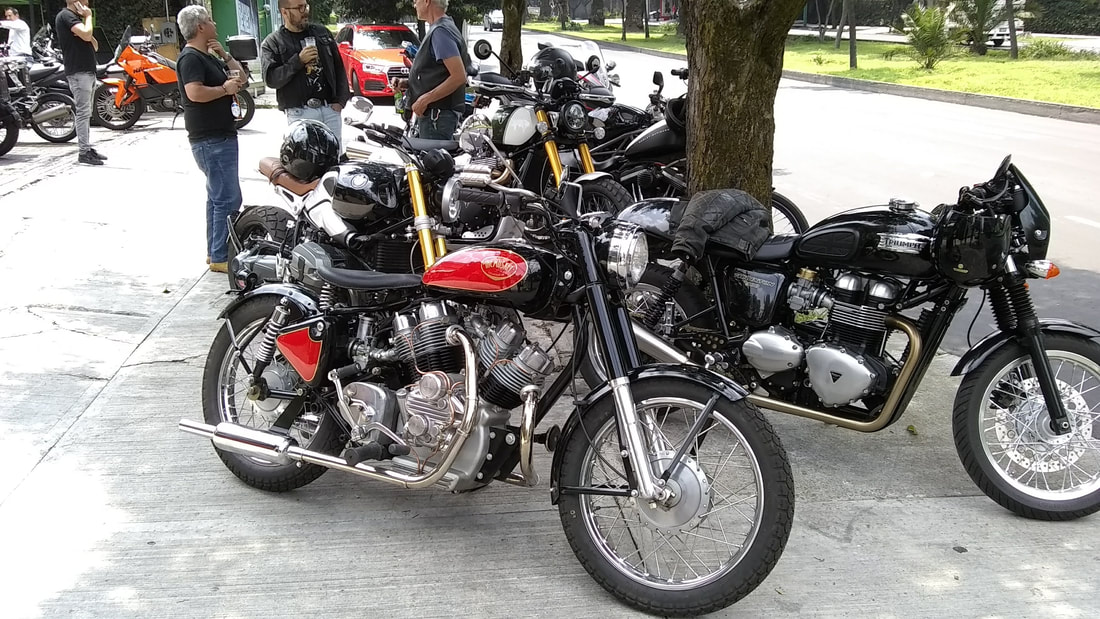
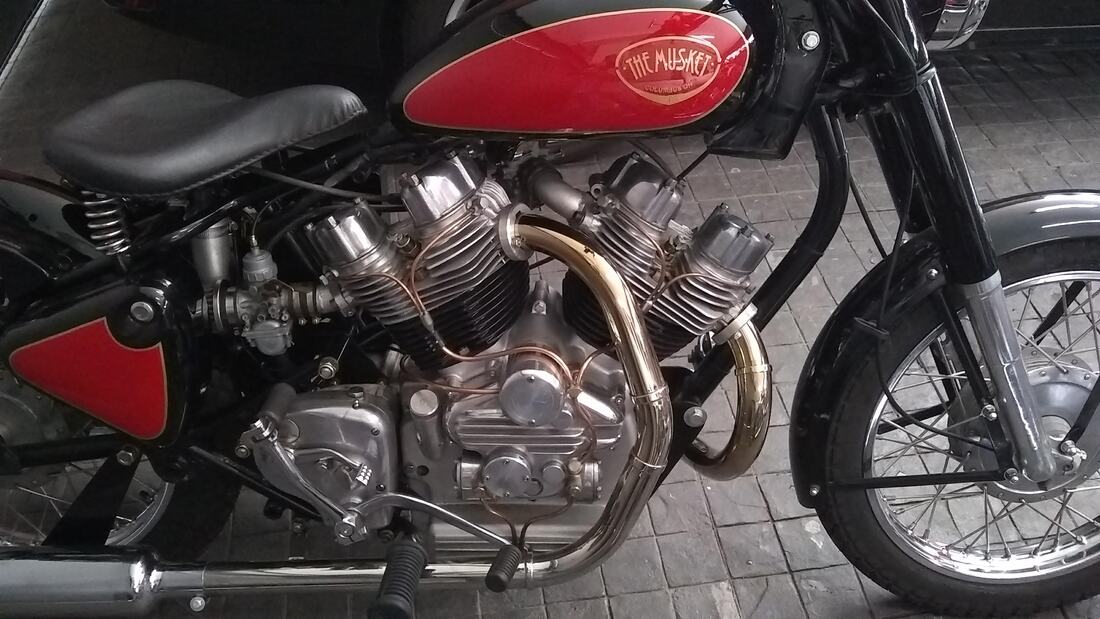
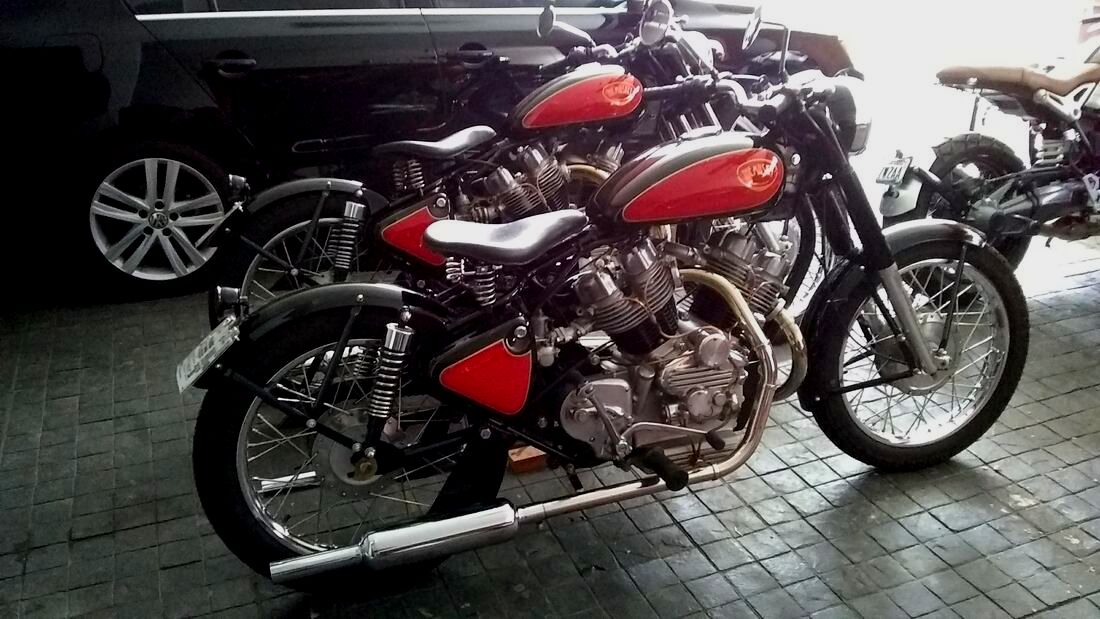
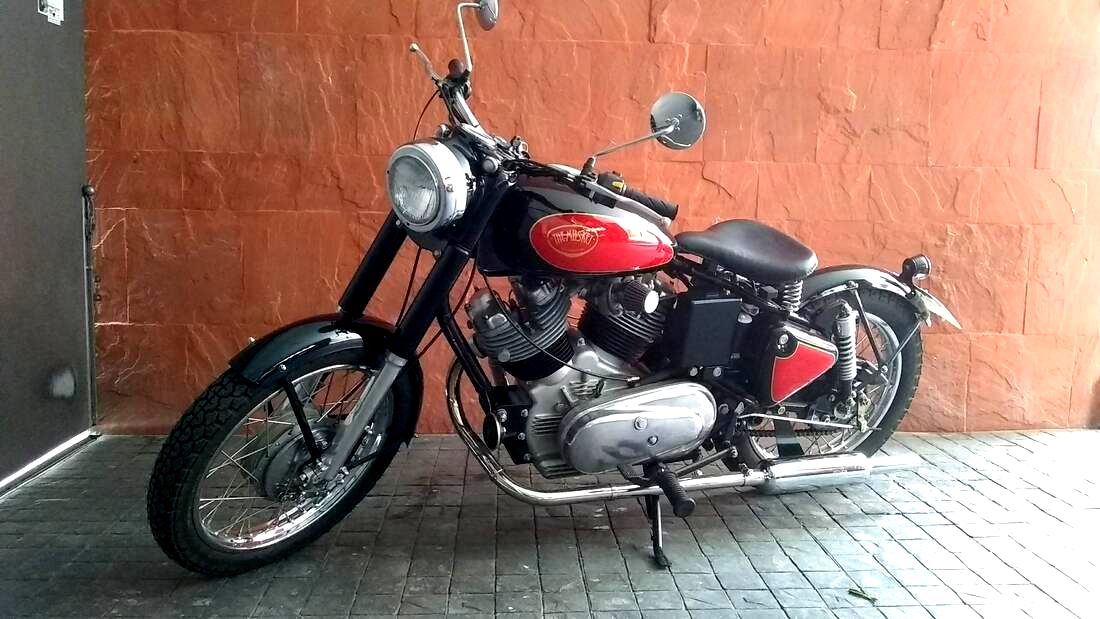
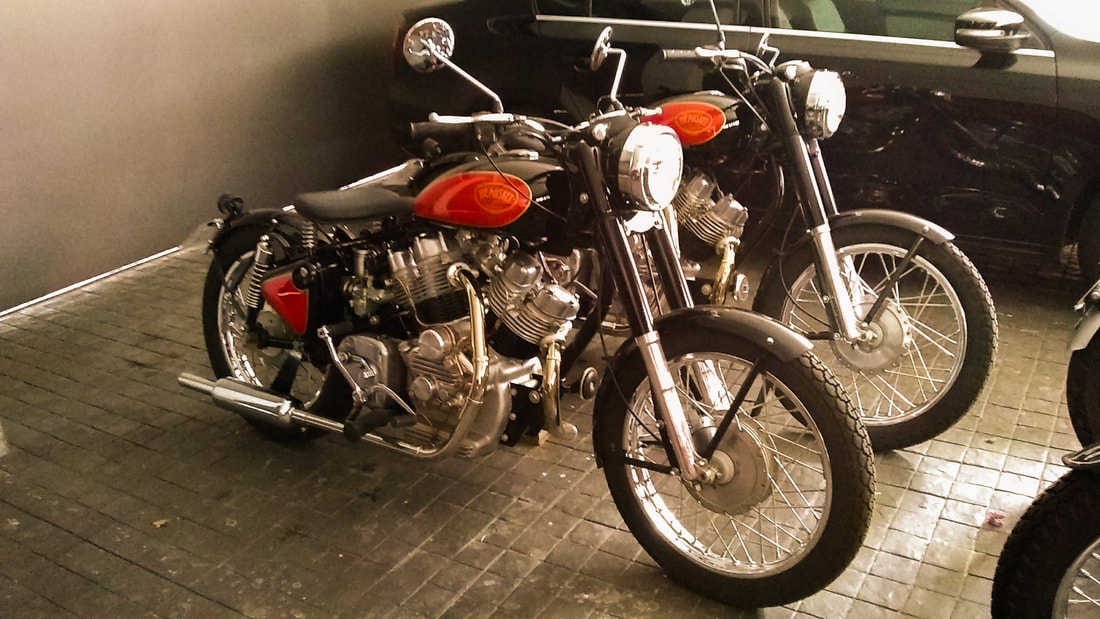
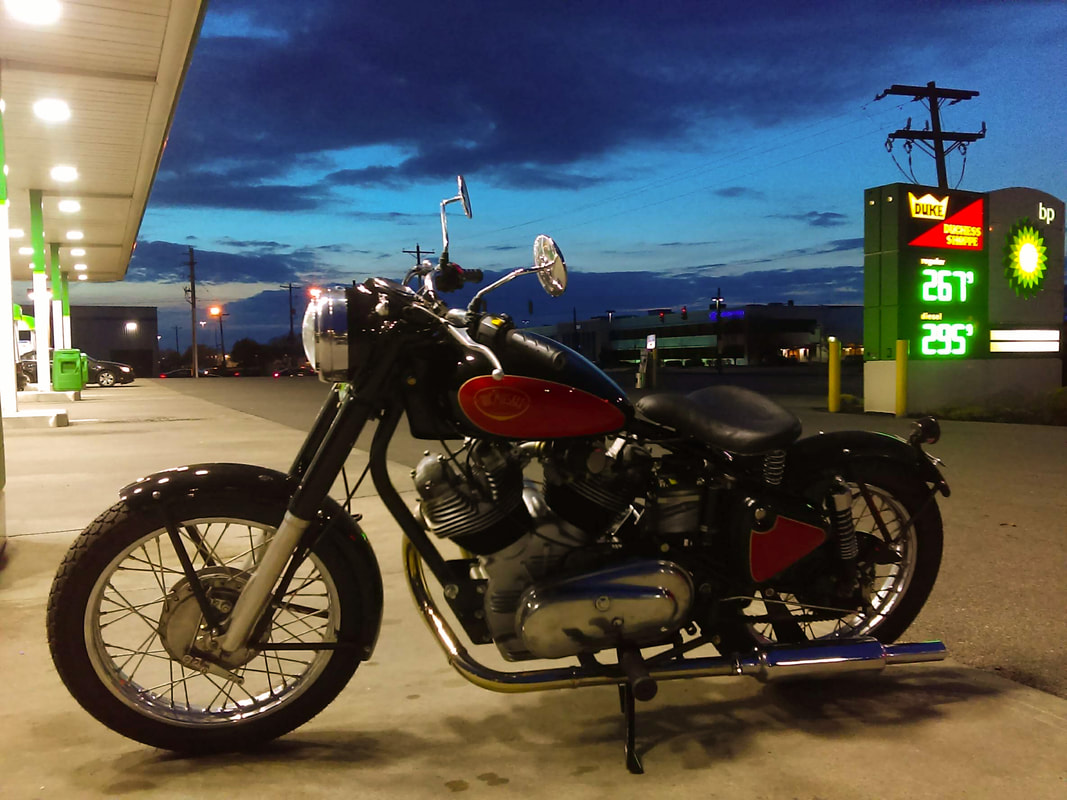
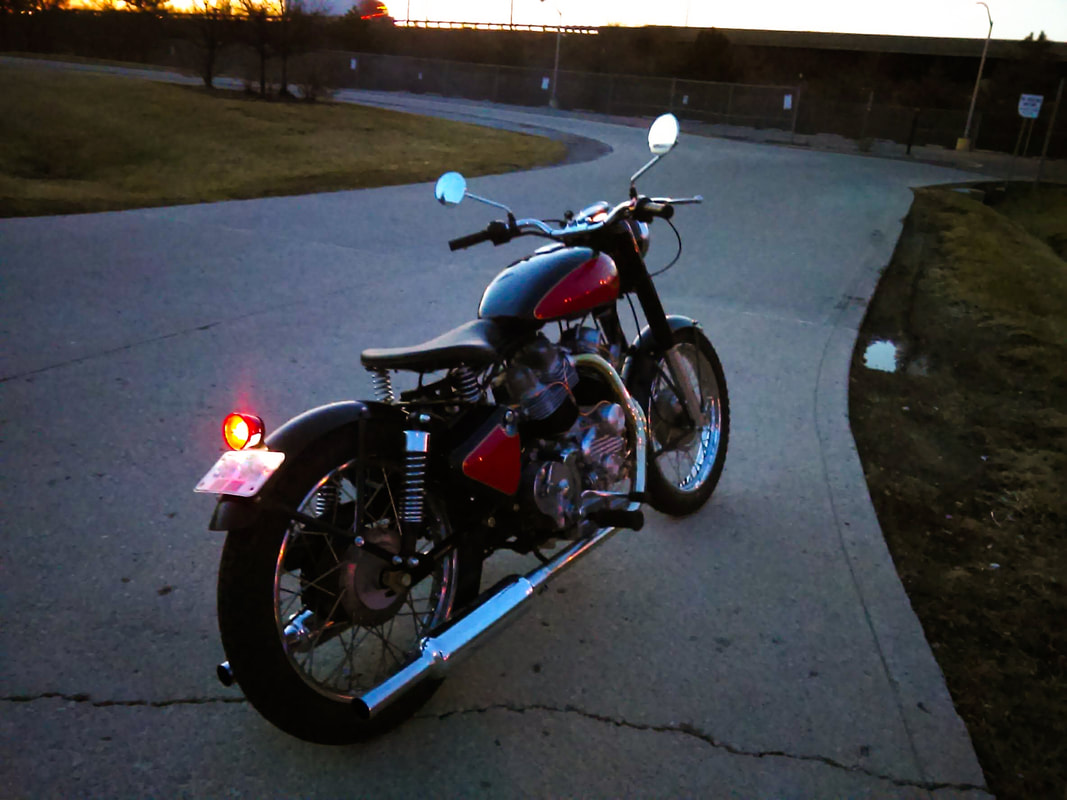
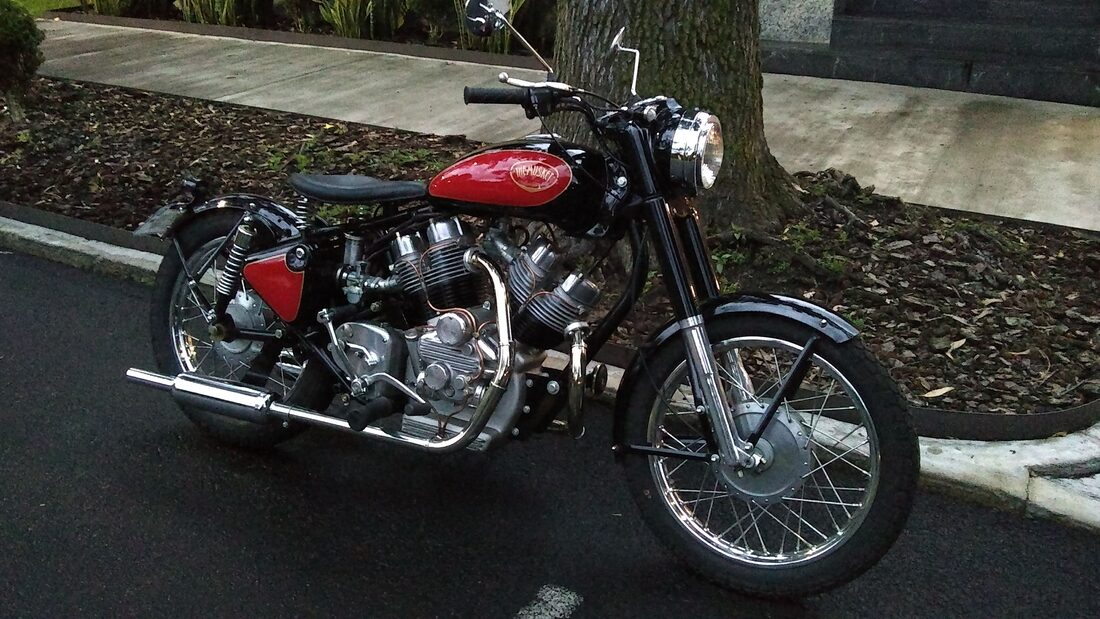
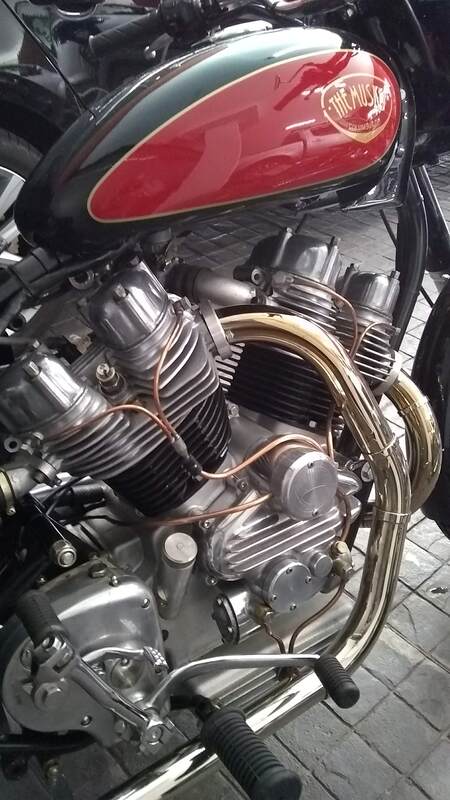
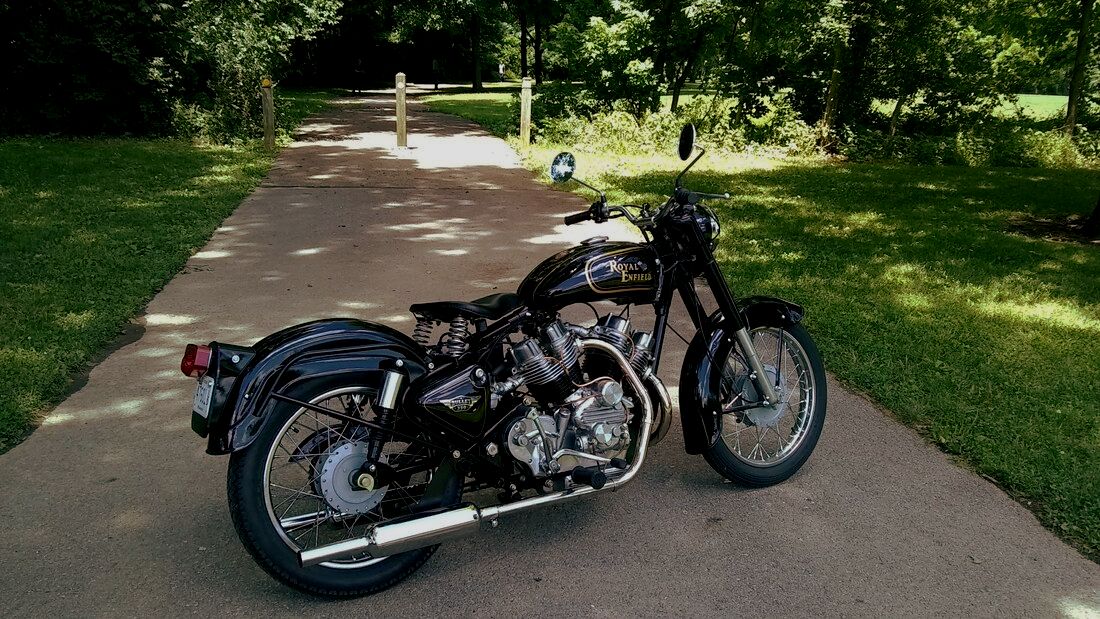
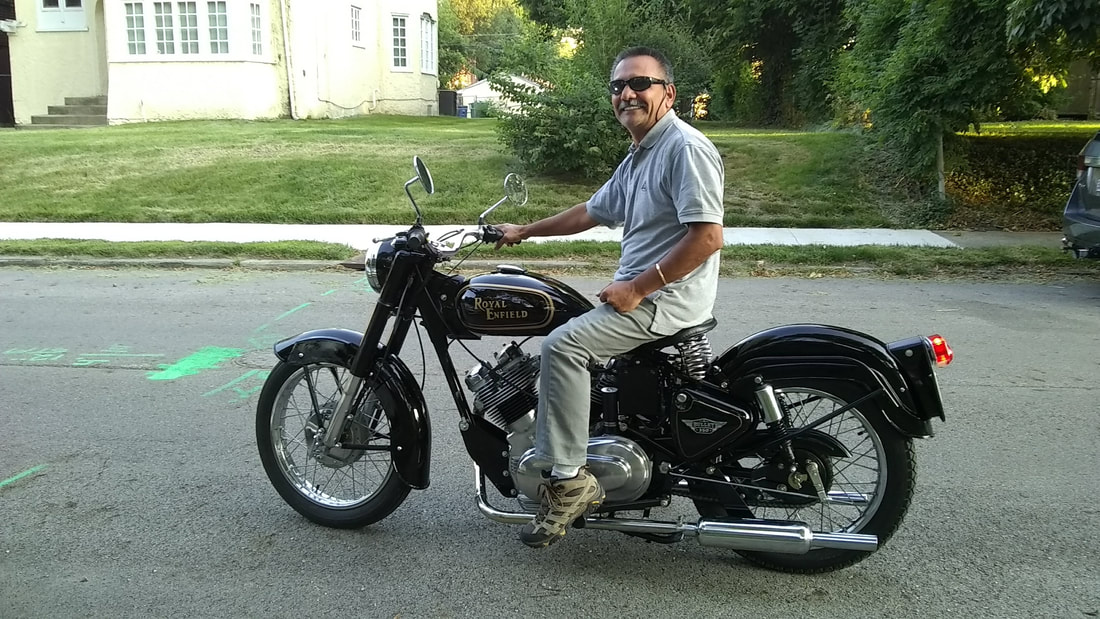
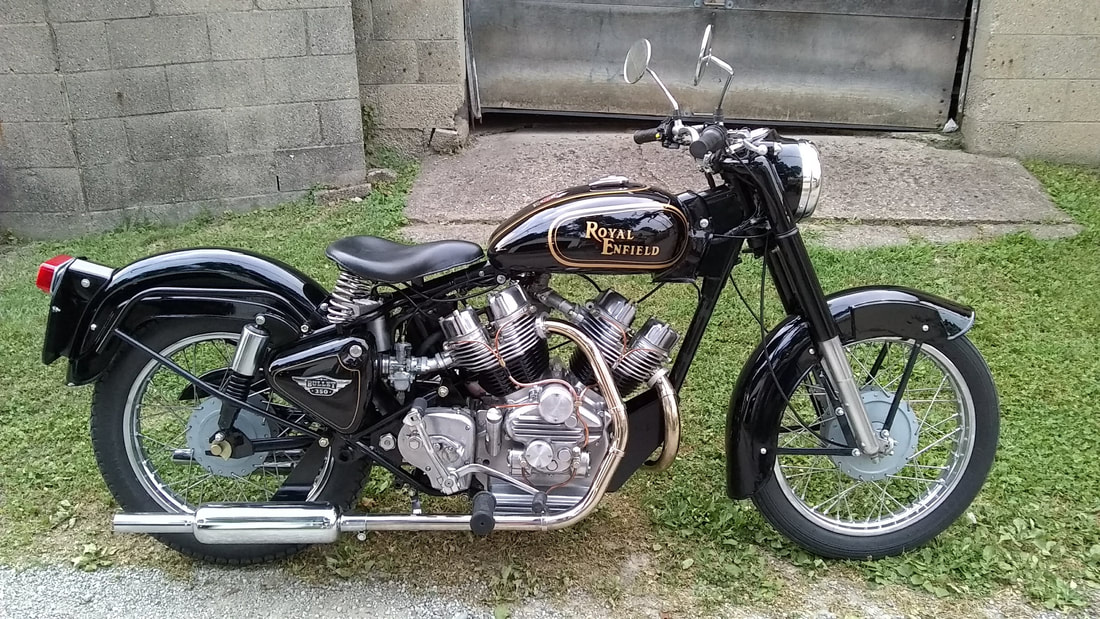
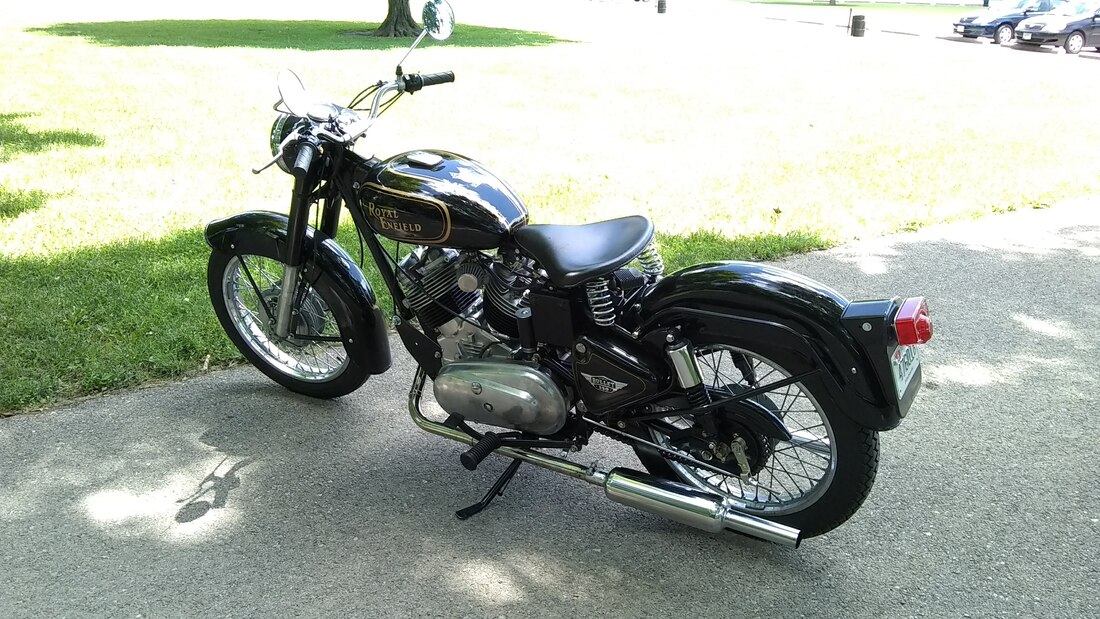
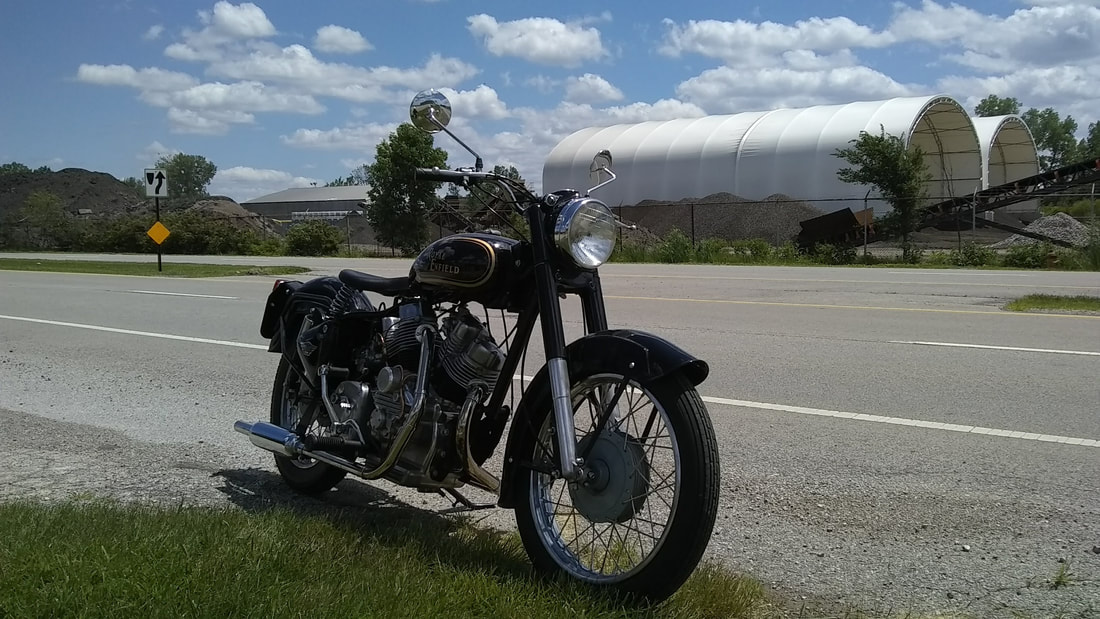
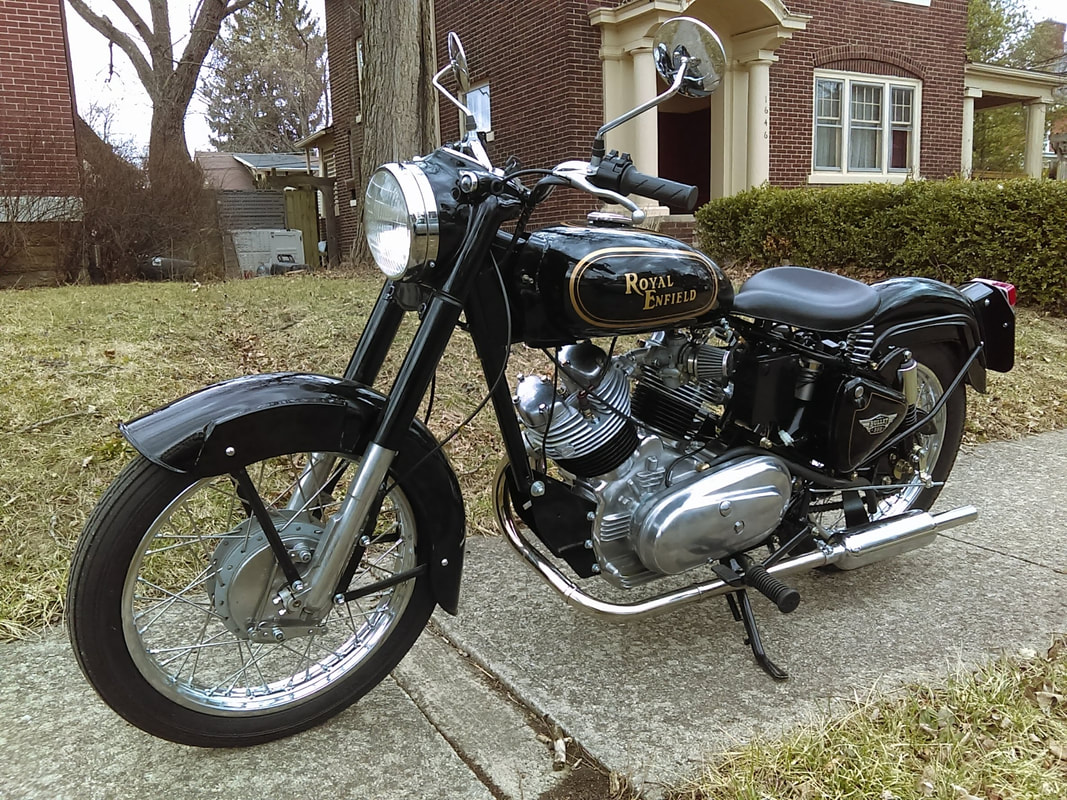
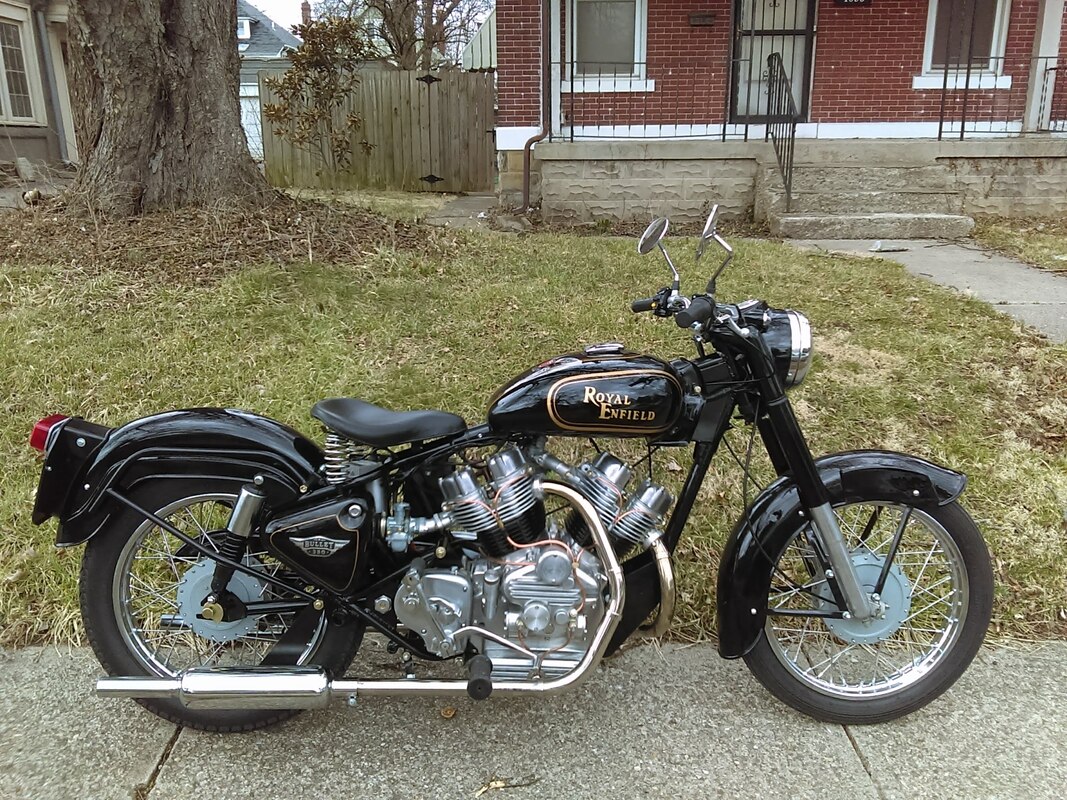
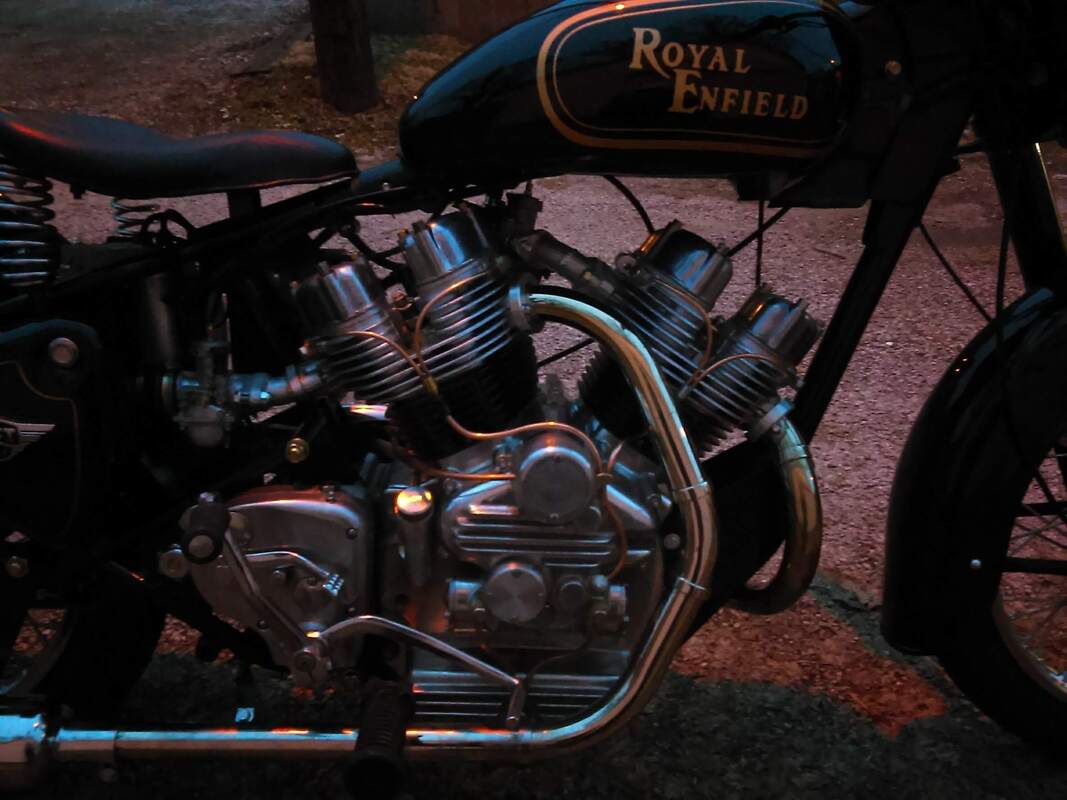
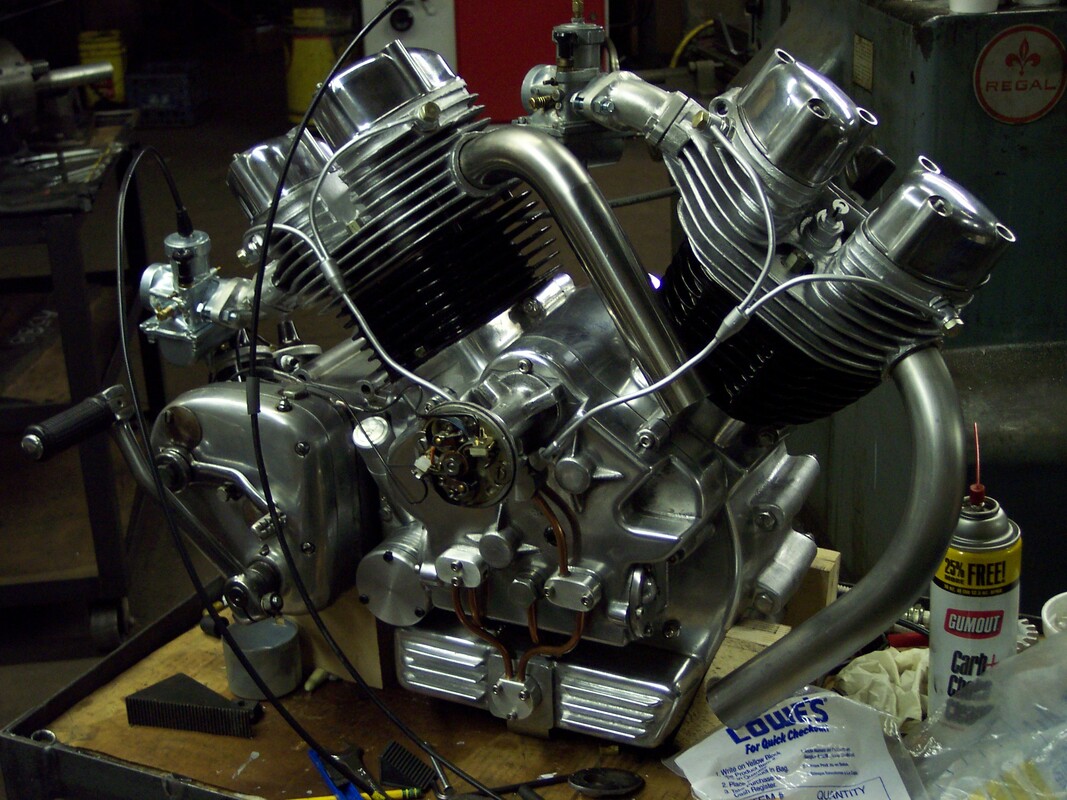
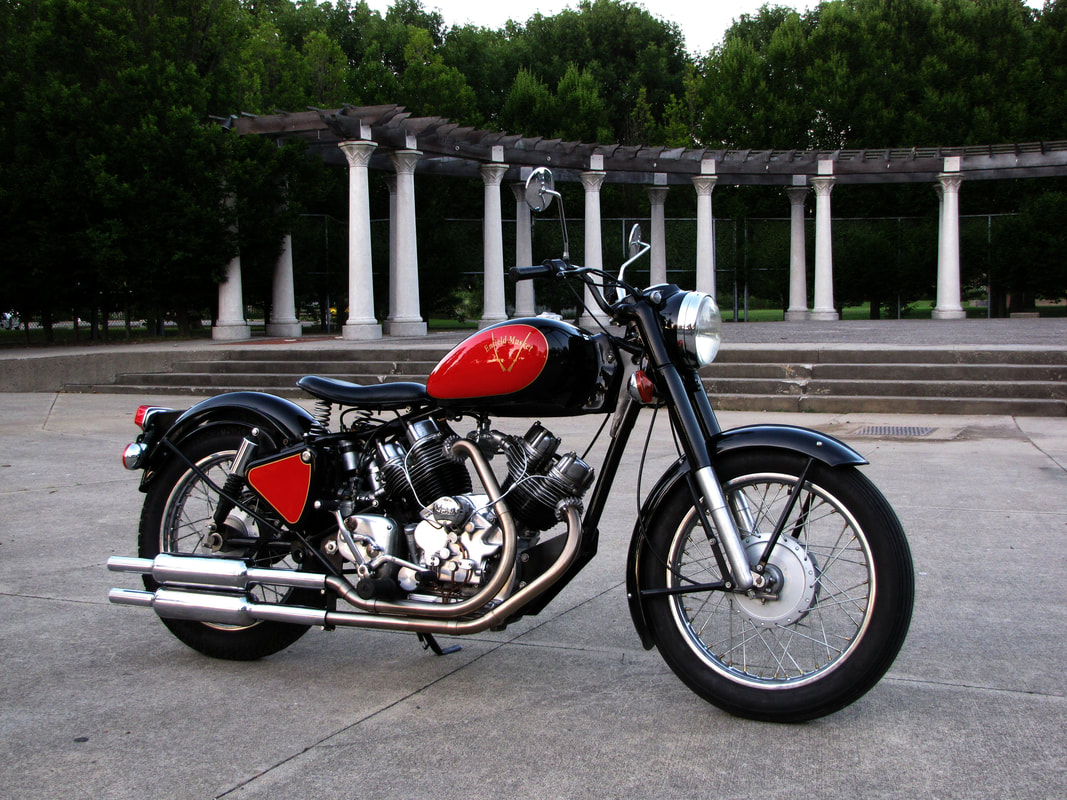
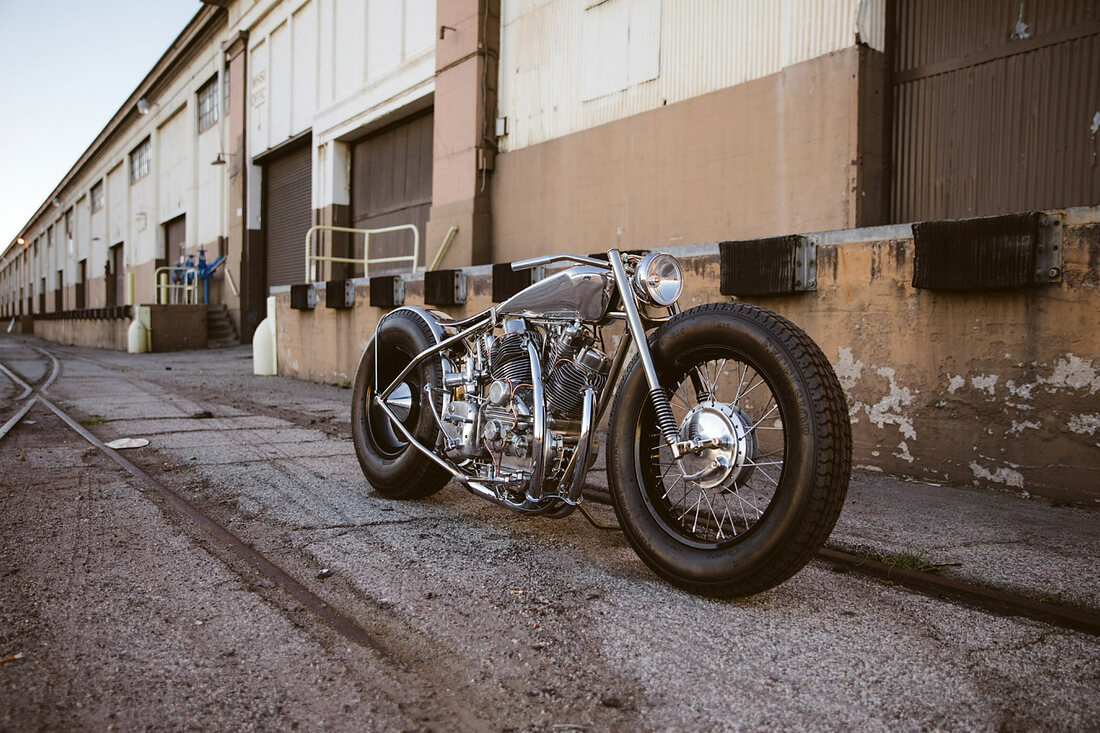
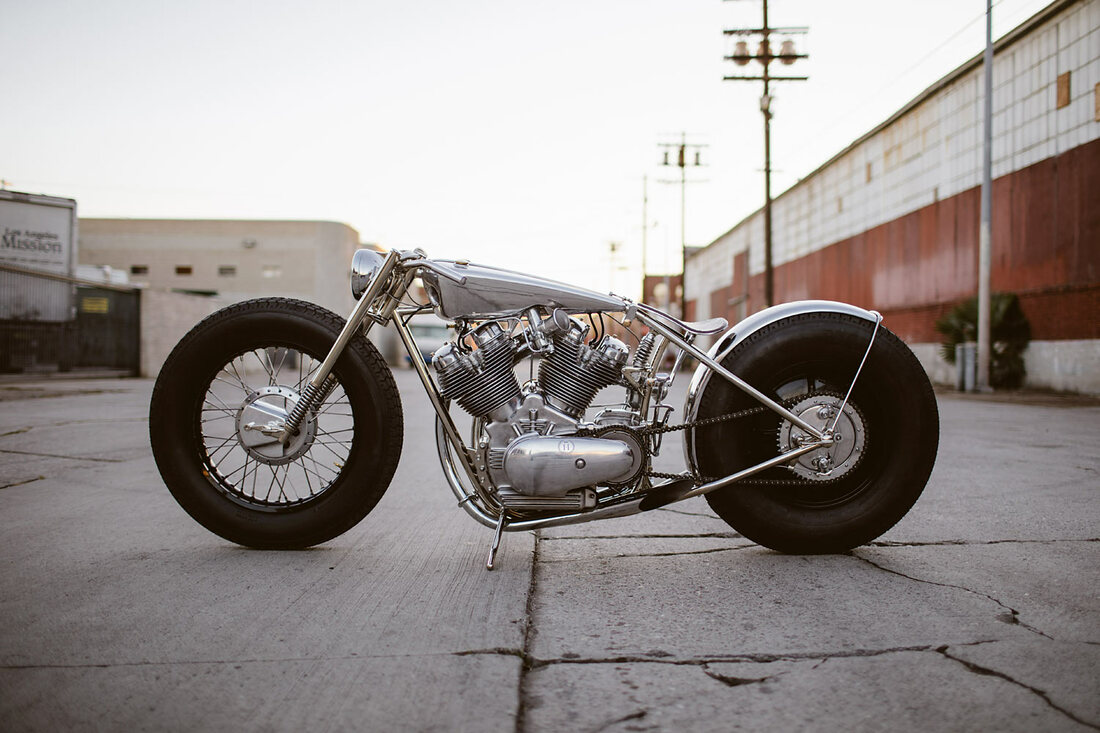
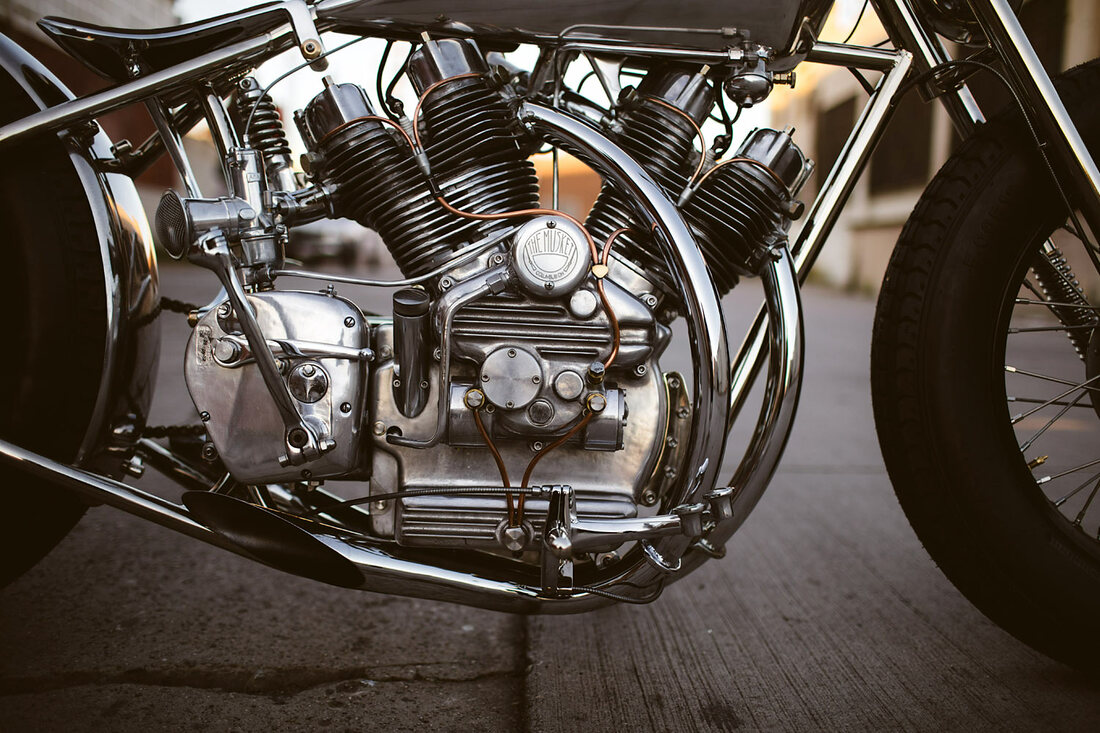
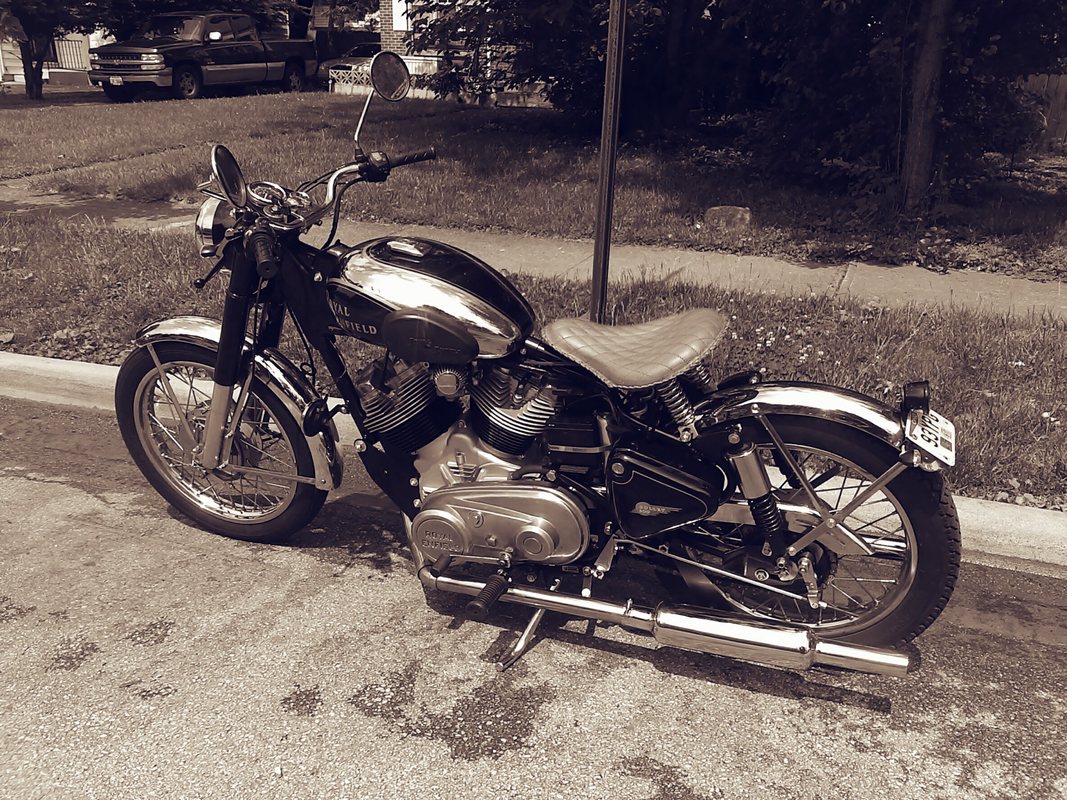
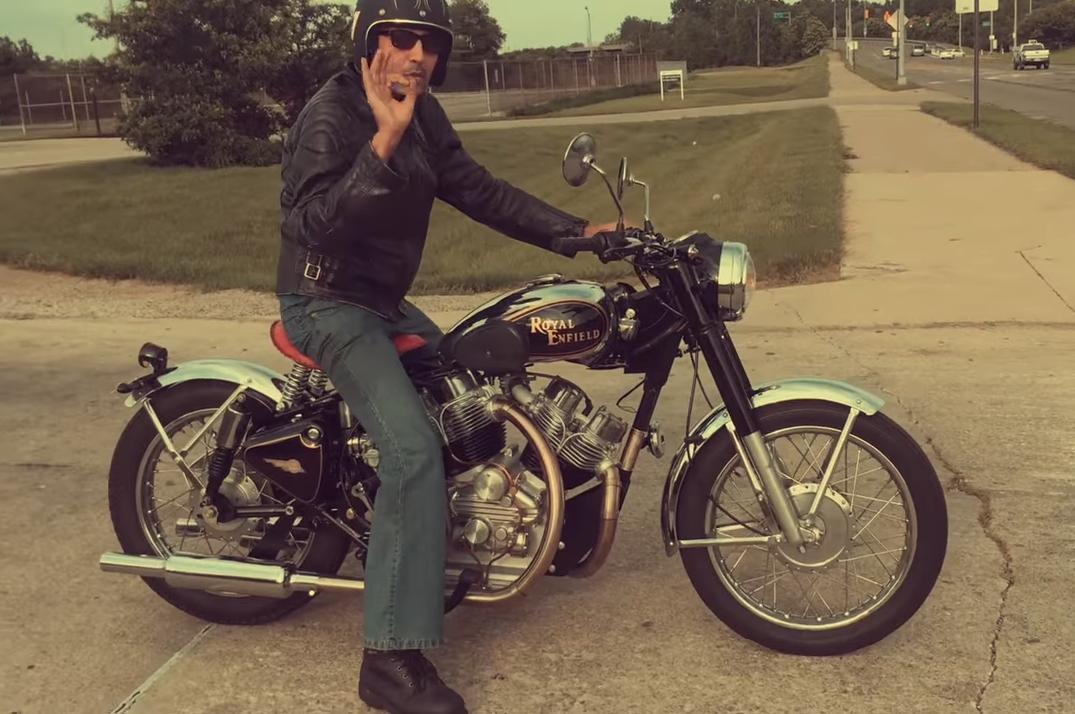
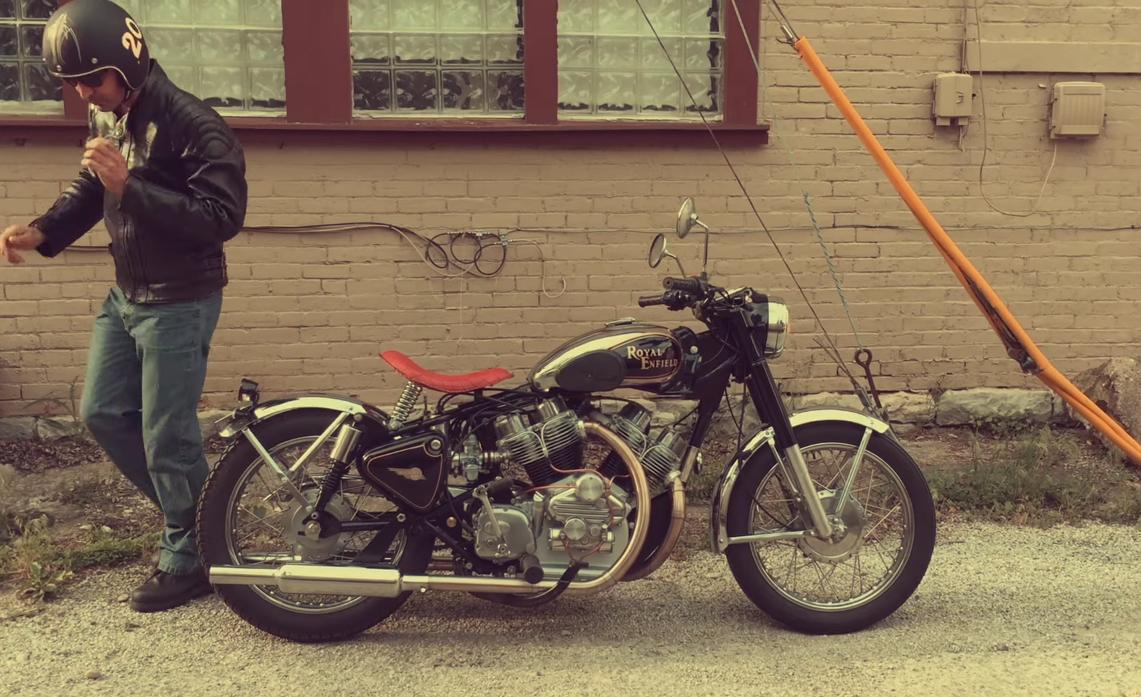
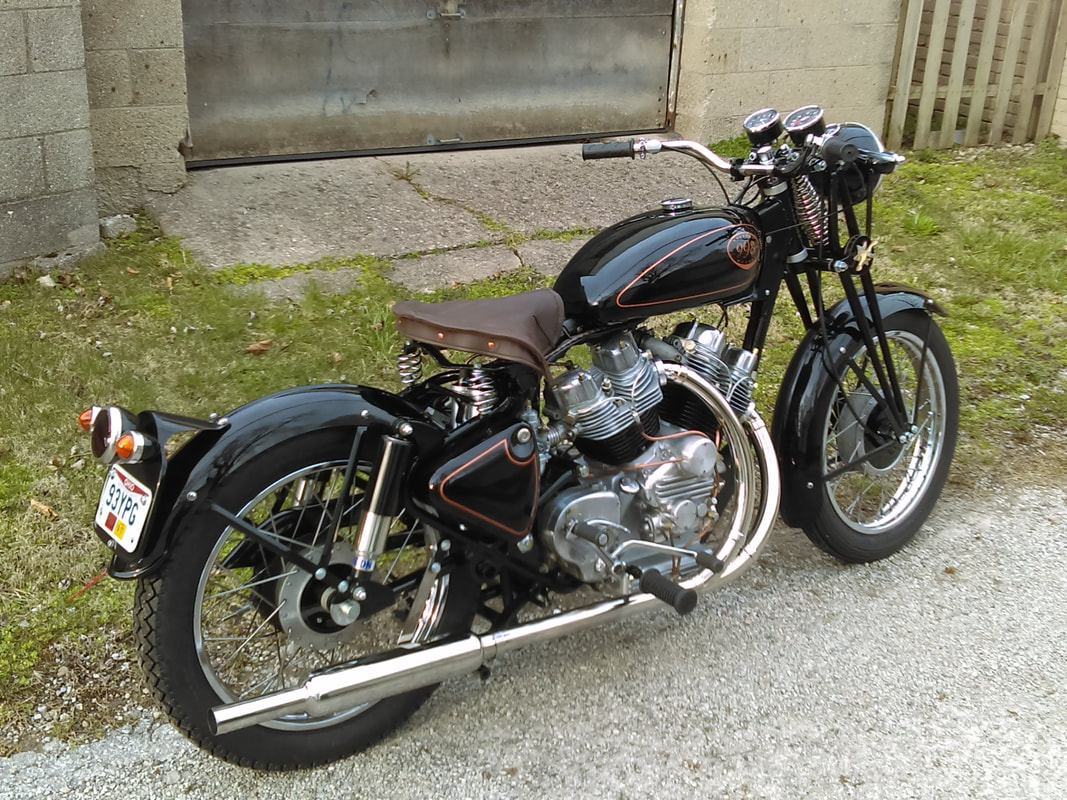
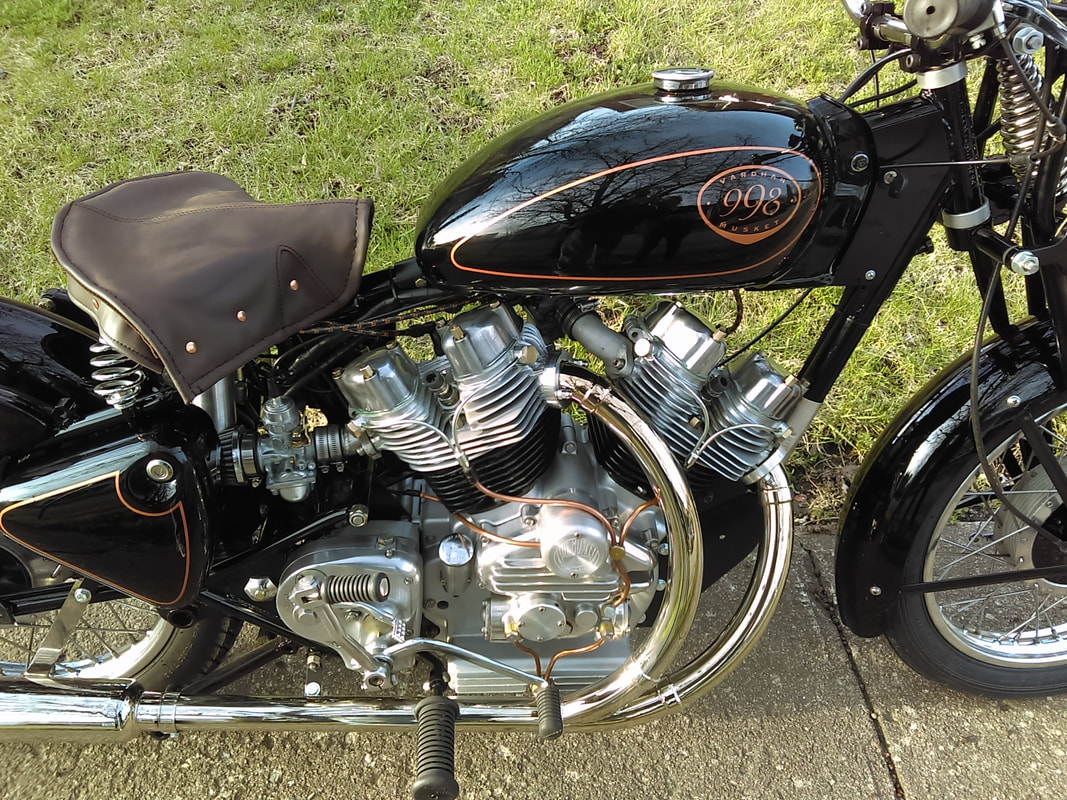
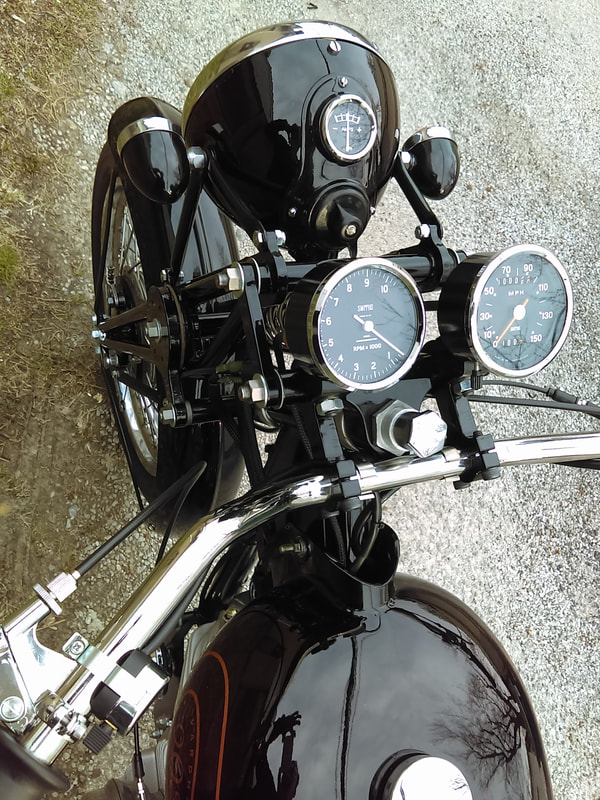
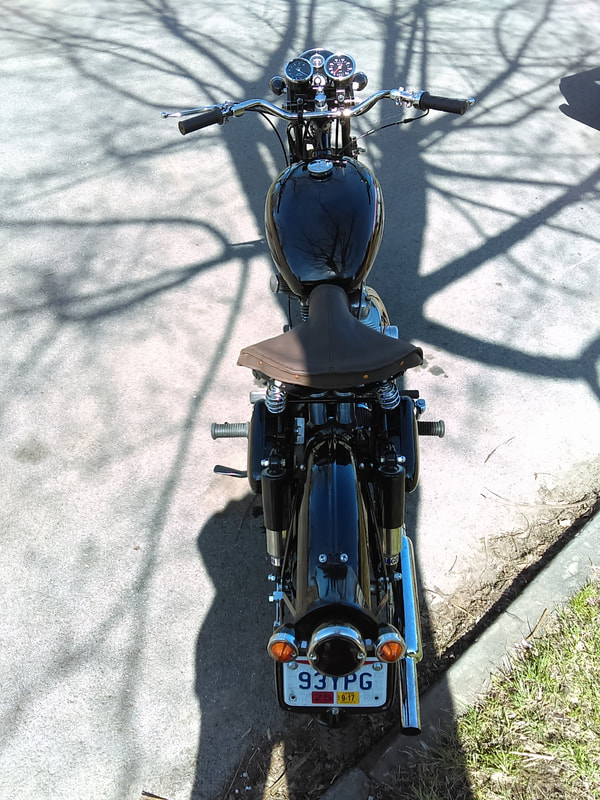
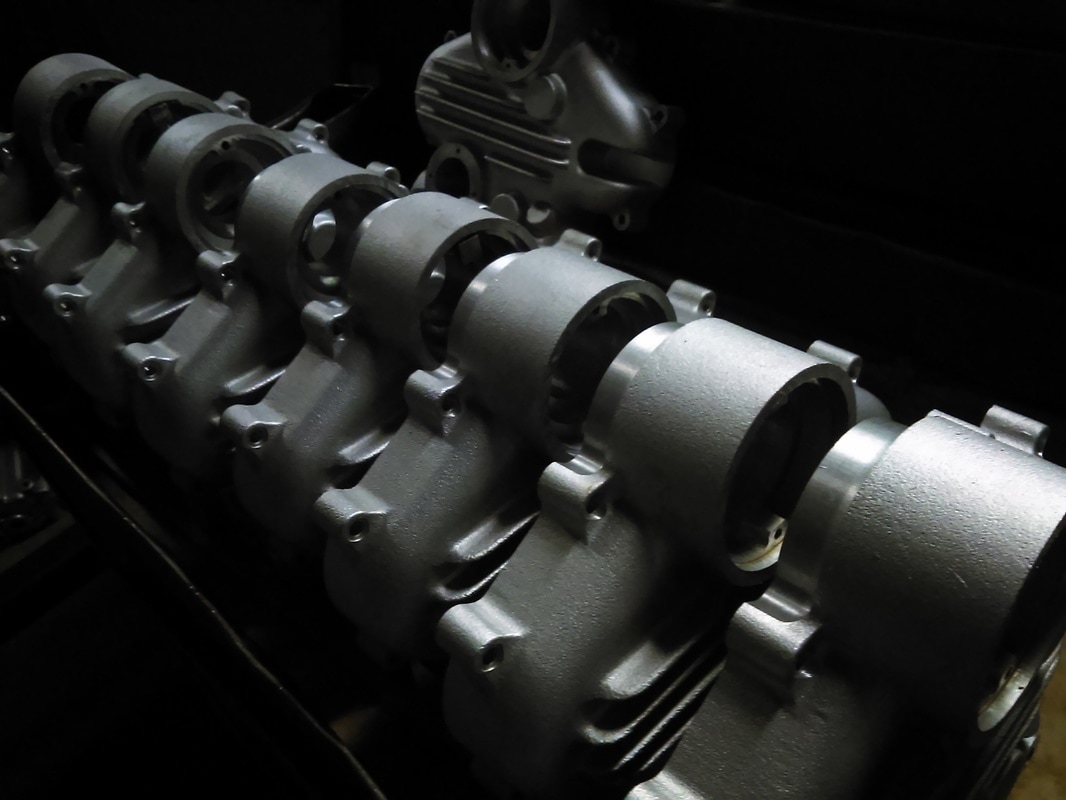
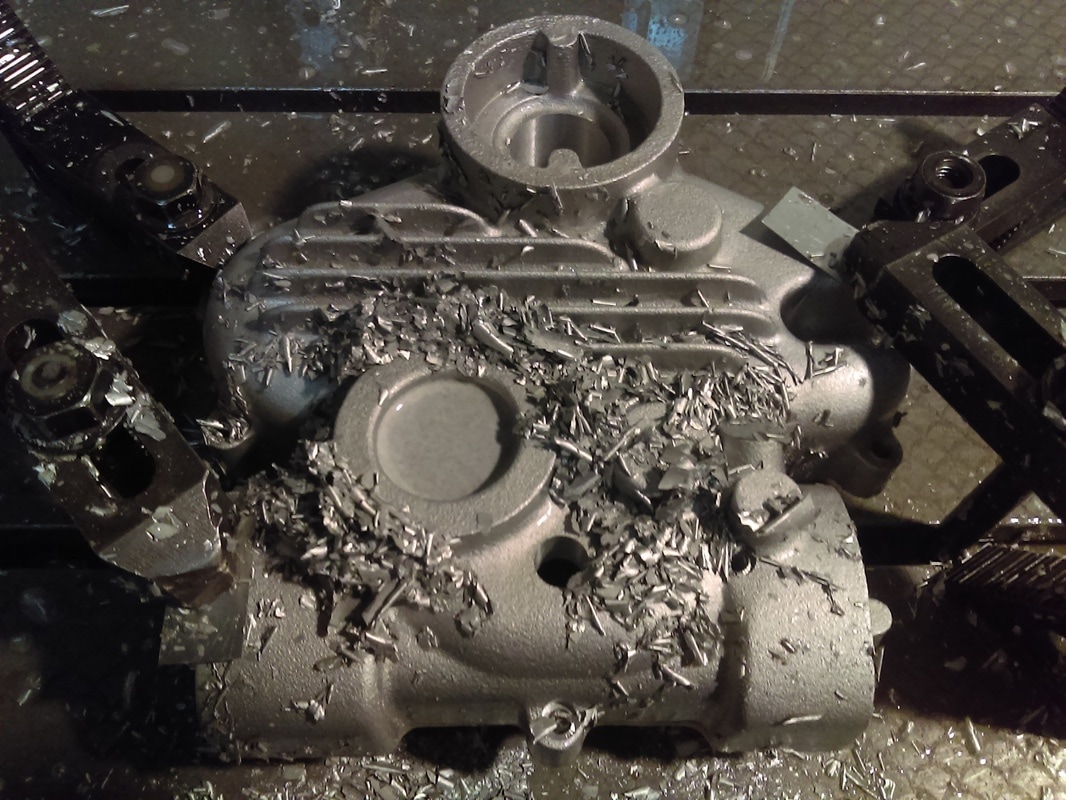
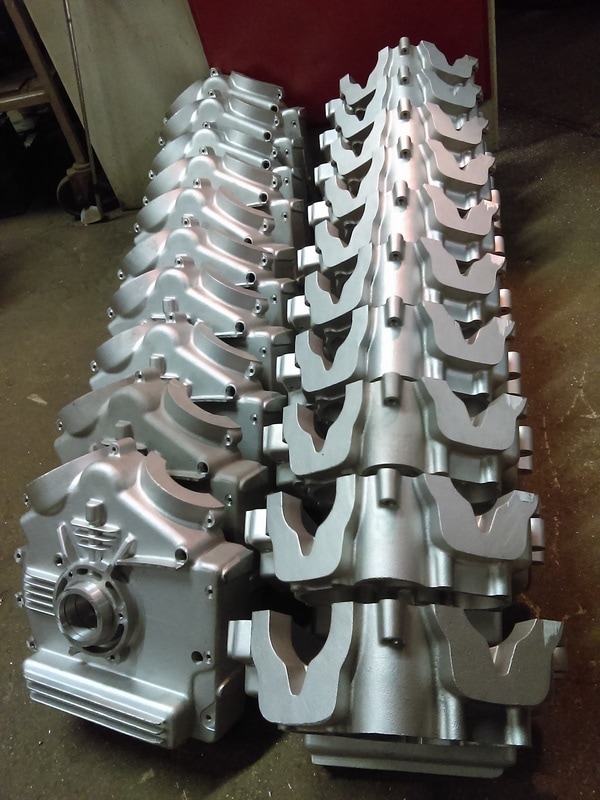
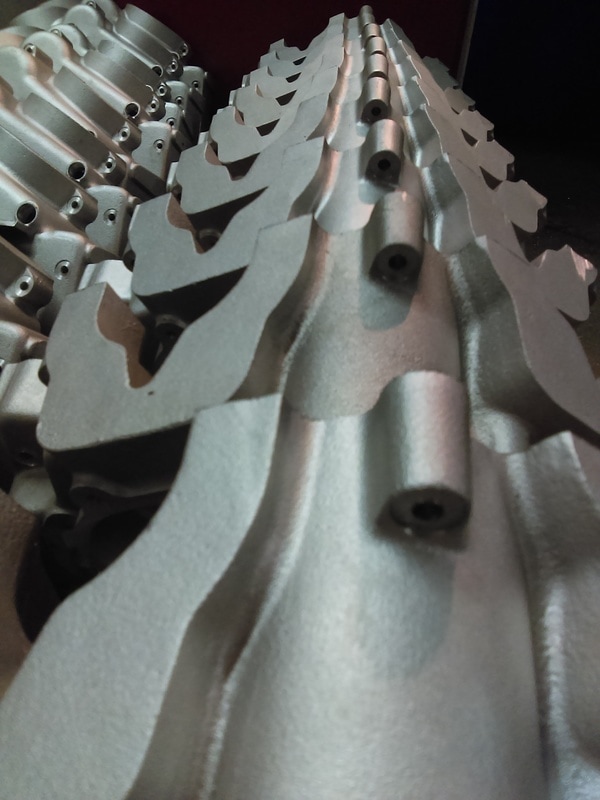
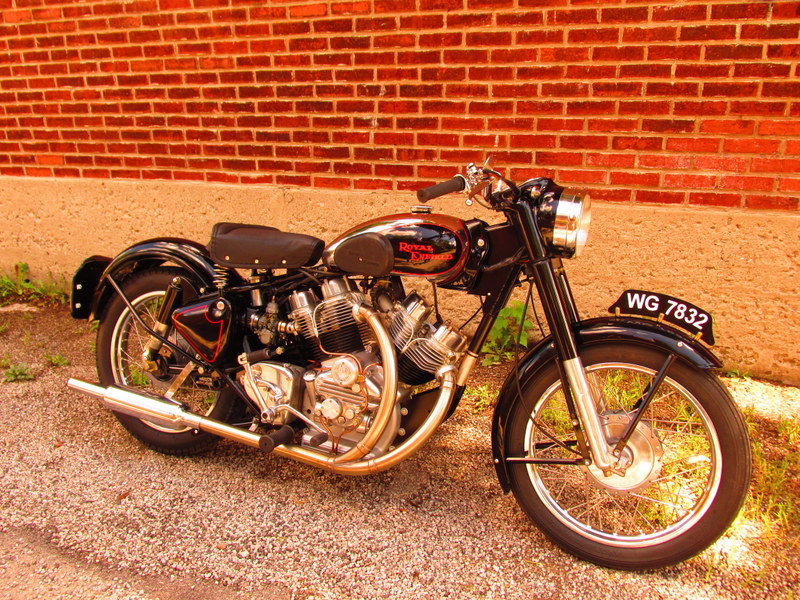
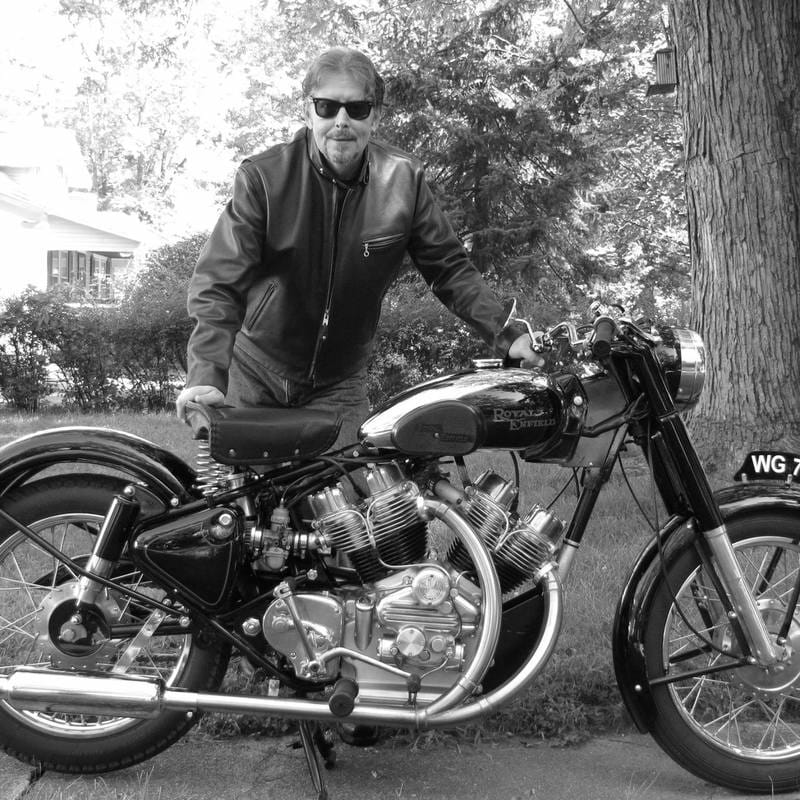
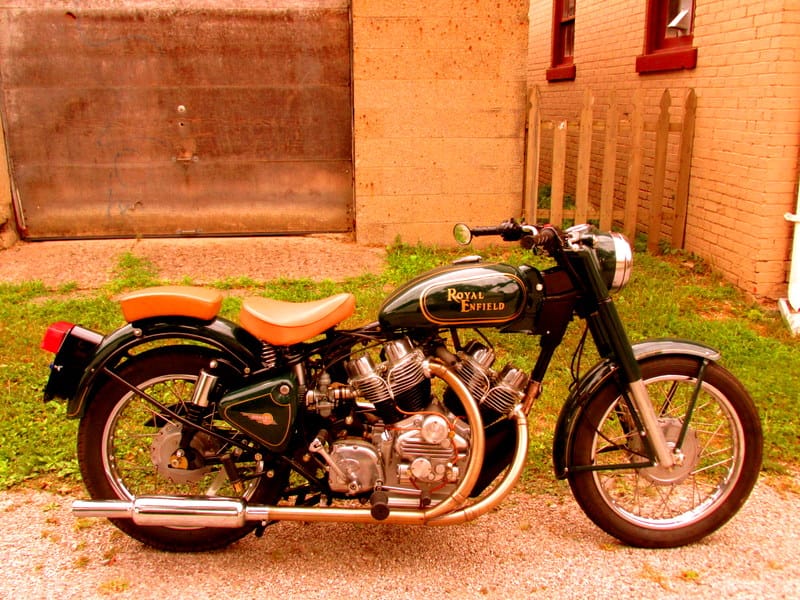
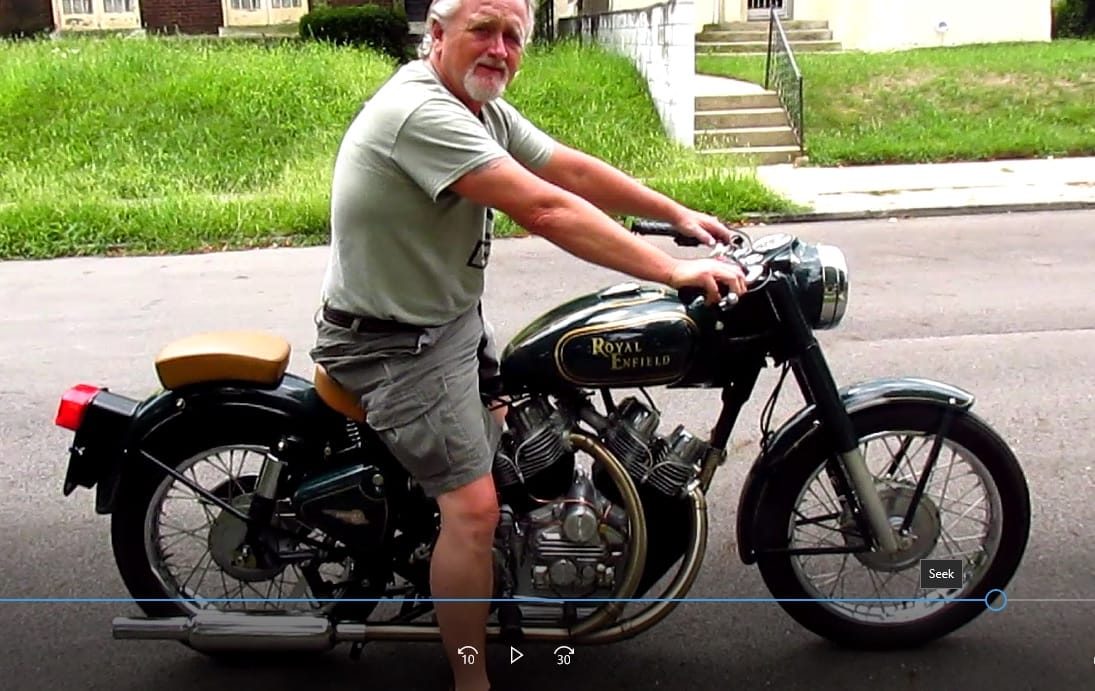
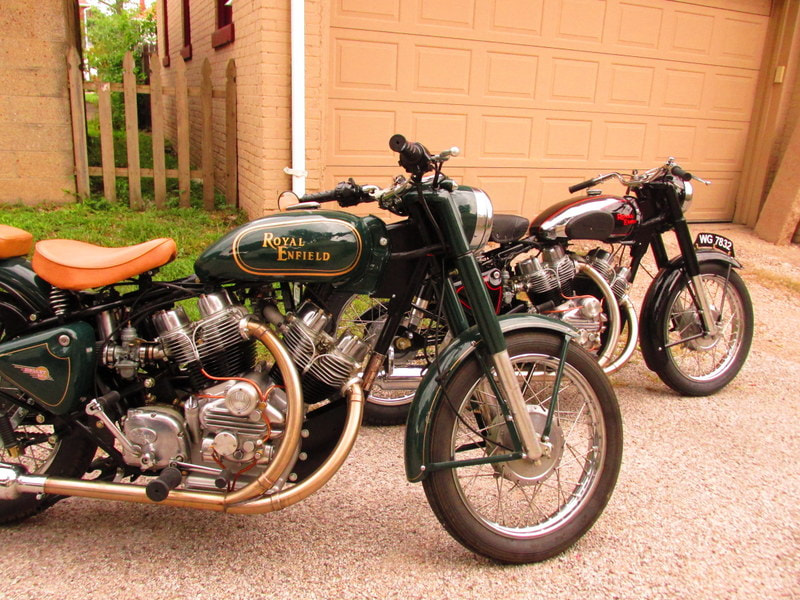
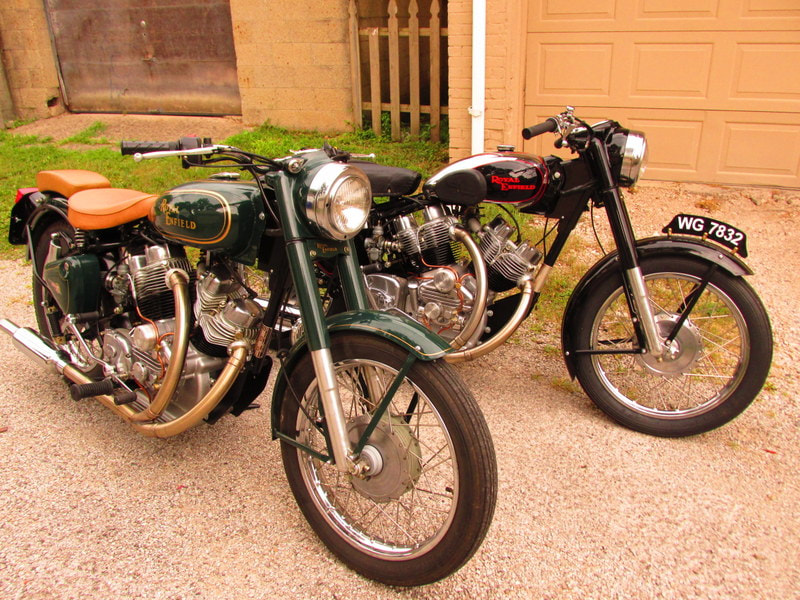
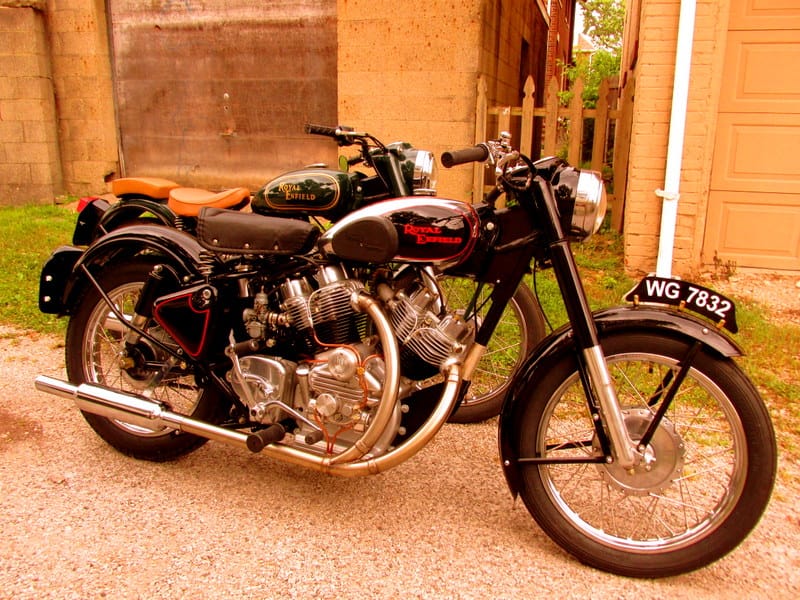
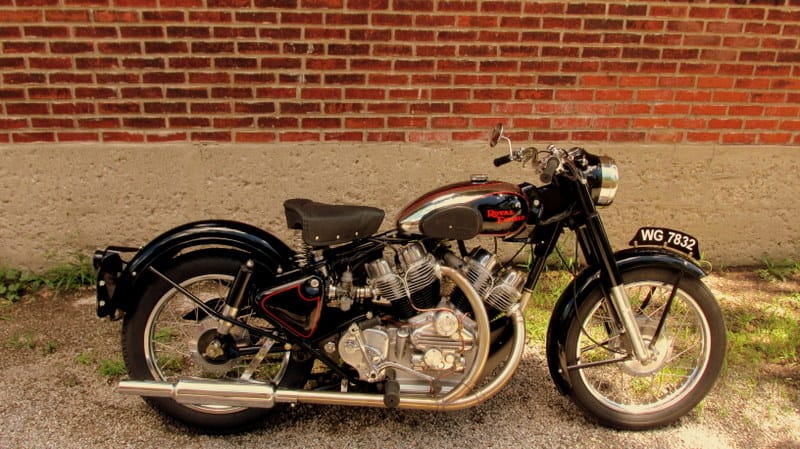
When Mr. Phillip George flew down from Mexico City towards the end of 2015, I had already received 4 complete build orders which would leave me with no more engines left from the first batch. I had to start from scratch in manufacturing the second batch of engines before I could even begin his order which also required sourcing two appropriate donor bikes. Long story short, This matching pair of black-red Muskets, a 700 and a 1000 finally reached Mr. George in Mexico City in August. I flew down in September to adjust the tuning for the 7400' altitude.
Mr. George is originally from India but after various stints in the UK, USA and UAE, settled in Mexico City and has a passion for vintage craftsmanship of all sorts.


 RSS Feed
